Saturday, April 30, 2011

a finished bustle skirt


Well, it took a week longer than I wanted, but I finally finished my bustle skirt!  Woohoo!  I love how it turned out, and it looks even better when it is on me and there are actual legs to help fill the bottom part out.  There is a ton of fabric in this skirt (8 yards of plaid + 3 yards of foundation), but all the fabrics are so lightweight that is isn't too heavy, and hopefully, it won't be crazy hot.  I expect hot - I just prefer to avoid crazy hot.  

And now, I need to get cracking on that bodice!  Just 2 weeks to go!  

Saturday, April 23, 2011

underskirt... check!

This week, I decided to focus on making the underskirt for my 1883 bustle outfit.  I waffled back and forth for a few days about whether I should attach the kilted section of the skirt to a yoke or a full foundation skirt, but I eventually decided that it might be easier to level the hem if I made the full skirt.  For the pattern, I used the foundation skirt from the 1887 dress in Patterns of Fashion, and I just used some random cotton shirting that I picked up at an estate sale for the fabric.  The foundation skirt, underskirt, and overskirt are all joined together at the waist to make a single garment, so this foundation layer will never be seen once the skirt is assembled.

The kilted part of the skirt is just a large tube of fabric, and I used a little less than 4 widths of the 45" fabric to make the tube.  The pleating was pretty tedious, but I was VERY grateful that I could use the lines in the plaid to measure my folds.  I sewed a stay tape to the inside of the pleats just above my knees to help keep everything in place.

When it came time to attach the kilted fabric to the foundation skirt, I caught a case of "teh stoopid" and I had a horrible time getting it all to come together right.  I'm going to fast forward through 2 1/2 hours of dumb ideas and miscalculations and just tell you about the last 30 minutes where I pinned the kilted fabric to the foundation skirt so that the hem just touched the floor, sewed it to the foundation skirt, and then covered the raw edge with some hem tape.  My dress form is a couple of inches shorter than I am, so the skirt is a little of the ground when I wear it, which is nice for tromping around outdoors.

Now I just need to re-bustle my overskirt, sew it to the waistband, and my skirt will be complete!  Hopefully I'll have time to squeeze that in tomorrow.

Sunday, April 17, 2011

bustle overskirt, v.1.0


For my train dress, I am using several images from my 1883 Peterson's magazine for inspiration.  This fashion plate is probably the closest to what I want for the shape, but with a plaid skirt and solid bodice like you see here.  I could probably just drape something that looks similar, but I thought it would be fun to use one of the 19th c. patterns in Francis Grimble's "Fashions of the Gilded Age".  


I thought the Sateen Dress from 1880 might do the trick, so I made it up exactly as the pattern shows.  But as usual with these period diagrams, the illustration and the actual results don't always match up very well. 

My main complaint is that the front of the skirt is so much longer than what you see in the picture.  Having petticoats and an underskirt to fill out the bottom would help this a little, but it still seems too long to me, and I really wish the folds across the front would be more distinct.  The slightly asymmetrical  bustling in the back also bugs me.  I know it is "right", but I can't help thinking that it just looks like I have a lopsided butt.  

But it's still a good start, and I think these problems are easily fixed.  I'm going to redo the front with much deeper pleats, which should take up the length and make the folds more obvious.  And for the back, I think I'll make both sides match, and I'll add a pleat in the center back at the bottom to make the tail into two points (like my inspiration pic) instead of the squared off look.  

And let me tell you - I'm so glad I basted this thing for the fitting instead of just sewing it up on the machine while hoping for the best (like I usually do)!  I guess I am capable of learning from past mistakes after all.  :)

Thursday, April 14, 2011

a happy little bustle

The next DFW Costumer's Guild event is something that I've been wanting to do for YEARS now.  We are riding a vintage steam train in Victorian costumes!!!  *squee* And even better, we are riding the train on the weekend of a historical reenactment event called Frontier Fort Days.  This is seriously one of the coolest costume activities that I have ever been a part of, so of course I need a new bustle dress that is appropriate for the occasion. 

I decided to make a dress from 1883 since the fashions from this year have small bustles and no train, which hopefully will equate to a less cumbersome outfit for a day of walking and train-riding.  I already have most of the undergarments that I will need, but I decided to whip up a quick 1880's style bustle for my outfit since my other bustles are more appropriate for the 1870's.  I already owned the Laughing Moon hoops and bustles pattern, so I decided to make up the 1880's short bustle included in that set.


This little bustle is so cute and perky - it makes me smile every time I look at it!  The pattern went together like a dream, and it was a wonderfully quick and pain-free project.  I made it out of a remnant of red and white ticking that my Grandmother gave from her stash, and it is boned with proper hoop steel for a change (vs. my crazy experiments with wire rope and piano wire). 

Next on the agenda - a pleated plaid skirt. The event is only a month away, so cross your fingers for me that everything else is as easy as my happy little bustle! 

Tuesday, April 5, 2011

Tokyo Pop Cultural Salon

DSC02787


1970 - Simplicity 8742
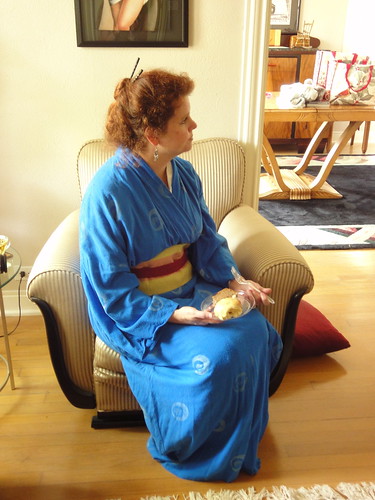
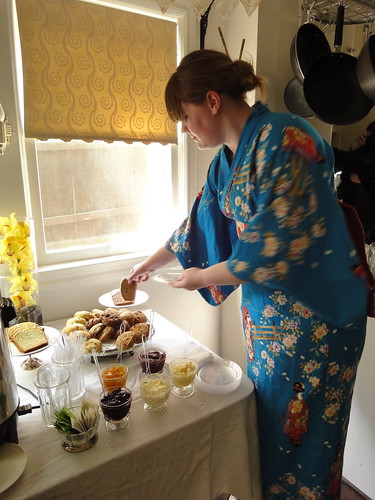
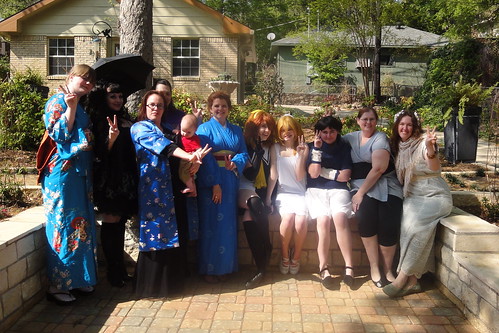
This past weekend, the DFWCG hosted a little tea party with the theme of Tokyo Pop.  This could mean anything from traditional kimonos, to anime, to Harajuku street fashions.  Anime/cosplay is not really my thing, and I don't own a kimono, so I poked around some Harajuku websites and discovered 
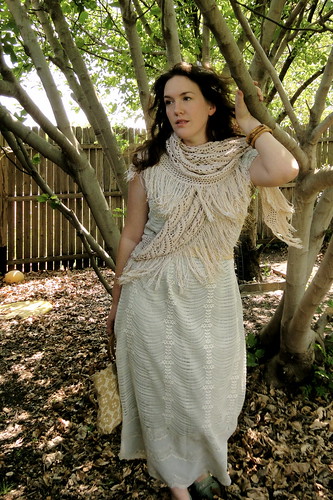
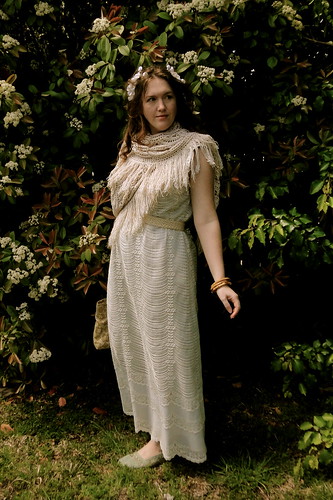
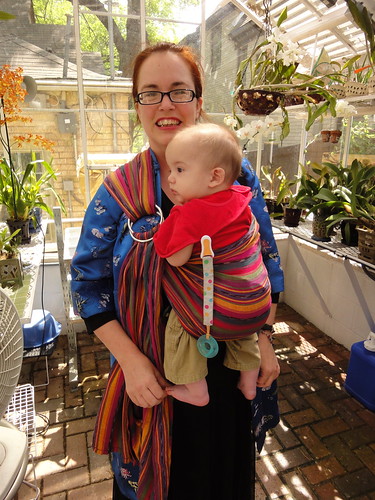
mori girl fashions.  I think I've been a closet mori girl my entire life and didn't even know it!  Mori girls are supposed to look like they came from an enchanted forest.  This aesthetic has lots of loose layers, pale neutral colors, and details taken from nature.  As much as I love dressing up in well tailored dressy dresses, I'm more of a laid back hippie in real life, so this suited me quite perfectly.

I wish I had more time to work on a proper mori girl outfit because my head is bursting with ideas now, but I only had one day to whip something up, so I ended up making a quick sheath dress from one of my 70's patterns.  I lengthened the skirt to make it a maxidress, and I had to enlarge it a bit to fit my hips, so unfortunately now the top is falling off of me.  Not my finest attempt at sewing, but I didn't have time for alterations, so eh... whatever.  The dress is made out of a $2 curtain that I bought at Goodwill and lined with .25 cents worth of estate sale fabric that I dyed green.

DSC02766

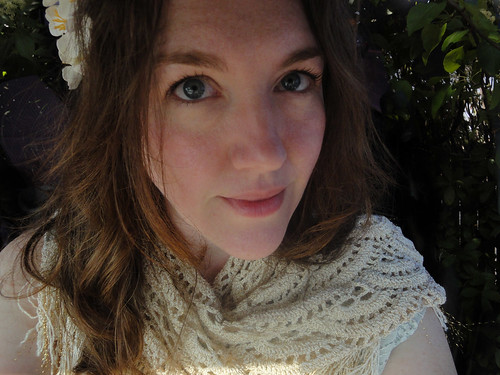
My favorite part of this outfit is the shawl, which I bought on etsy.  I've already worn it a few times in my everyday wardrobe, and I love it to pieces.  The purse and belt came from estate sales, the bamboo bracelets were from a local antique shop.  I finished it by making a floral headband out of some cherry blossom silk flowers from World Market.

DSC02891

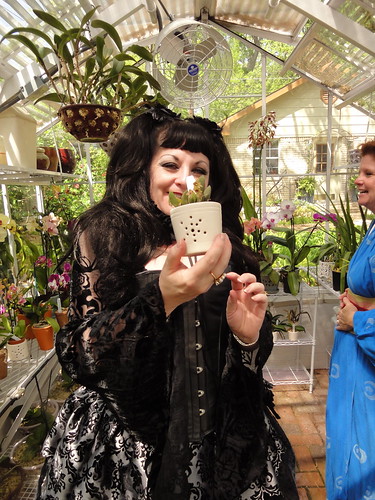
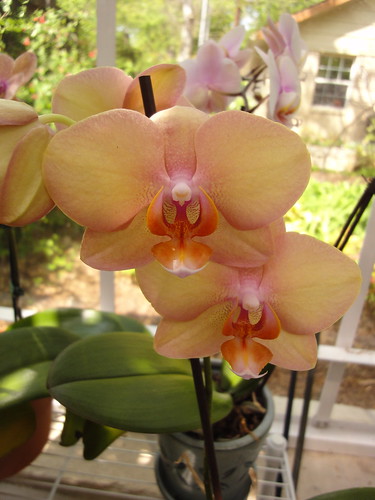
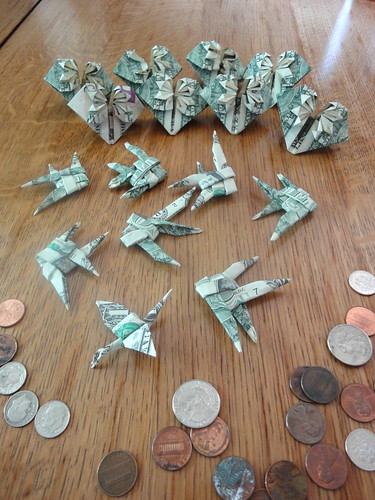
The event was a lot of fun, and I really enjoy these more laid-back gatherings where I can just sit and talk and enjoy hanging out with my friends while wearing silly clothes.  We also got to admire the hostess's amazing hothouse of orchids, we had a lady bring her ball-jointed dolls to play with (a little creepy, but beautiful at the same time), and I taught the group a bit of money origami as a fundraser for a Japanese earthquake relief fund.  It was a lovely afternoon, and I thank Dawni for organizing this event for us!  As usual, my photos are all on flickr, but here are a few of my favorites to give you a taste of the day. 

DSC02805


DSC02815


DSC02840


DSC02837


DSC02829


DSC02882


DSC02884