Showing posts with label 1880's. Show all posts

Sunday, January 11, 2015

Little House natural form dress


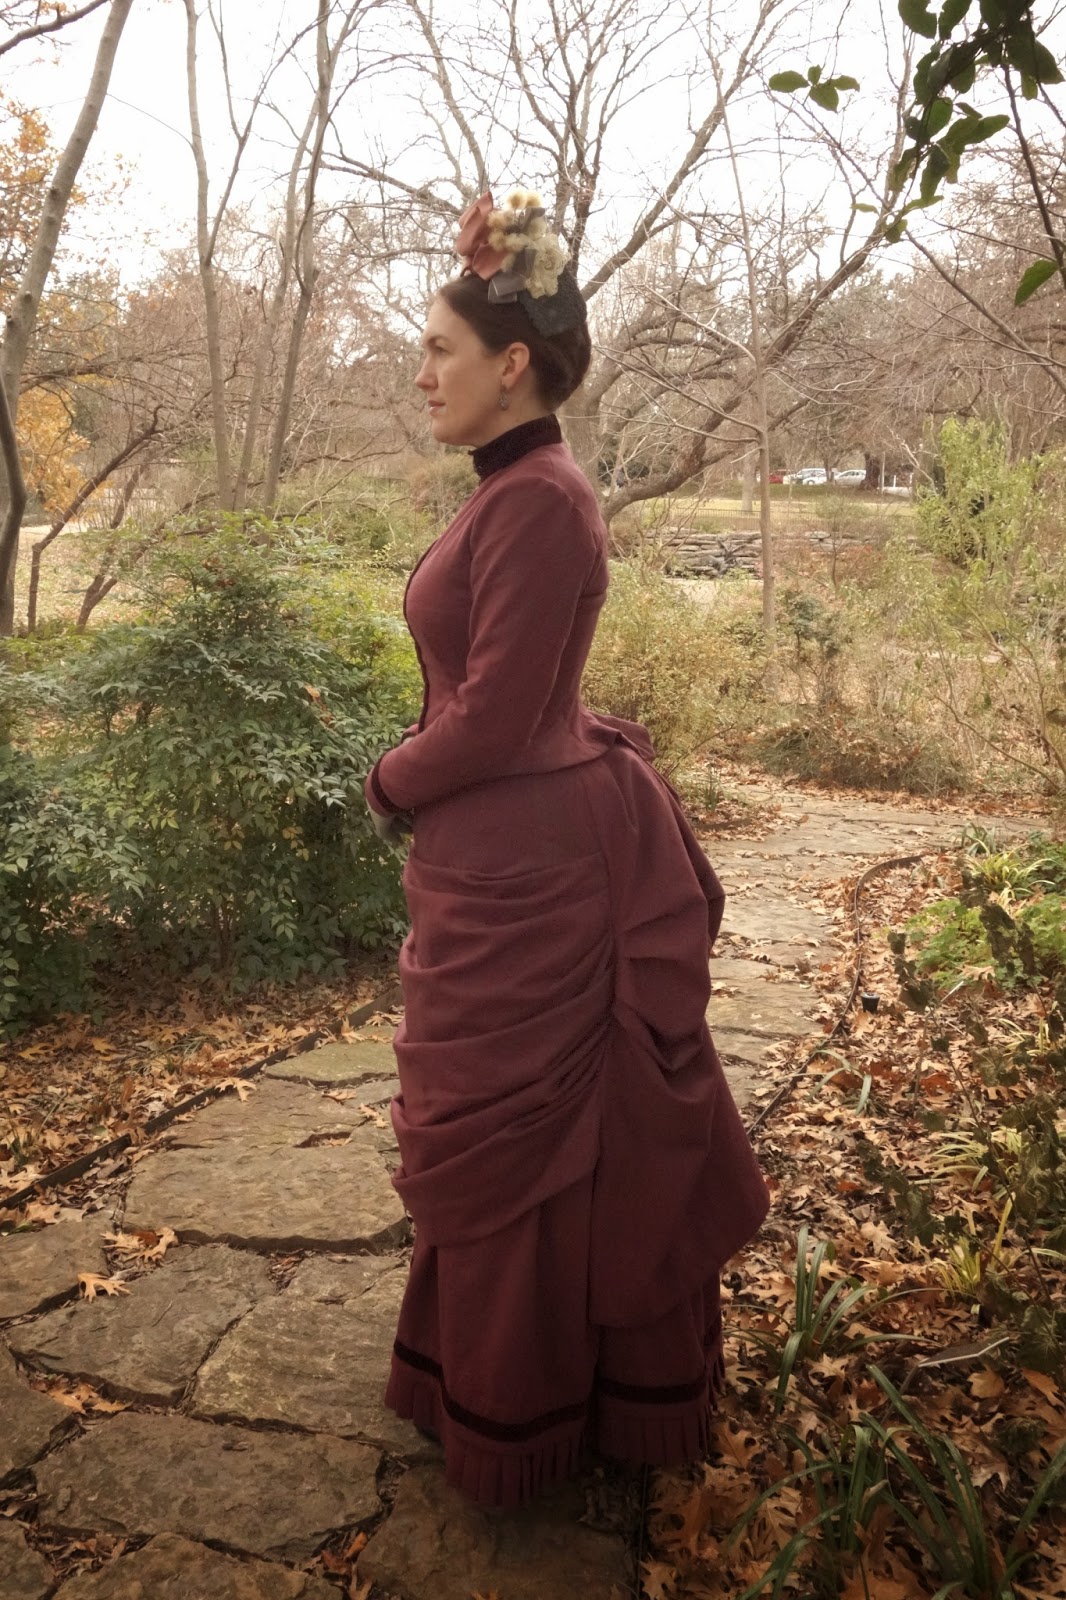
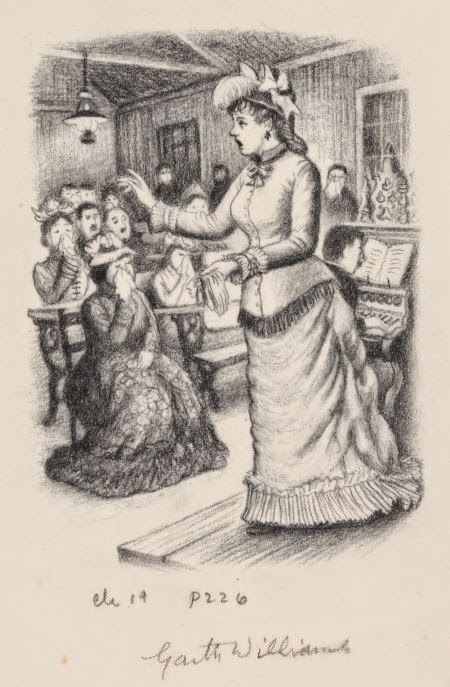
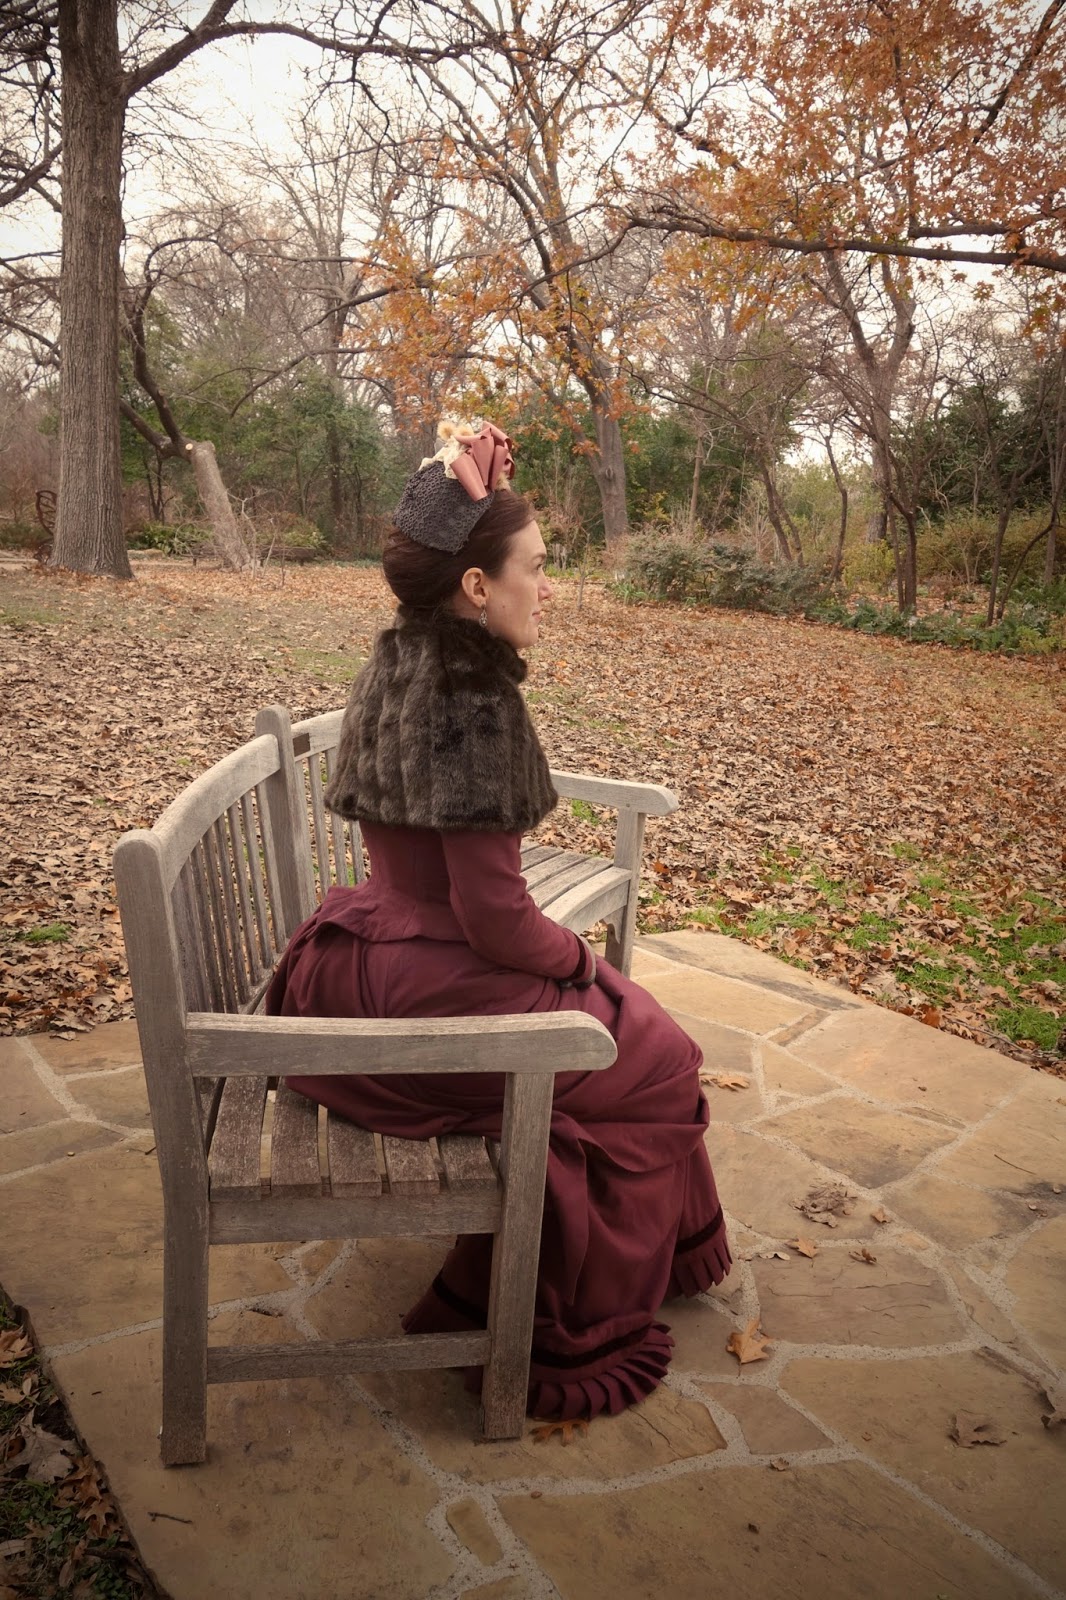
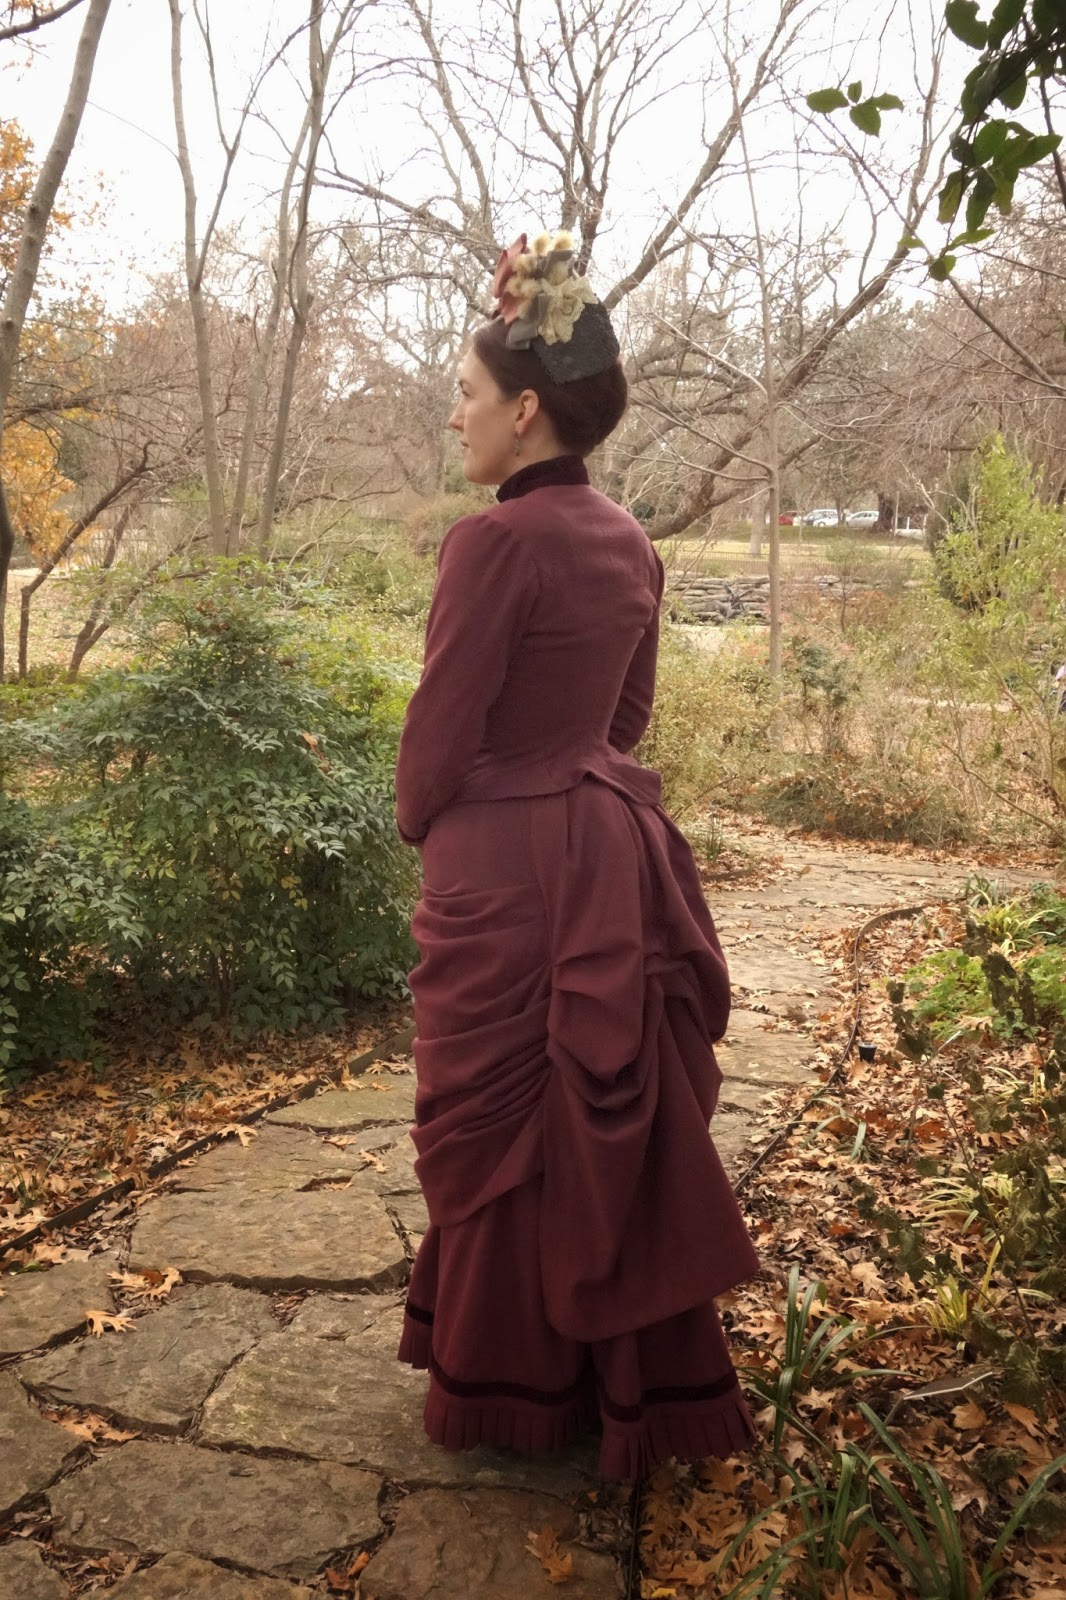
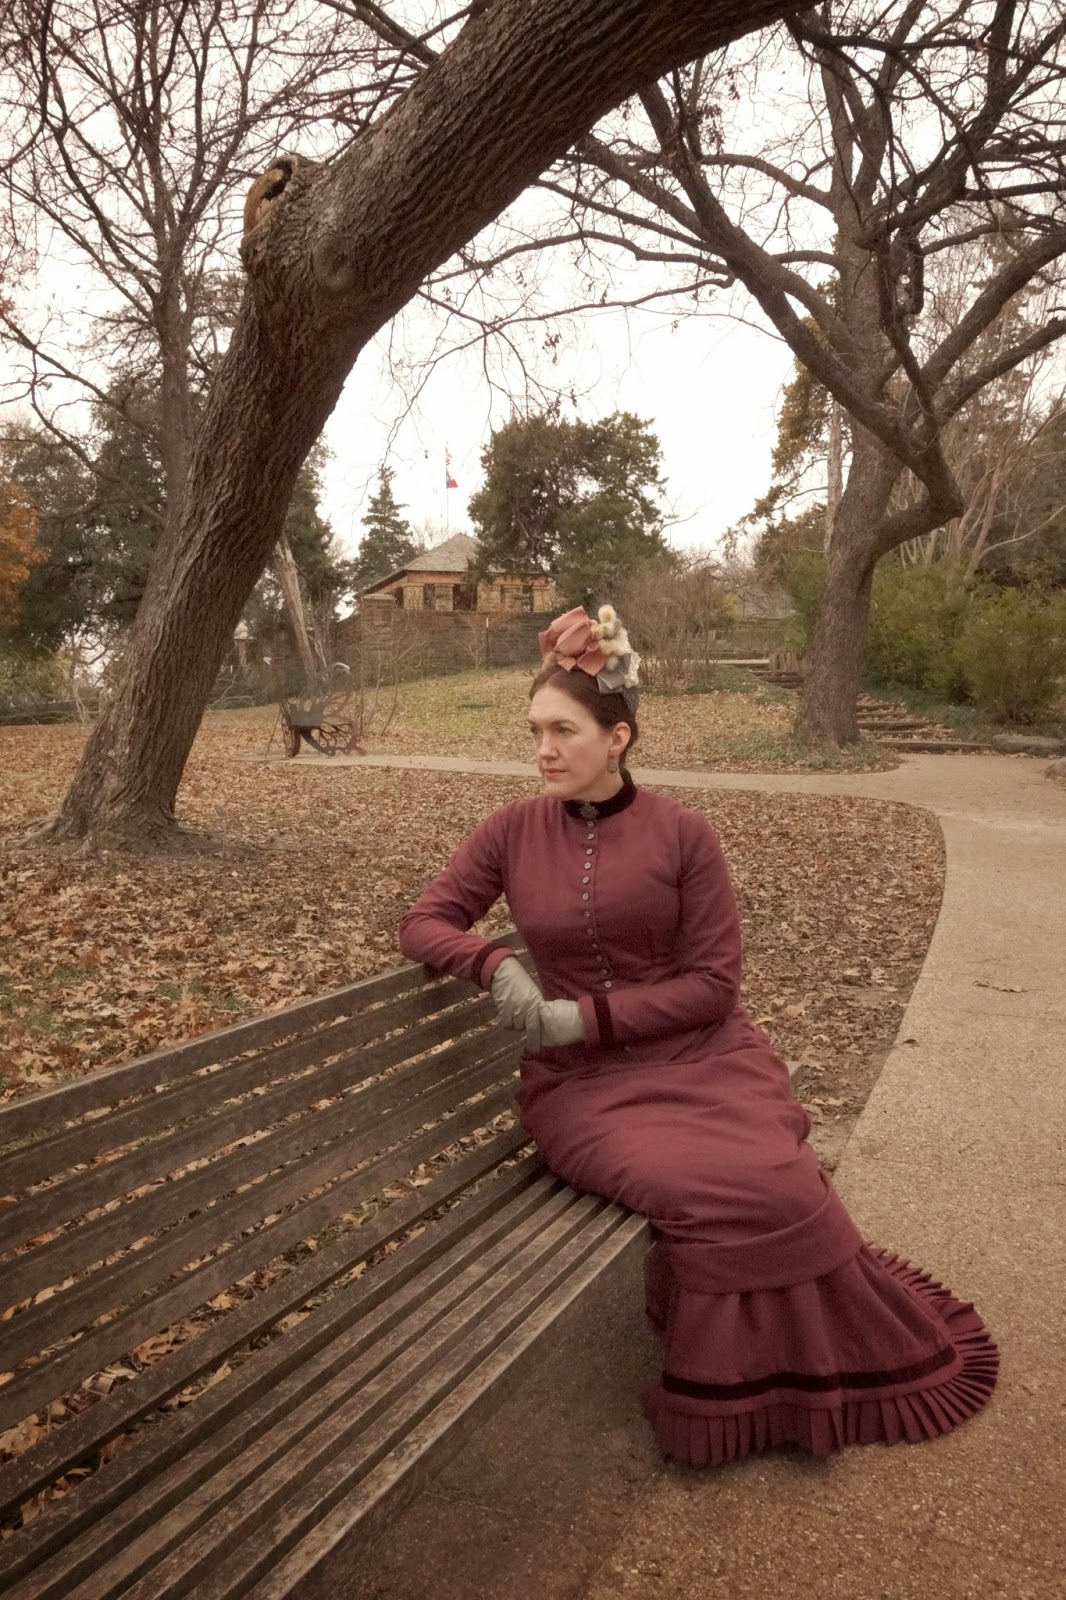
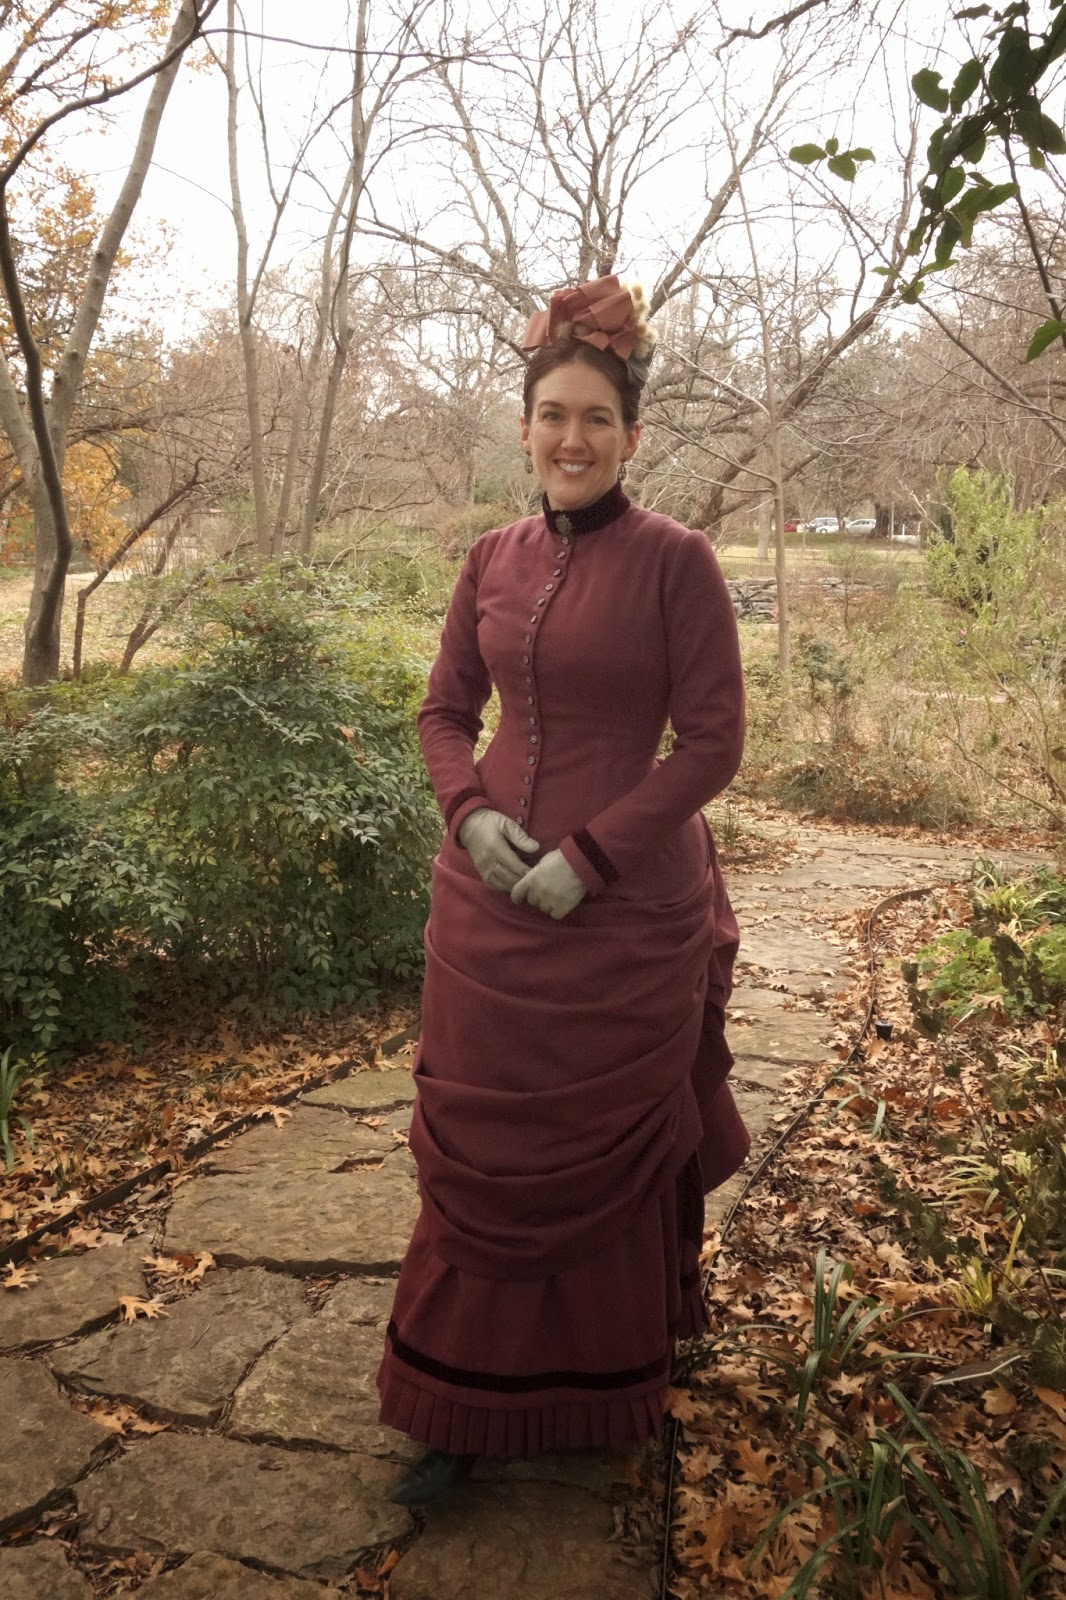
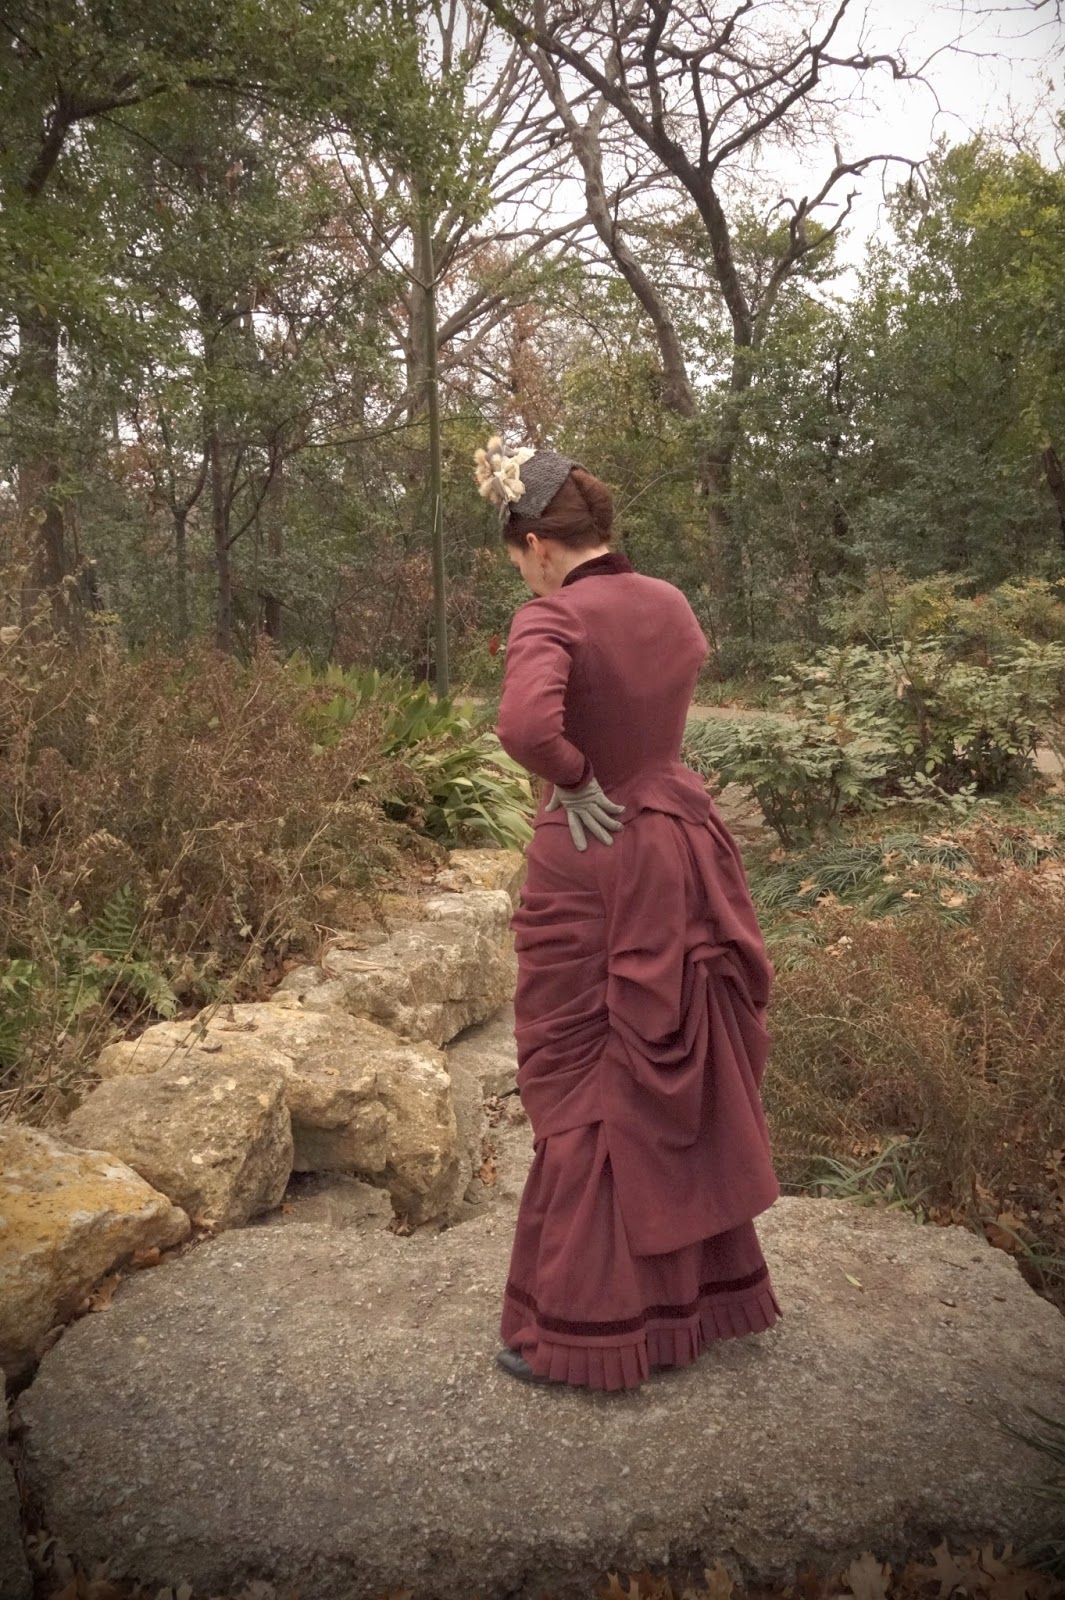
I'm planning on going to Costume College again this summer, and it is never too early to start making dresses!  The theme for this year is "Plucked from the Pages", so a couple of my friends and I are planning on wearing Little House on the Prairie inspired outfits for one of the days while we are there.  I have been obsessed with all things "Little House" for most of my life, so I decided to make a very simple wool natural form gown that would be right at home on the prairie during the early 1880's, which is when the last few books took place.  I remember spending many hours of my childhood (and adulthood!) pouring over the illustrations in those books and re-reading the passages that described their dresses.  Although my outfit isn't meant to copy one specific dress from the book, I was definitely influenced by several of the charming illustrations and descriptions from the series when coming up with my design.

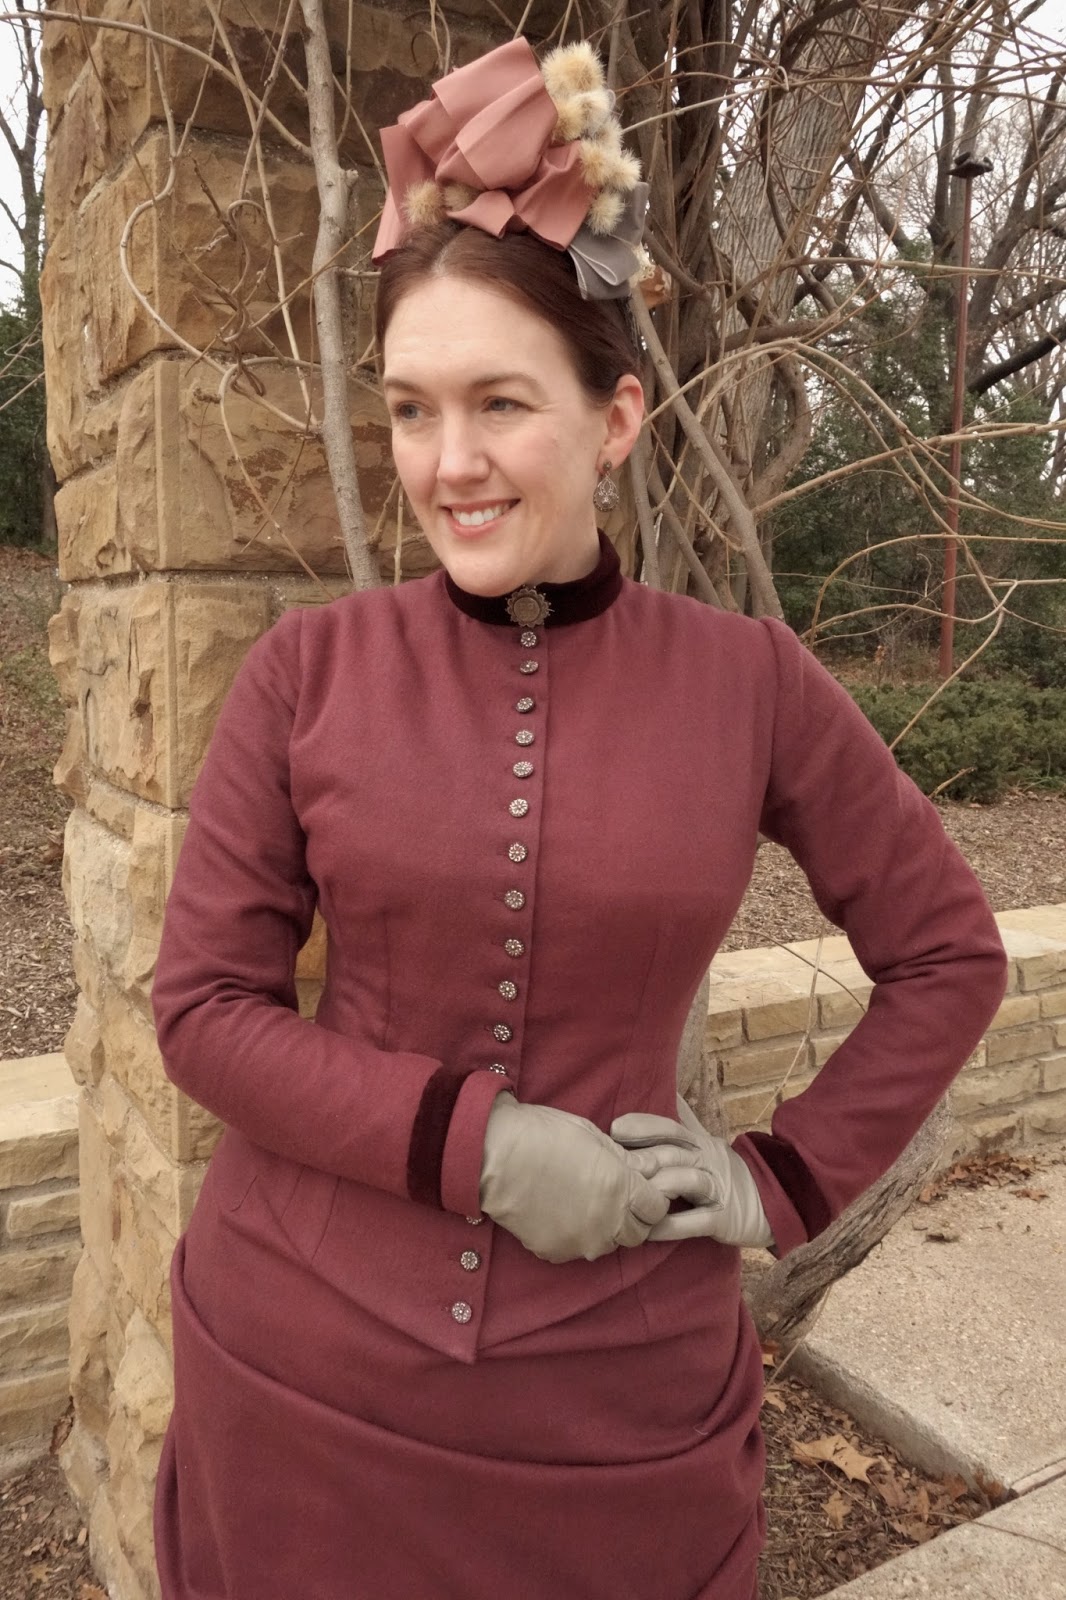
I also wanted to have something new to wear this weekend for an outing to the museum with the DFWCG. The wool that this dress is made from is quite heavy, which makes it warm and cozy for winter. Plus, the narrow skirts and lack of a train made it much more manageable around crowds, which was nice since the museum was packed. Unfortunately, I ran short on time and didn't get to fine-tune my outfit as much as I would have liked, so I'll probably go back and made a few minor adjustments before it gets a second wearing a Costume College. I know these are nit-picky things, but the peplum is a little unruly and refused to lay flat in back, the collar and cuffs need a bit of lace, and the velvet collar seems a bit awkward to my eyes. Is it too wide? Should it be wool? Or maybe I just need to add some ribbons or a lace cravat to dress it up some more? I haven't completely worked a solution just yet, but luckily I have 7 months to mull it over.

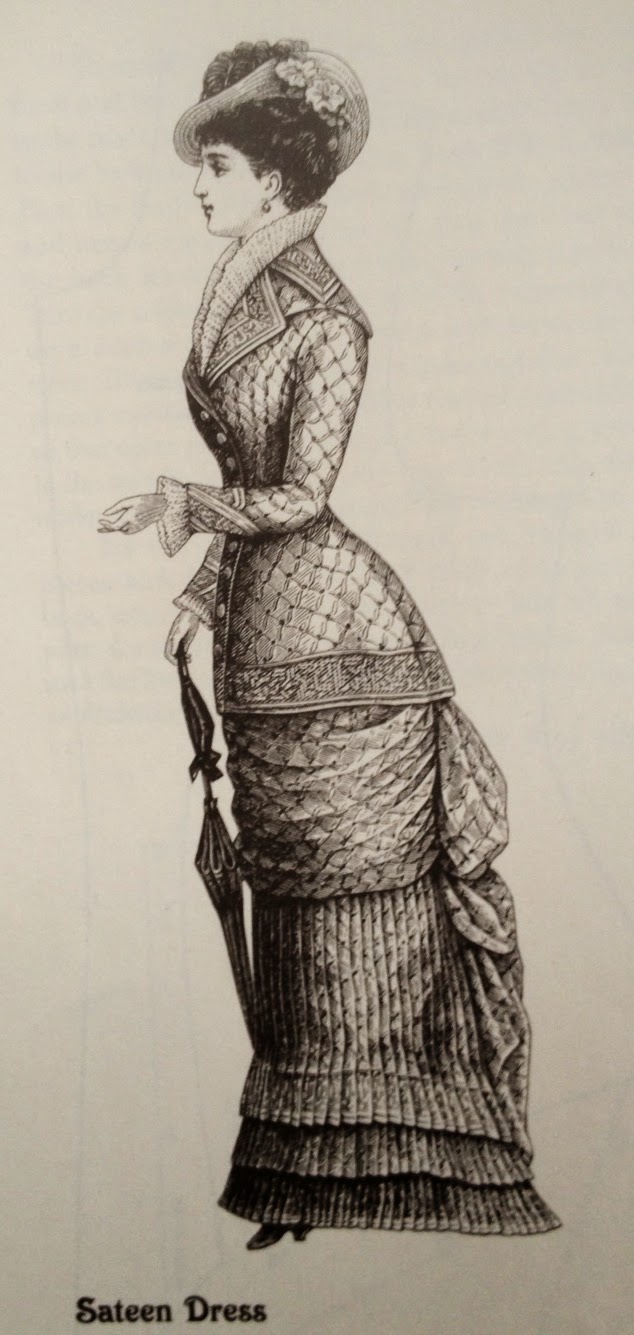
I used the same basic bodice pattern that I used last summer for my plaid dress, and I reused my bonnet from that project too since the colors looked so pretty with the maroon.  The overkskirt pattern was drafted from the 1880 "sateen dress" diagram in Fashions of the Gilded Age Vol 1.  I discovered that the front of the overskirt was a lot longer in real life than the illustration shows, and I had to add in extra pleats to make it match up with the back panel correctly. But that's okay because I like the look of the longer skirt just as well. I also used two straps of wide elastic to keep the overskirt pulled back tightly, and that seemed to help the draping of the front a lot while still giving me freedom to move.

My favorite part of the dress is the set of antique Victorian buttons on the bodice, which are nothing exciting in photos, but I think they are quite pretty in real life. I love being able to use old buttons on a new dress. It's such a fun finishing touch.


I also got to wear my fur capelet again, which made me incredibly happy. It's so warm in Texas that it's always a treat when I can find an excuse to wear coats and capes!


As usual, here are some of my favorite photos, and there are a few more additional pics on flickr.


Tuesday, May 20, 2014

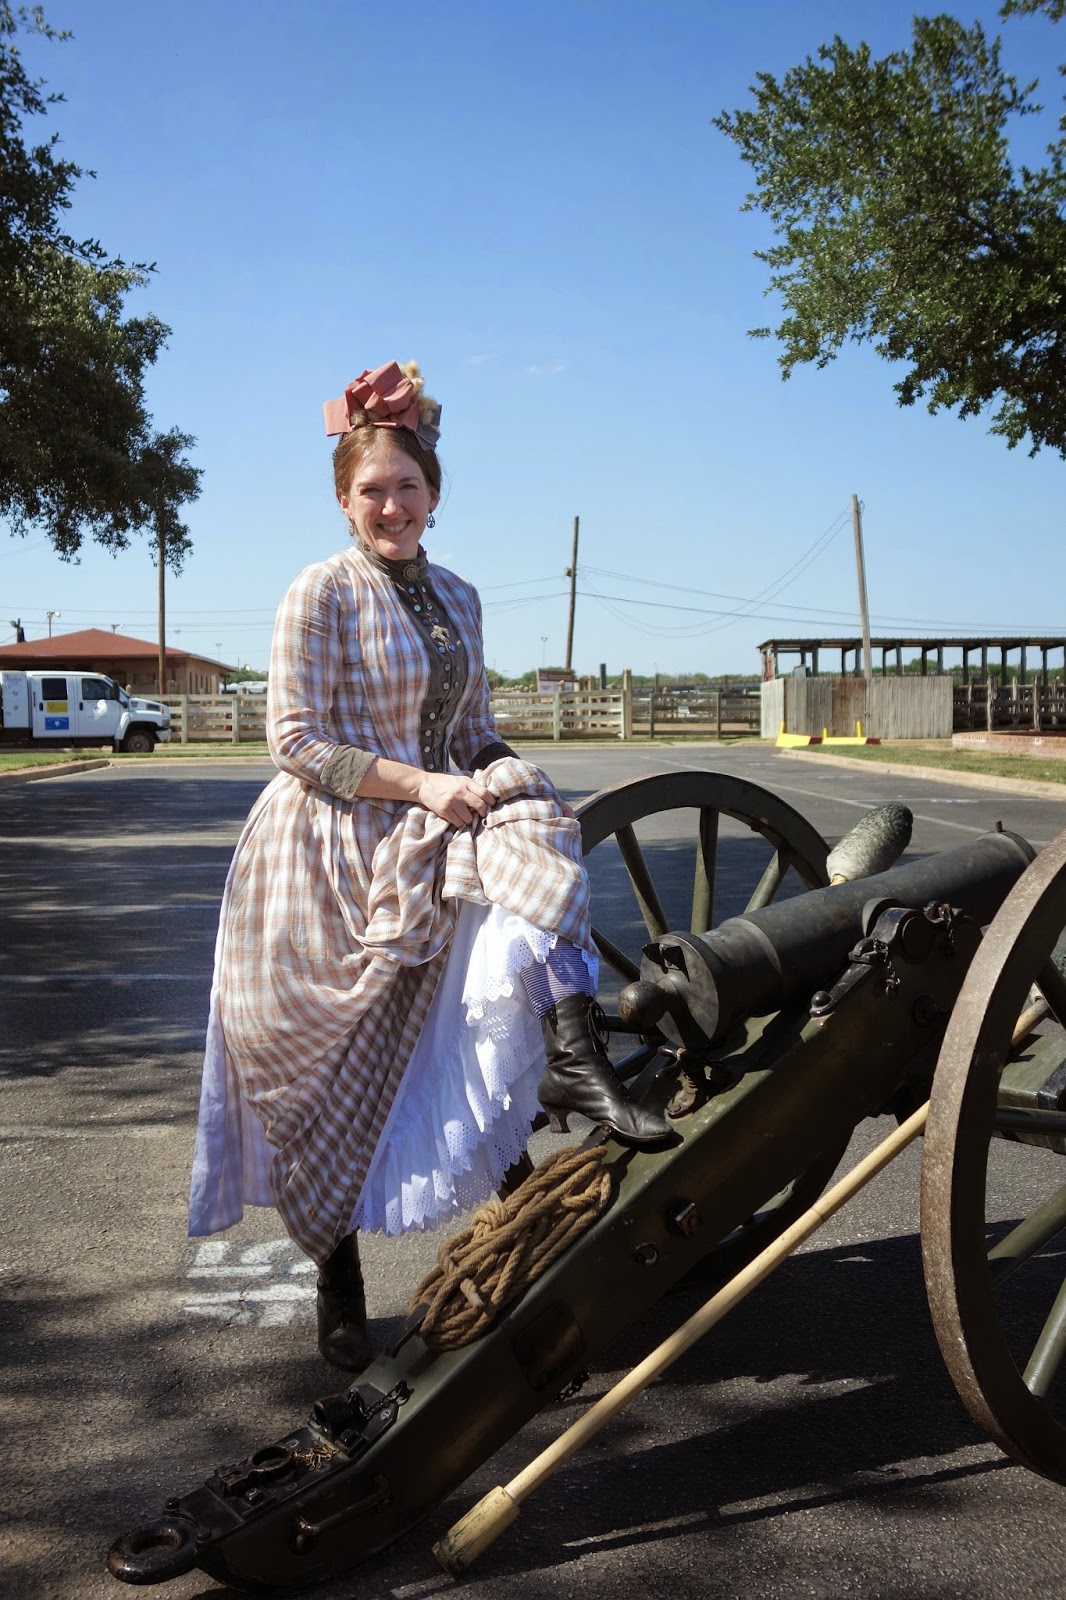
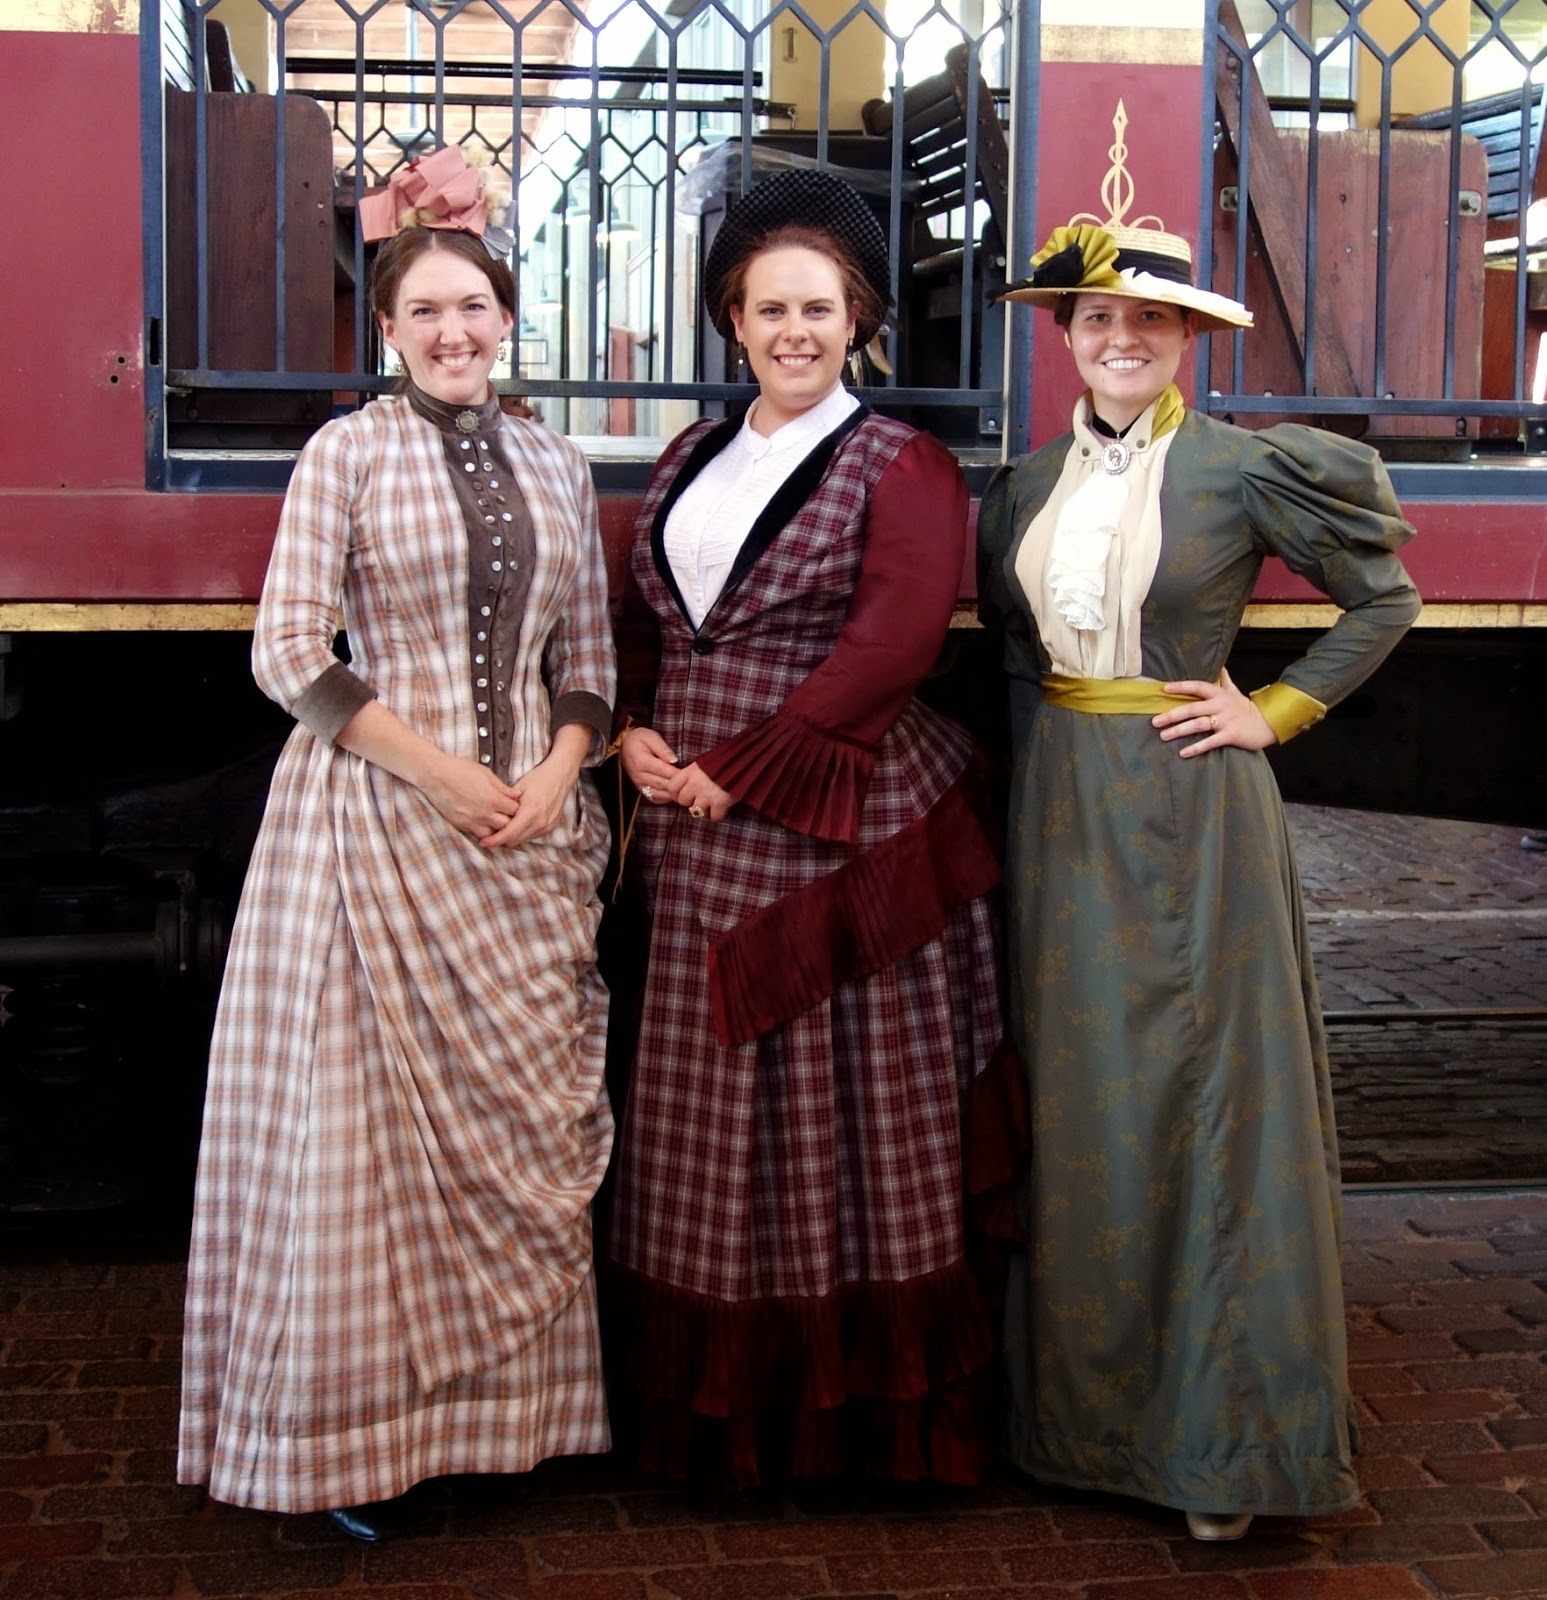
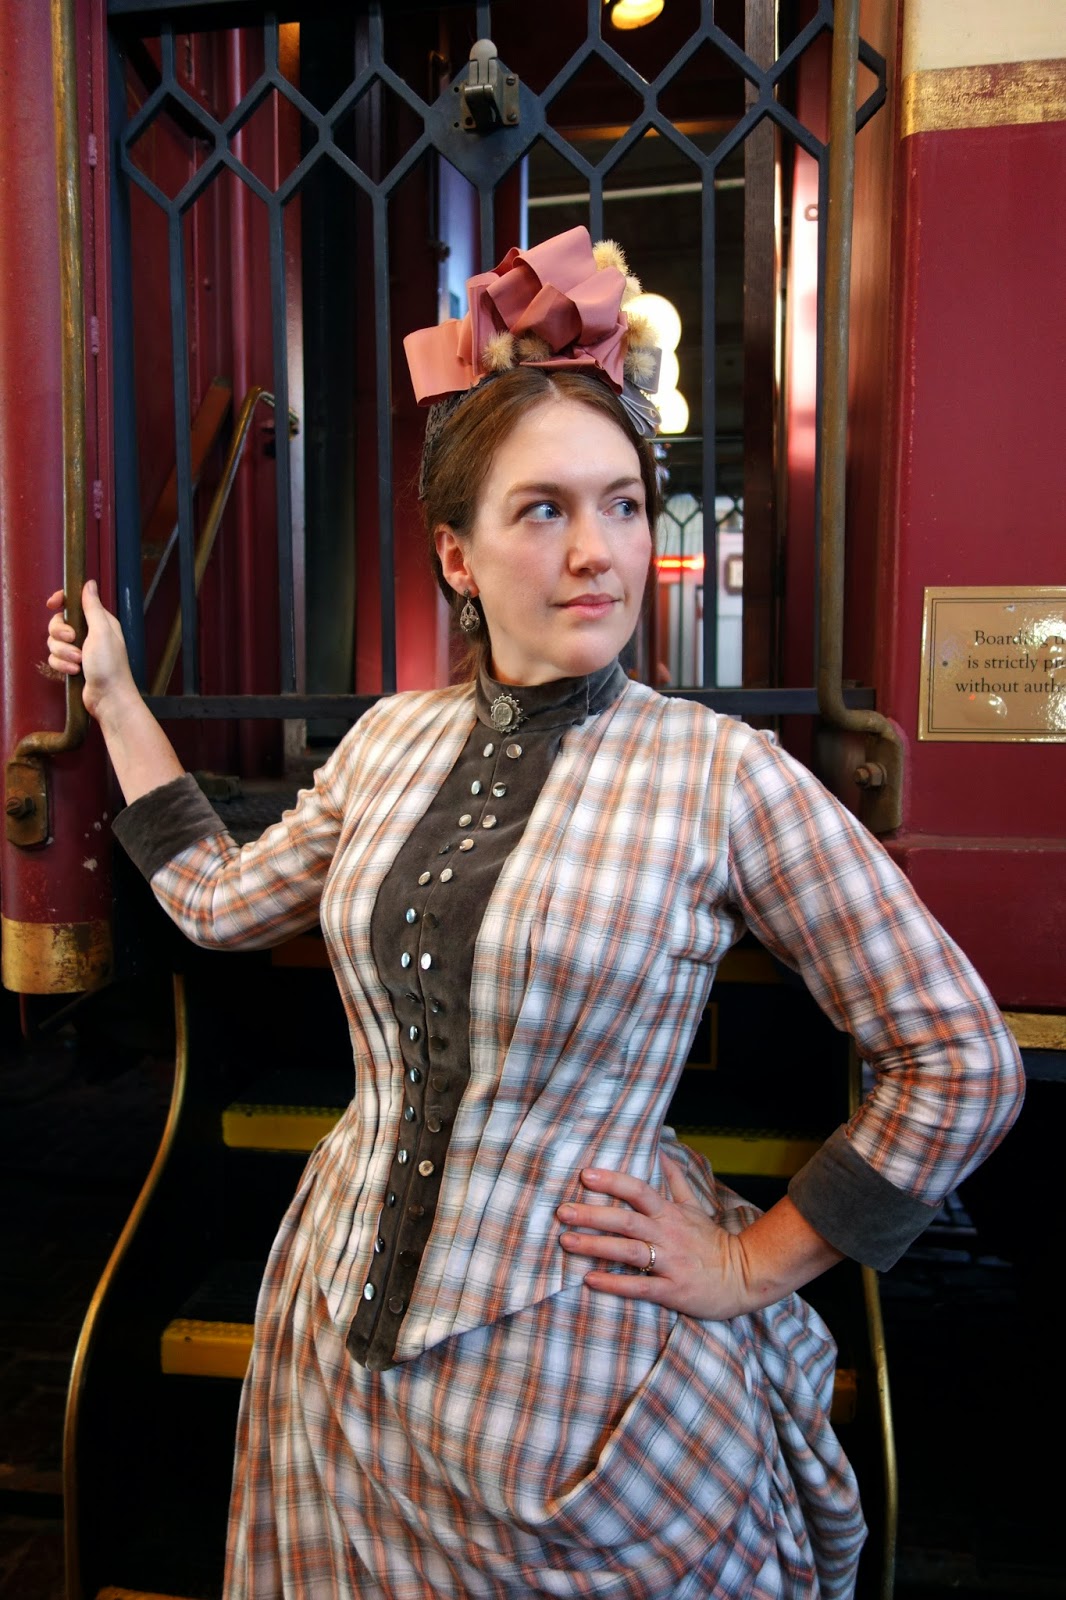
late 1880s plaid bustle dress


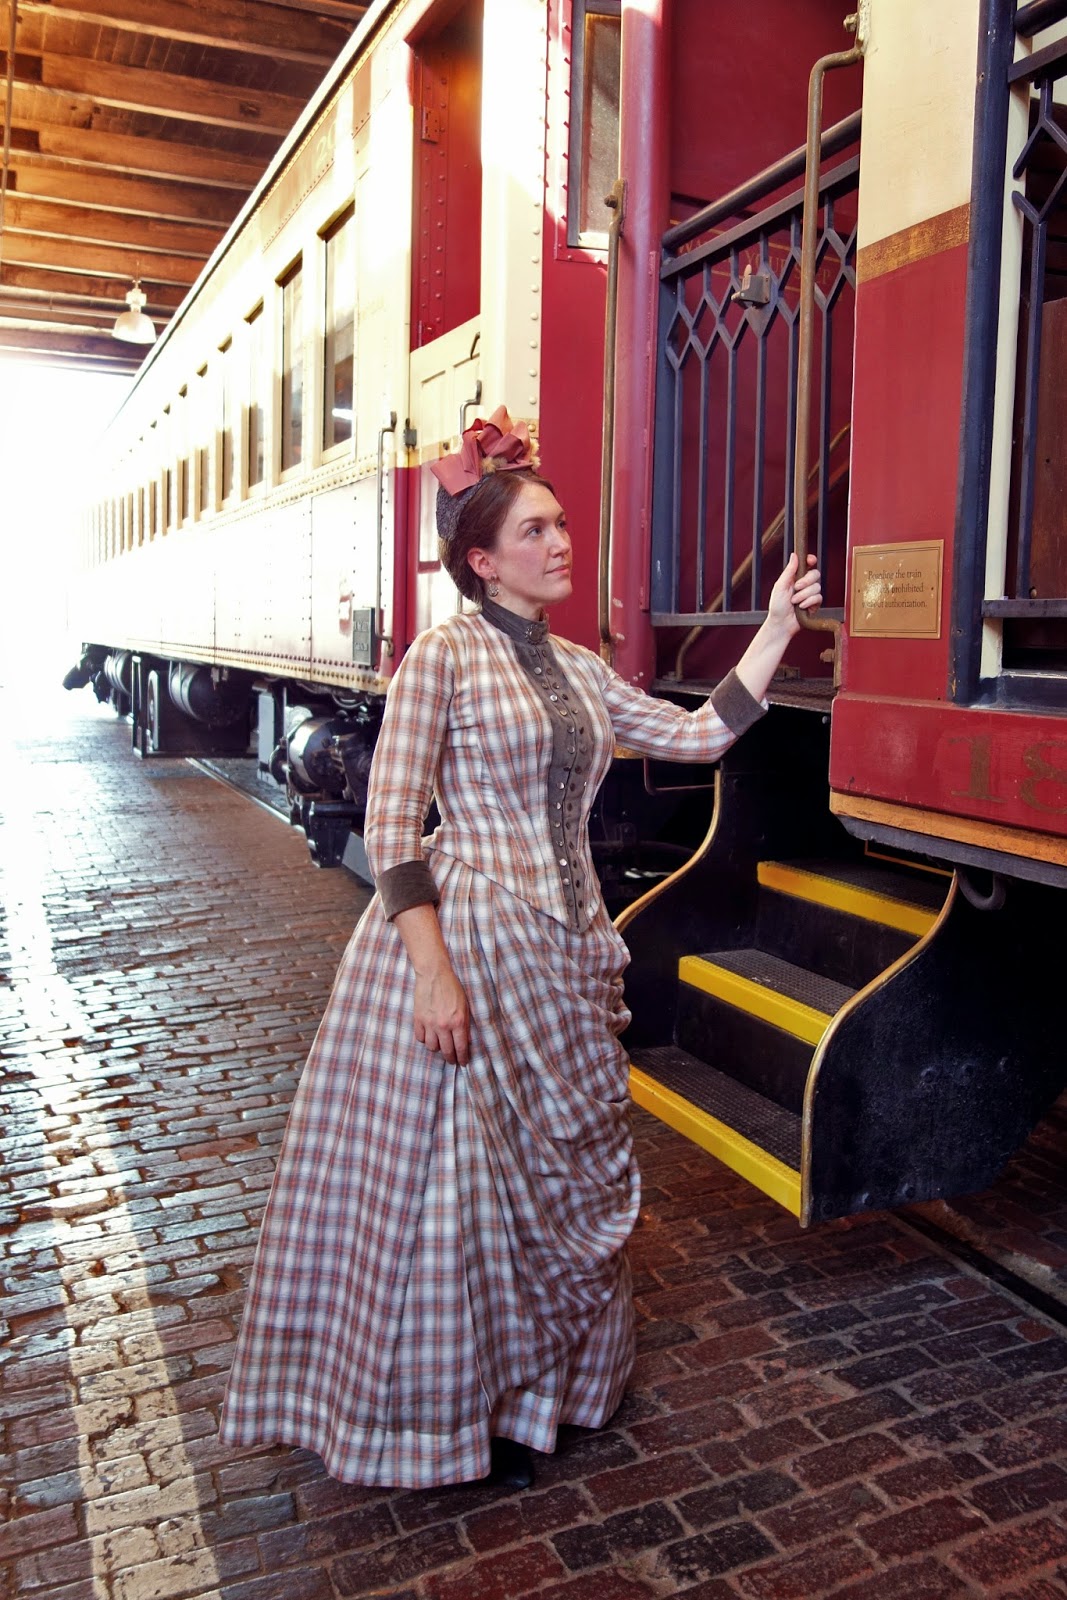
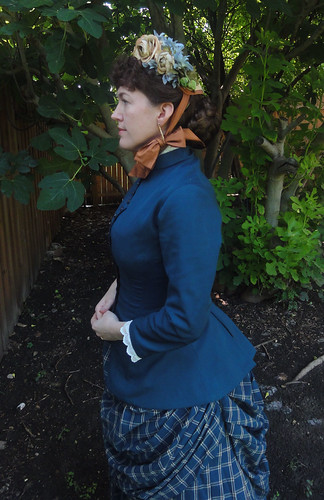
For this year's Frontier Forts Day outing with the DFWCG, I decided that I just couldn't bear to wear another "this old thing" dress.  I didn't have a lot of time to work on anything fancy, but I whipped up a simple summer bustle dress using some fabric from my stash and a few patterns that I wanted to test out for another project.

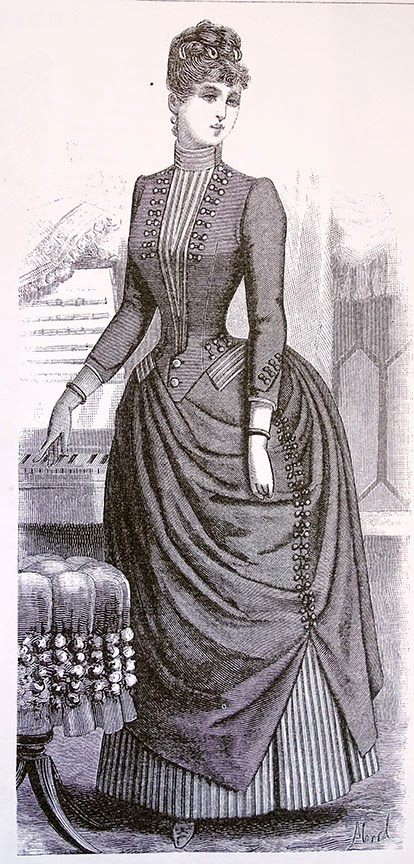
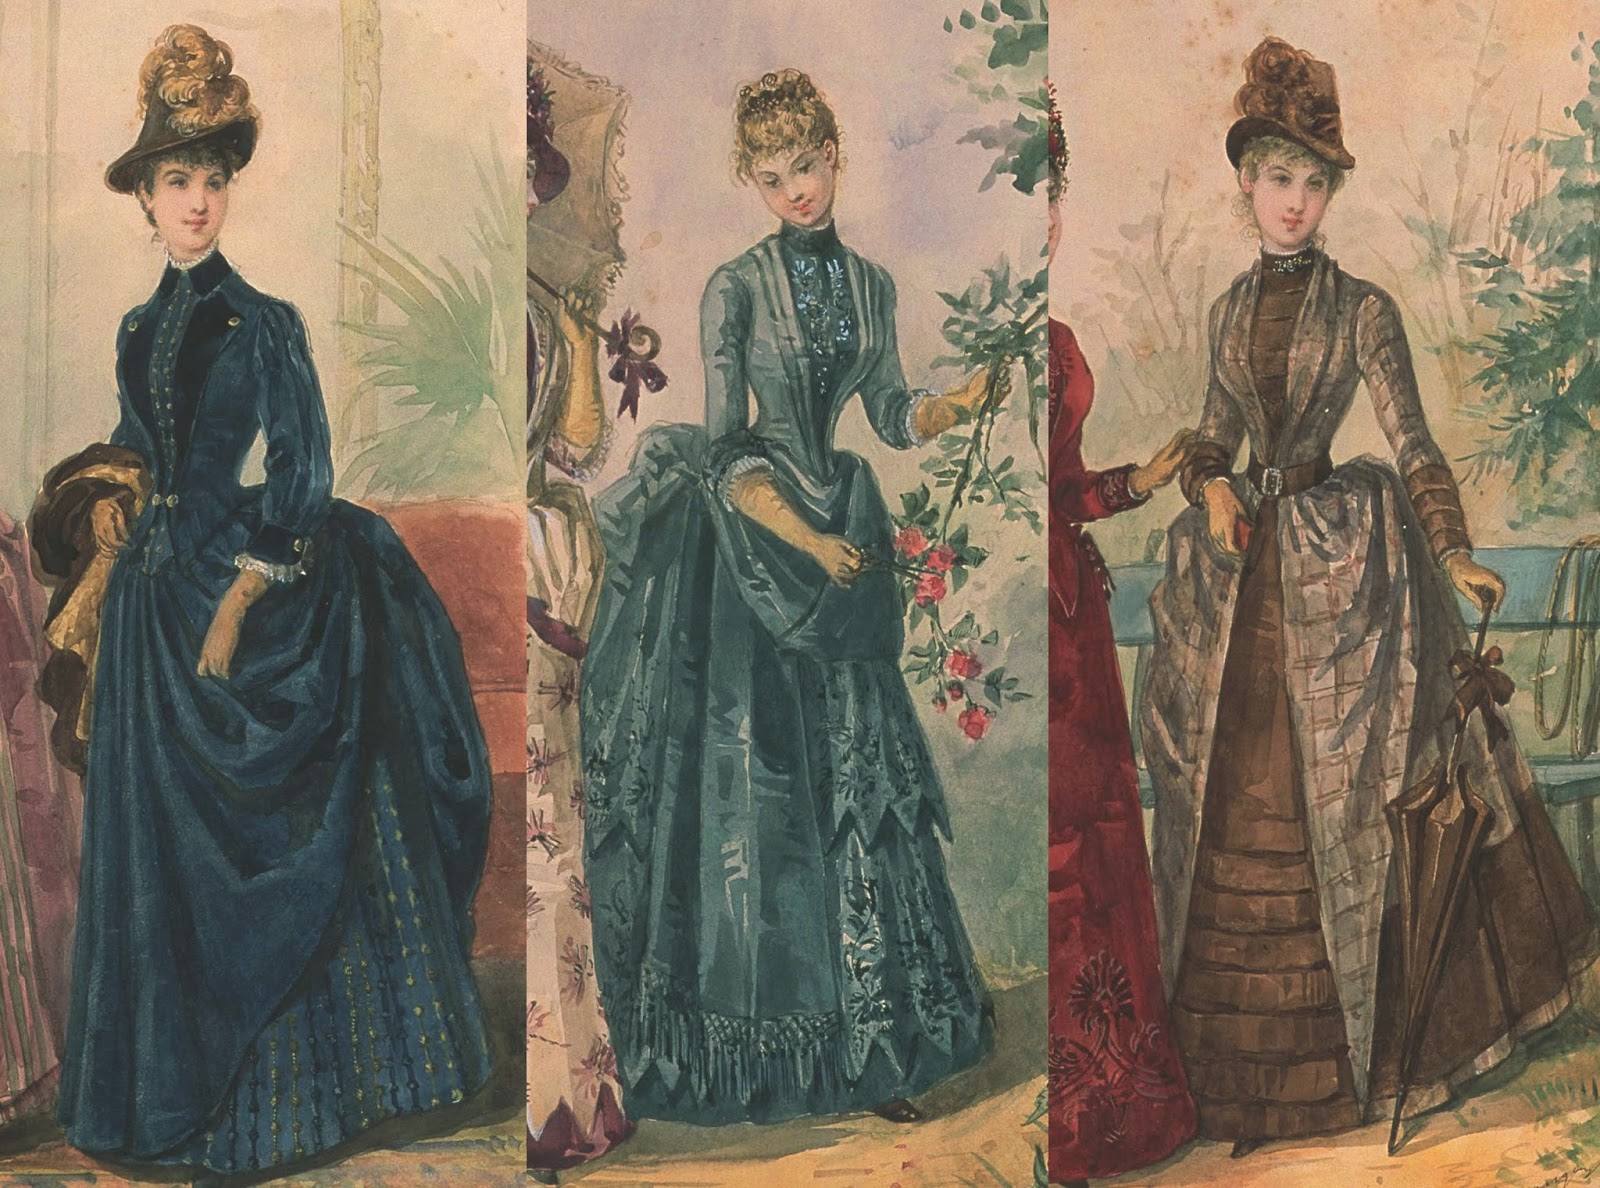
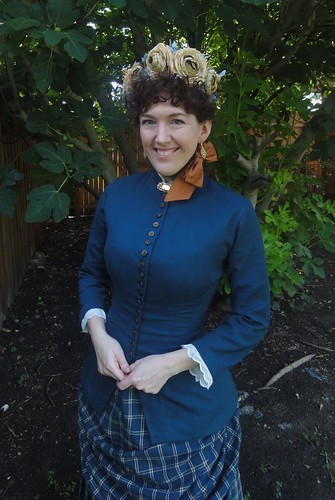
The underskirt is made from an 1887 foundation skirt pattern in Patterns of Fashion, and the overskirt is made from the Truly Victorian asymmetrical overskirt pattern.  The pattern for the bodice came from a January, 1888 la Mode IllustrĂ©e pattern sheet, and the fashion plate that shows the made up pattern can be seen on the right.  I bought the pattern from a seller named ryphat on ebay, and I was thrilled to discover that it fit me wonderfully with very few alterations.  Her stock rotates quite a bit and I don't see the exact pattern that I used for sale at the moment, but I definitely recommend these patterns if you are looking for some new historical pattern options and you are a fairly average size. I did change up the bodice a little to make this dress suit my tastes, and I drew inspiration from several late 1880s la Mode IllustrĂ©e fashion plates found on the Bunka Gakuen database.   I decorated the center placket with a double row of mother-of-pearl buttons and added the pleated sections beside the placket to make my dress resemble a few illustrations like the ones seen here.


Since May events can be pretty toasty in Texas (I think we hit 90 degrees this year), I picked some cotton fabric from my stash that is almost sheer to try to keep cool.  The underskirt is unlined except for a facing at the hem, the overskirt and sleeves are lined with voile just to keep the color of everything consistent, and the bodice is lined with cotton sateen.  It was actually turned out to be a very cool and comfortable outfit and I was never uncomfortable from the heat, which was such a wonderful thing. Of course, I still wasn't opposed to catching a bit of a breeze to keep my ankles cool when the opportunity arose!  ;)


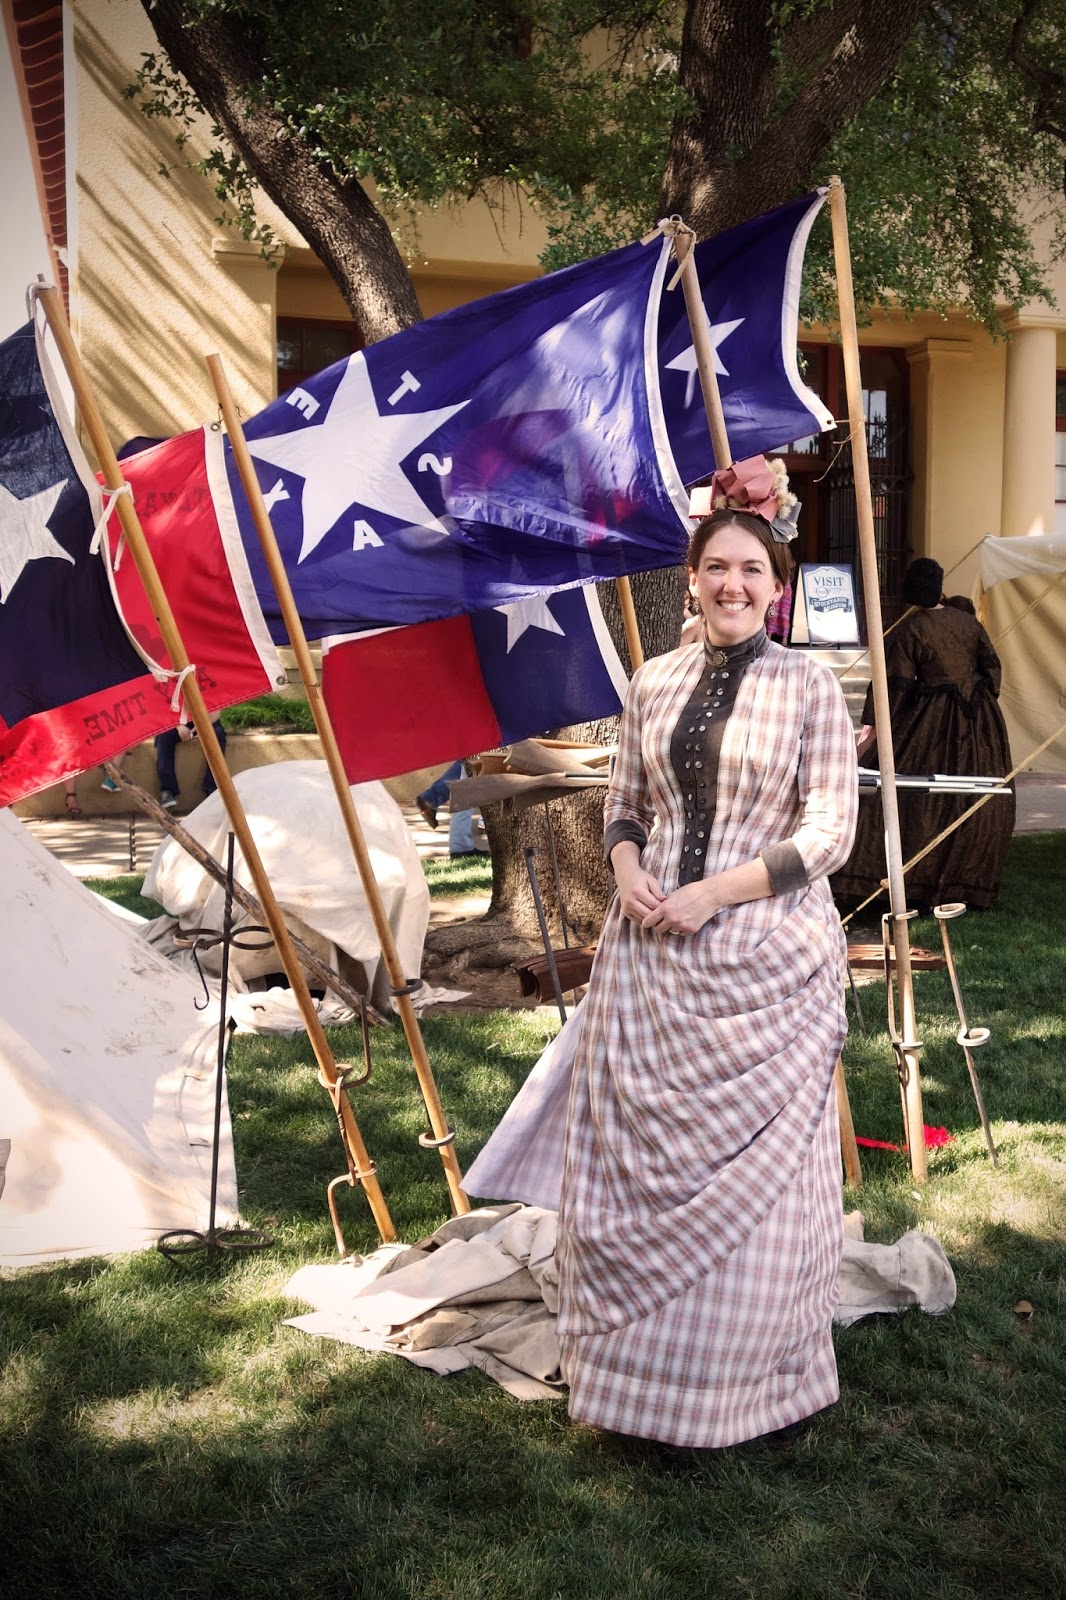
Best of all, the plaid fabric came from Walmart and only cost me $14 total, and the other fabrics for the lining and accents were given to me in trades, so this is probably one of the least expensive dresses that I've ever made.  Two other ladies - Liz from the Pragmatic Costumer, and Megan from Mistress of Disguise - also happened to be wearing dresses made out of Walmart fabric at this event, and we were quite proud of our fabulous display of Walmart Victorian couture.


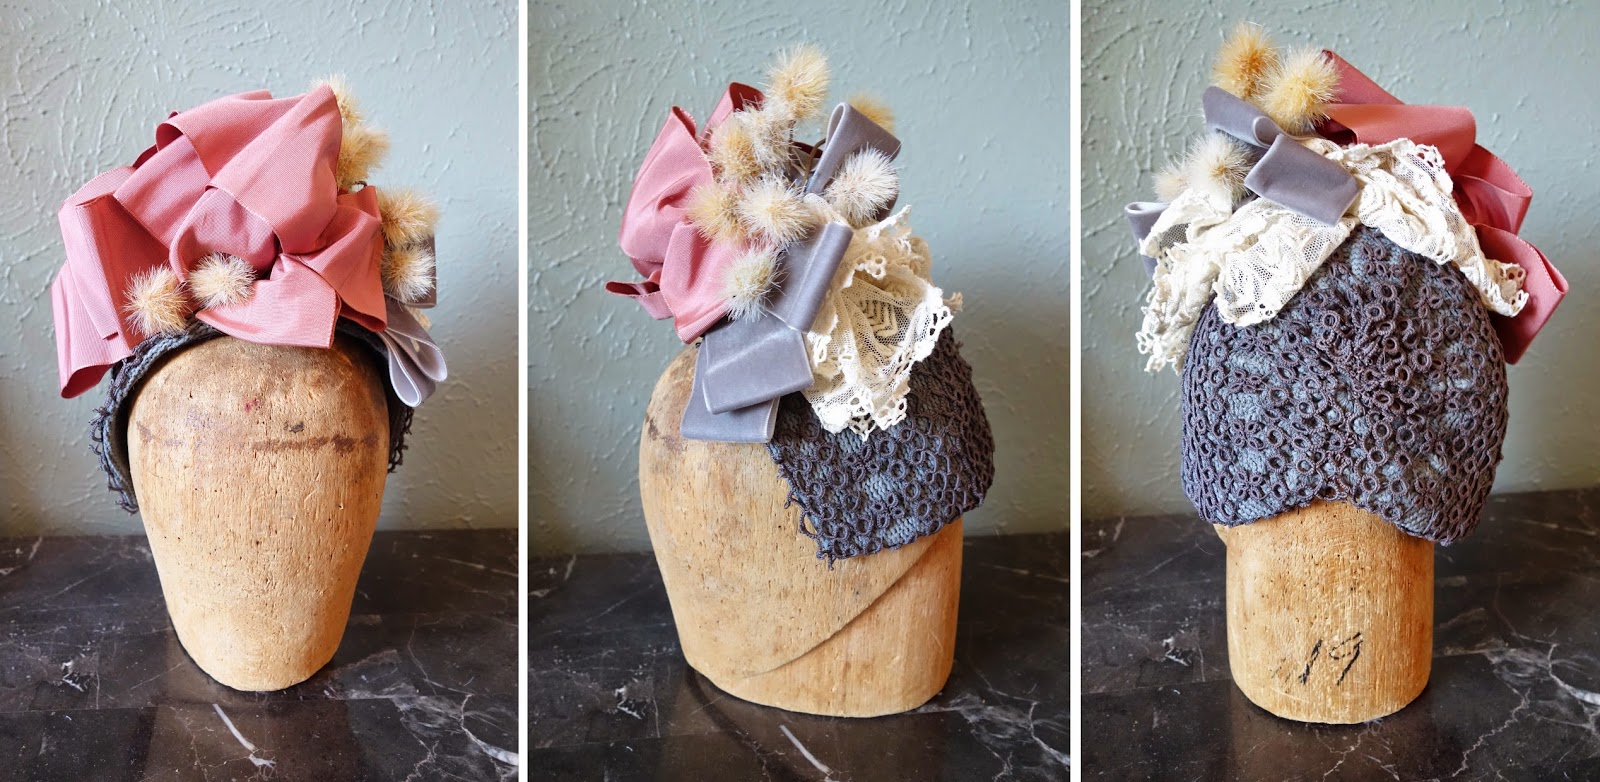
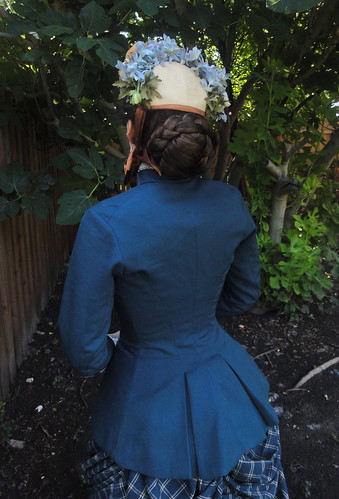
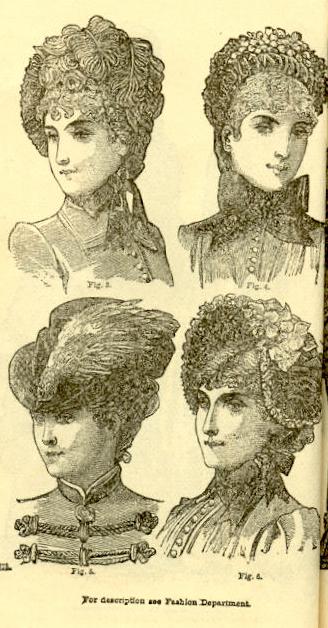
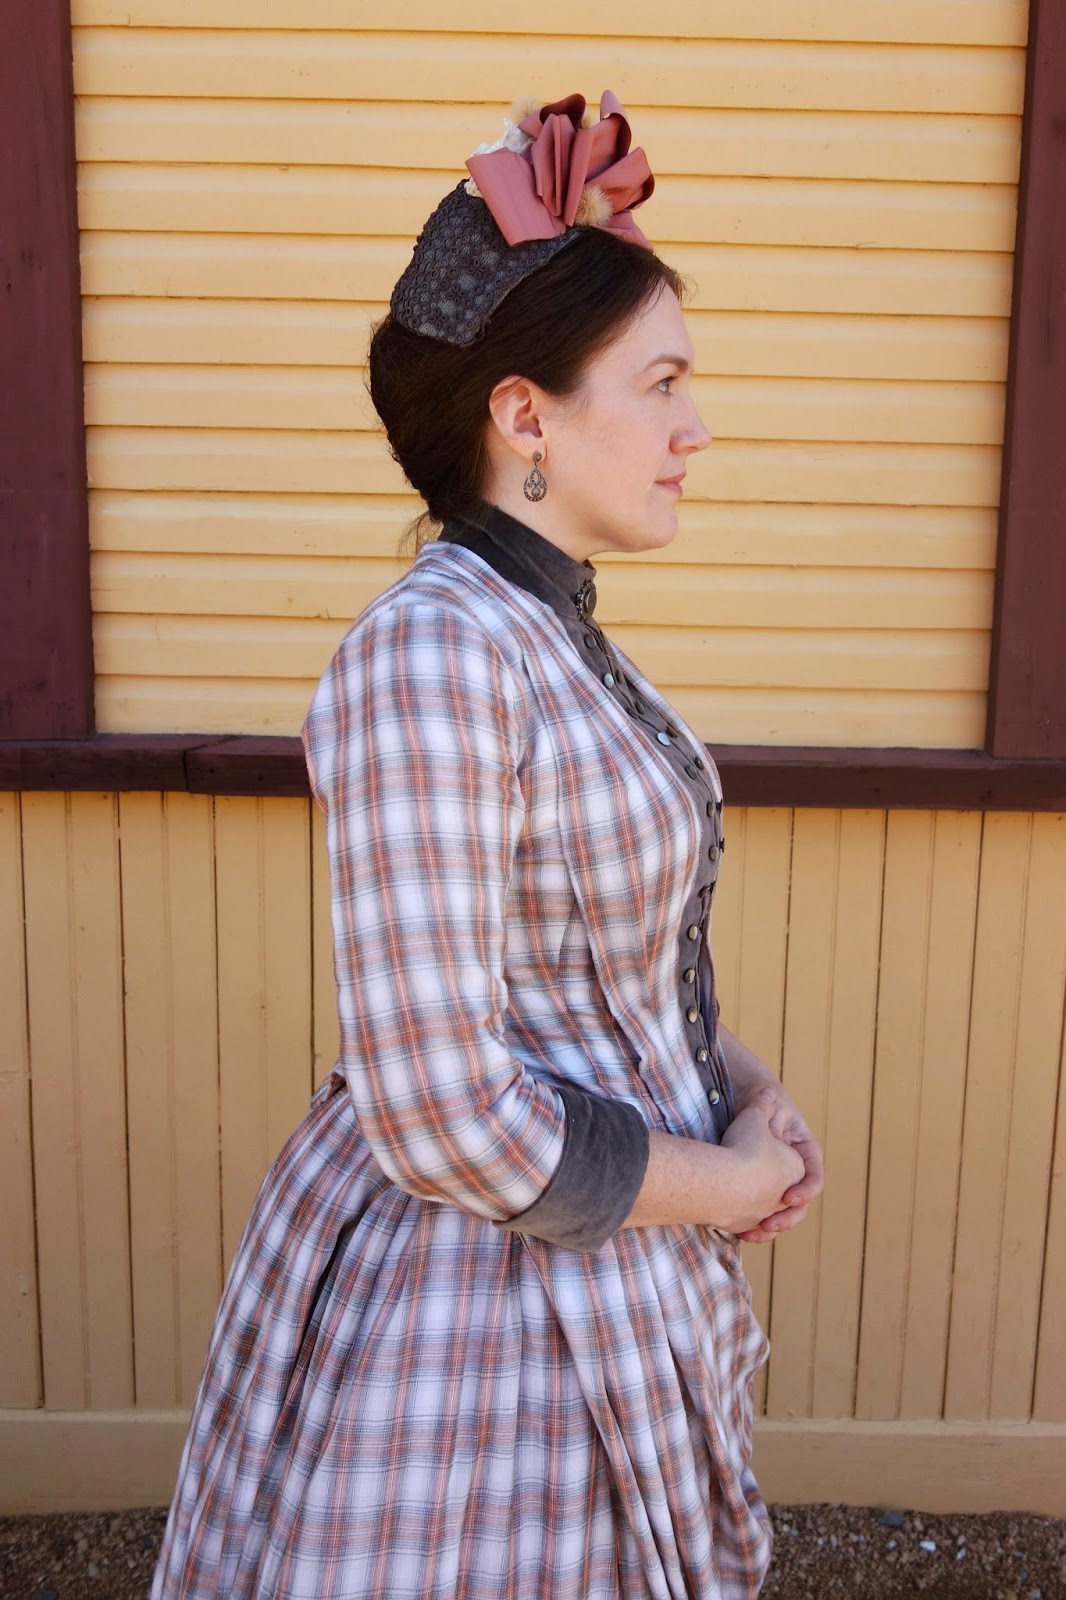
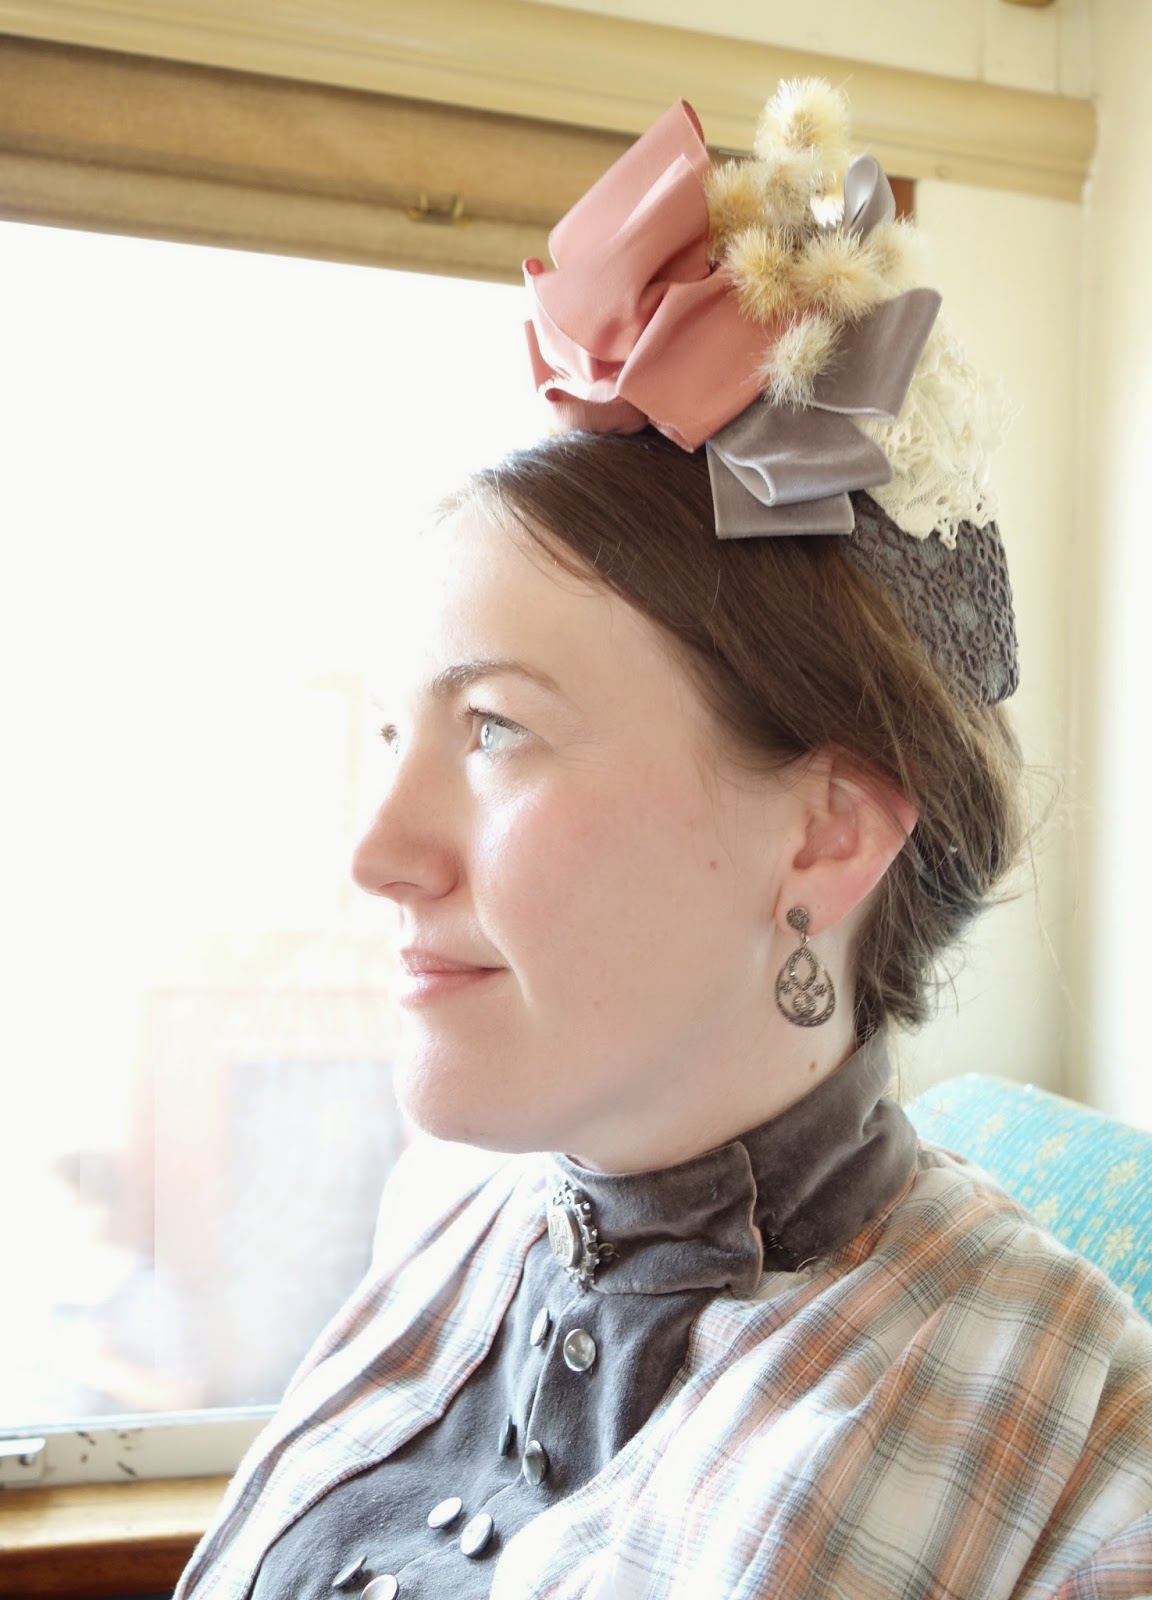
But my favorite part of this new outfit is definitely my bonnet.  I LOVE silly hats, and I think the tall, elaborately bedecked bonnets worn in the 1880s like this one from the Met are some of the most wonderfully ridiculous hats that I've ever seen!  To continue my cheapskate costuming streak, I made the base of my hat by cutting down a modern hat that I never really wore very much so that the crown would just perch on the back of my head.  I wired the edges and covered the base with some antique tatted lace from my stash that I dyed dark grey to match my dress.  Then I just added a pile of ribbons, lace, and a few flowers (also from my stash) to the top to give it some height and color.  I've never been overly fond of ribbons that are tied under the chin, but luckily, I found examples in 1880s fashion plates like this one proving that these bonnets could be worn with or without ties.  I sewed a comb under the front edge of the hat and pinned the bottom corners to my hair with bobby pins, and it stayed put all day with no worries.


At first I was hesitant to make what is essentially the same dress two times in a row, but making a wearable mockup  helped me discover a few minor problems with my outfit, and hopefully my next dress, which will be a close copy of this bustle dress, will be even better.  I know these issues might seem nitpicky, but here are a few notes about what I would like to change:
- I wore my short bustle with this outfit, and unfortunately, the hoop boning folded in on itself while I was driving to the event, and I don't think the bones popped out again until I finally noticed my sad, deflated butt toward the end of the day.  And with the smooth skirts in back, there isn't a lot of drapery to to create fullness in back on its own.  Poo!  So the next time, I need to remember to check my bustle after sitting to make sure everything falls back into place like it should.   
- I was unsure what I should line the placket on my bodice with, so I used coutil in the hopes that it would add some stiffness and keep it flat.  But actually, it tended to buckle above my chest when I was sitting, which I'm guessing is because the fabric was stiffer than it needed to be and crumpled more than it draped.  Also, I did not interline my collar with anything, and it wrinkled a good bit as well.  I think next time I will keep my placket soft and interline my collar with some hair canvas to see if that helps the problem any.  
- I was worried from the start that the long flaps of the overskirt would flap around and show the white lining, and yes, they did. Not that this was a huge problem with this dress, but the next dress that I am wanting to make has applied stripes on the underskirt, so I don't want the top layer to blow around and show where the stripes stop. I think with the next one, I might add some hidden button tabs that would attach the overskirt to the underskirt and keep everything in place better.
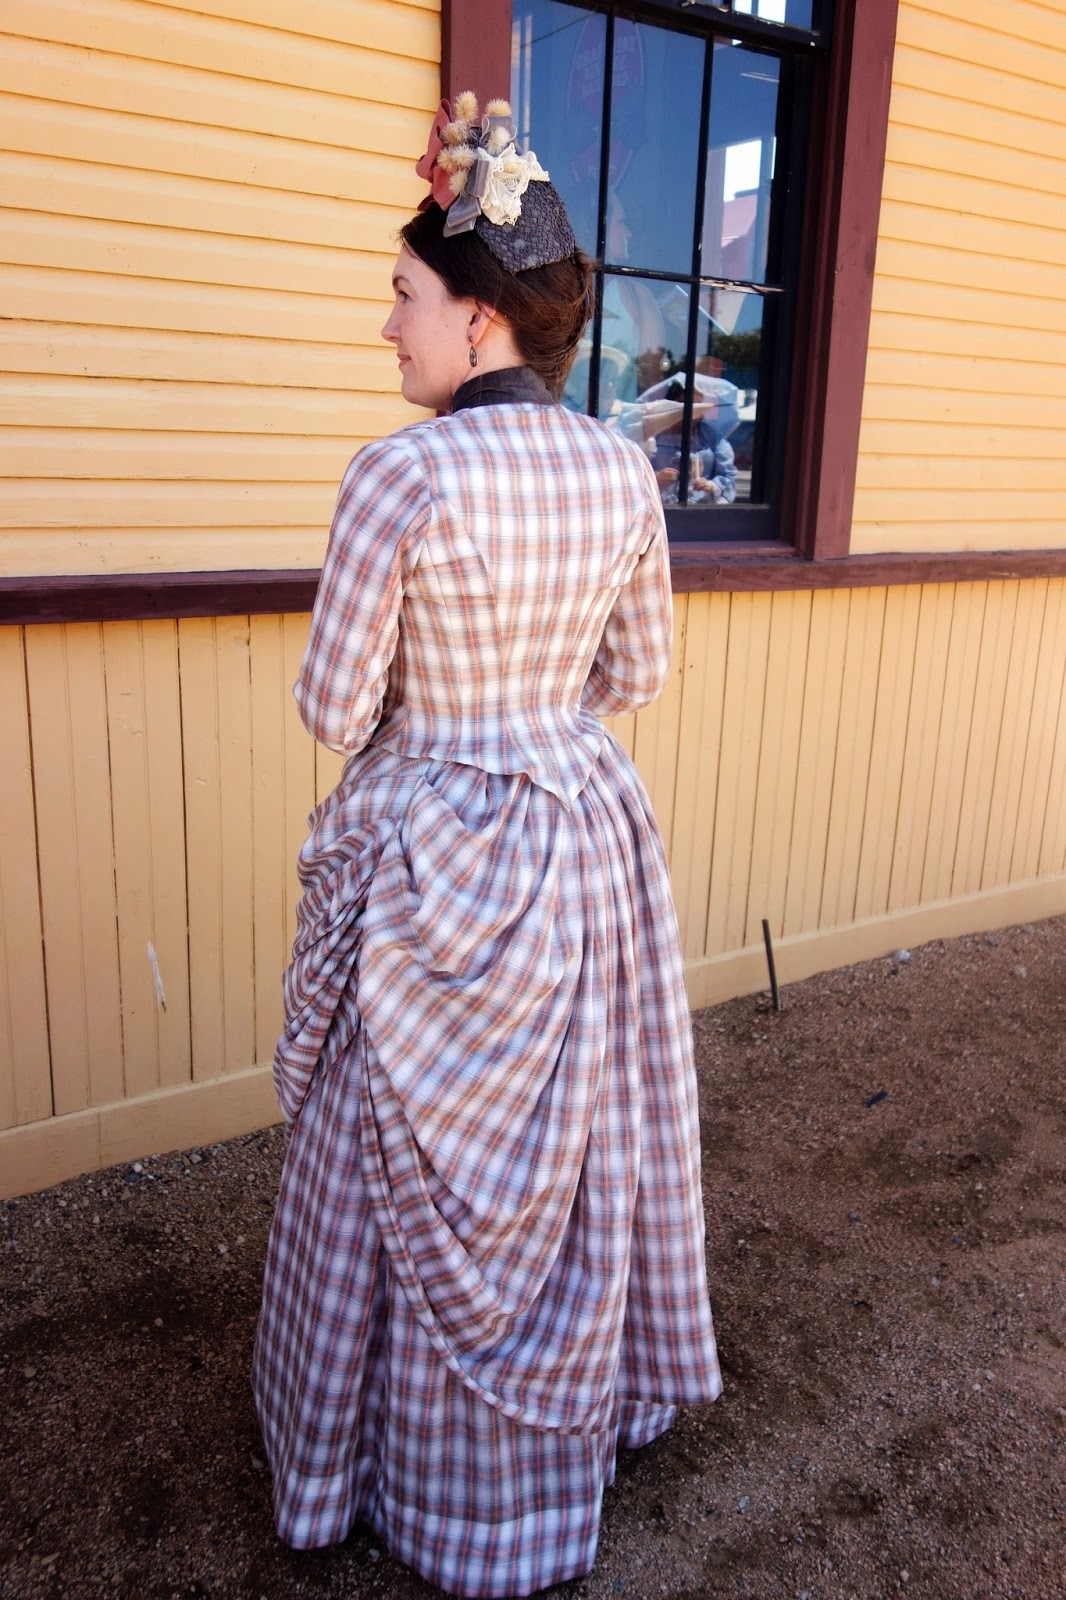
- I think the fit of my bodice is about 90% there, but I did get some wrinkles under my armpits that show up on my back and the sides of my chest from time to time.  It seems like the fabric of my bodice is getting pushed down a little under my arms, and I have several theories as to how to fix this. I thought about cutting the bottom of my armscye a little lower to remove some excess fabric under my arms, but I'm worried that it will reduce movement if the armscye goes too wide since a tight fit in the shoulders usually moves better than one that is too big.  I also considered raising my waistline a little or adding a waist stay to try to keep the bodice pulled down better so the fabric doesn't ride up from the waist. Or, perhaps those are stress wrinkles and I should let the bust out a little more.  But I'm not sure which of those options would really solve the problem, so I would love to hear your tips if you know how to fix this! 
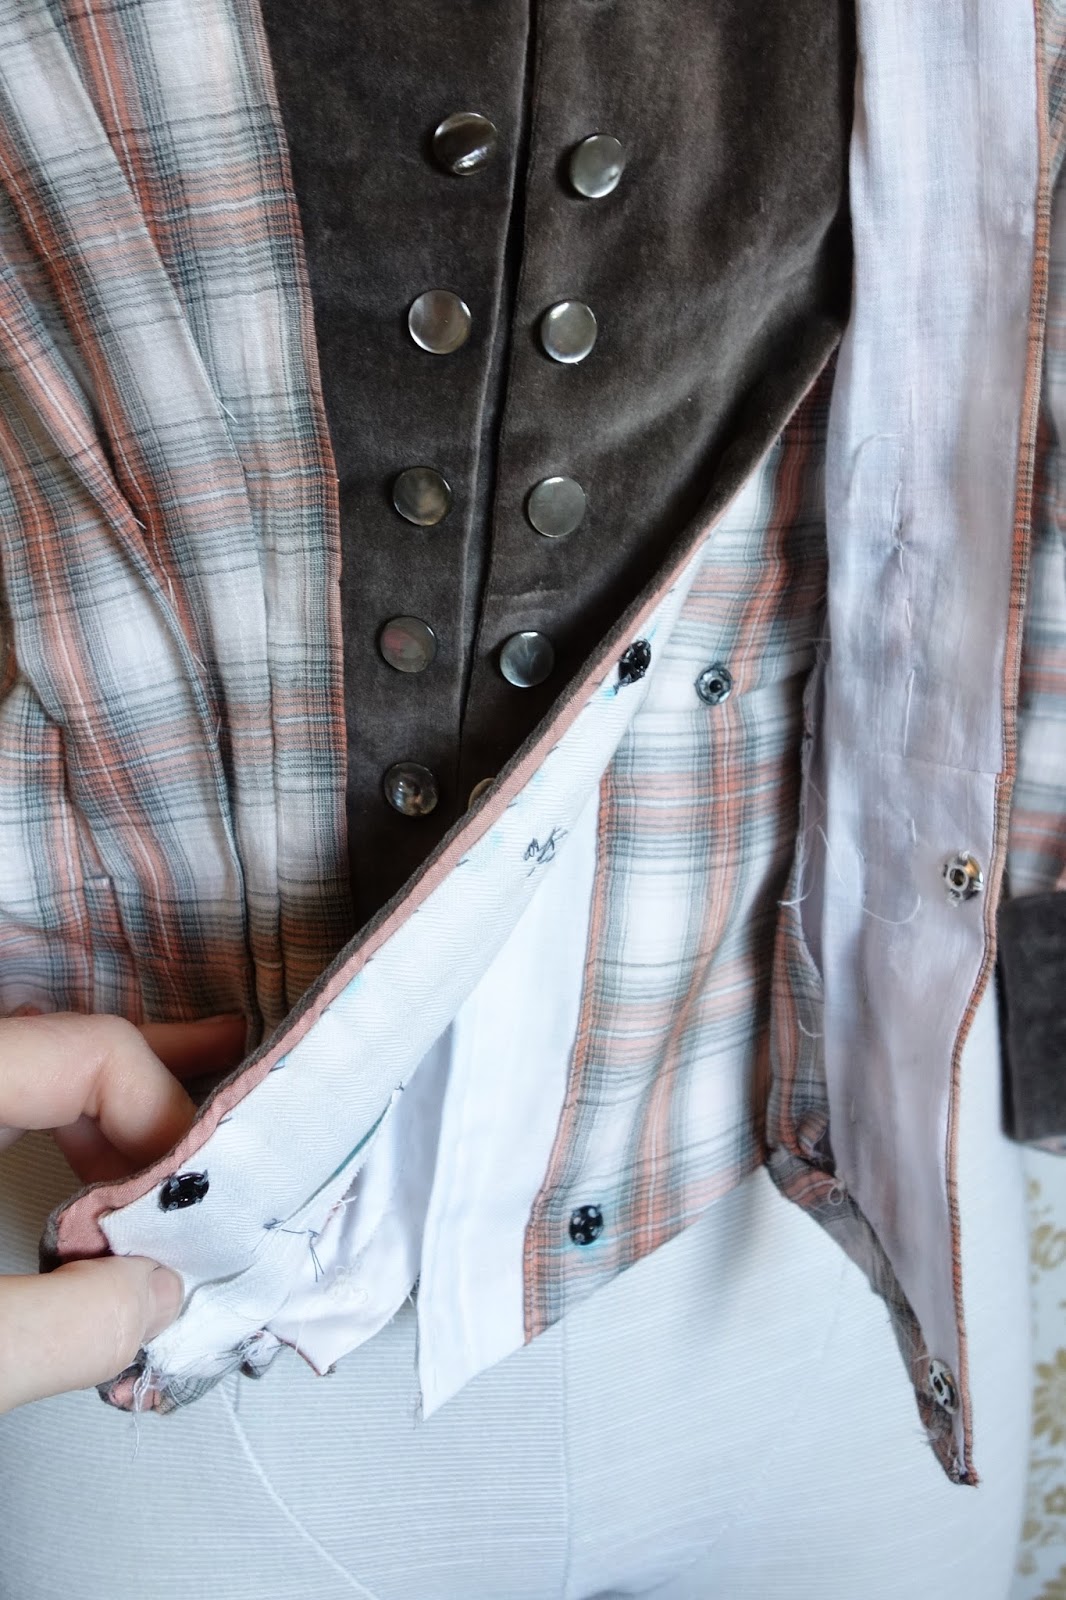
- Finally, the pattern that I used didn't have a lot of instruction about how to fasten the bodice or the placket, so I used hook and eye tape for the center-front lining and a few large snaps to attach the open side of the placket and outer fabric.  I know snaps weren't used in the 1880s, so I will definitely switch to hooks for the next one, but even more importantly, I need to use more hooks to keep it smooth.  The few widely spaced points of attachment worked okay on the upper half of the bodice, but I need to attach it very securely below the bustline because I discovered that it tends to pull away from the body there if you aren't careful.  I ended up having to add a few extra pins to keep my  placket flat because I didn't use enough snaps.  I would love to do more research on the construction methods of surviving 1880's bodices with plackets before making my next gown.  This was just a "good enough" solution done at 3:00 a.m. on the night before the event, so I know there must be better ways.    
And that's pretty much it!  It's not the fanciest outfit that I ever made, but it was quick and cool and comfortable and I learned a lot from it.  You can find many more pics from our event on flickr.  

Sunday, December 22, 2013

faux-Victorian photos


After taking all these pictures of my new winter accessories, I decided to indulge in my other favorite creative pastime - making faux-antique photos.  In the real world, I teach a photography and Photoshop class, so I really enjoy playing around with photo manipulation.  I'd love to experiment with some actual historical photography techniques someday, but until I get crazy brave enough to invest in all of those chemicals and equipment, my Photoshop fakes will have to do.

 
Tintypes are my favorite type of antique photo.  I love how dark and moody they are, with their oh-so-hip grungy borders, dings, and scratches.  It was really fun to combine the tintype look with outdoor photography.  I think it makes the world seem quite dreamlike and surreal.  

And just for something different, I also tried out a more formal-looking cabinet card too, which you can see below.  All of these were made by combining my modern digital photos with scans of real tintypes, cabinet cards, and old paper.  


Thanks for letting me share a few of my faux-Victorian selfies with you all!  

Friday, December 20, 2013

1883 winter accessories


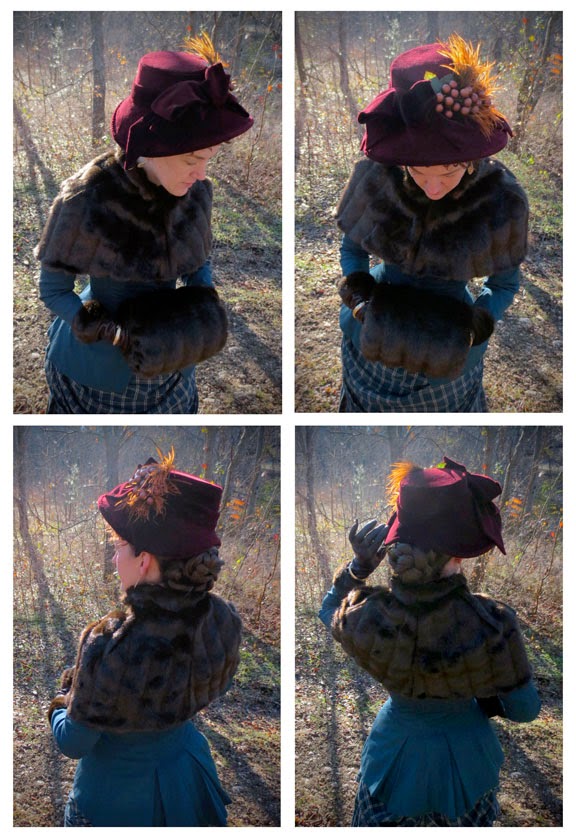
So what's a girl to do when there's a Victorian holiday event coming up, but you only have a boring old dress to wear and no time to make a new one?  Why, you whip up a few new accessories, of course!  I already had a fabulous fur muff that I made for the Historical Sew Fortnightly "re-do" assignment, so I decided to make a matching fur cape, cuffs, and winter bonnet for the HSF "celebrate" challenge.  I couldn't be happier with my festive new accessories, and it really made my old dress feel new and fun again for the holidays.
Winters in Texas are never very cold, but I knew it was going to be in the low 40's on the night of our event, so I needed something to help keep me warm.  I decided that a capelet would be the easiest option to make in a short amount of time, and I've always loved the little fur capes from the early 1880's that tightly hug the shoulders, such as this beauty that I stumbled across on a fabulous blog known as The Cabinet Card Gallery.  Luckily, I had just enough faux fur left over to make this style of cape, so I was really pleased that my last few scraps could be put to a good use.

The pattern for my cape came from the accessories section of Fashions of the Gilded Age, Vol. 2.  I tried out several of the cape patterns in that book, but I finally picked the "cashmere and satin hood" because it had such a great shape and it made up easily.  I enlarged the cape part of the pattern by 110% since the original was really small across my shoulders, and I rounded off the bottom edge to be smooth vs. notched.  Instead of including the hood, I added a simple rectangular standing collar.  The cape is lined with a silky brocade, and I used 3 coat hooks to close it in front.

I also made up a set of fur cuffs to add to my jacket sleeves, similar to the look that you see in this fashion plate of a woman with a matching cape and cuffs (and the worlds smallest muff!  OMG - what happened to her hands!?!?)  The cuffs are detachable and just basted onto the jacket so I can take them back off when I want to wear it in the summer.  I also bought a new pair of leather gloves and wore a pair of gold bangles over them, which seemed to be a popular fashion... although somewhat inconvenient if you need to take your gloves off and on frequently to check your cell phone.


I also wanted a more wintery hat to wear with my outfit since the only bonnet that I have from this period is straw and more appropriate for summer.  Unfortunately, I didn't have a bonnet pattern on hand, and I was too short on time to order one, so I used my Lynn McMasters seaside bonnet pattern to get me started.  I cut down the width of the brim and drafted a new crown to make the shape more appropriate for the late natural form years.   It isn't meant to be an exact copy of any one bonnet, but you can find a wide variety hats in a similar style in my 1883 Peterson's magazine, such as the ones on the left.   
I used a remnant of maroon cotton velvet to cover the bonnet, and it has a gathered lining of terra cotta colored silk.  The hat is entirely hand-sewn, and everything except the $.50 sprig of berries came from my stash.   It is a bit hard to see the shape once all the frippery is on it, so here's a picture of the base before it was decorated.  Below, you can see the finished version from various angles.  
I didn't get very many good pictures of me from the Candlelight event, but I decided to dress up again for a morning stroll through the woods so I could take some more pictures just for fun.  Here are a few of my favorites (and more on flickr), and I'll be back soon for one little photoshoot postscript.  I also want to write up a year-end recap of my experience with the Historical Sew Fortnightly project.  Now that I survived a year's worth of challenges, it's time to celebrate!


Wednesday, January 2, 2013

a natural form corset

So I'm sure most of you know about the very cool Historical Sew Fortnightly project that is going on in 2013.   I wasn't sure if I should join this one because my project calendar is already packed to the brim, but it just looks like so much fun that I can't resist!  I know I won't be able to do all of them, but if a project that I already have planned happens to correspond with a challenge, then I figured I might as well join the party!

So luckily, the first challenge happened to line up perfectly with a goal that I had already set for myself for the last week of 2012:

 #0 (the bonus challenge): Starting Simple - due 31 December NZT.  Finish a project, make a very simple garment, or something you have made before.  


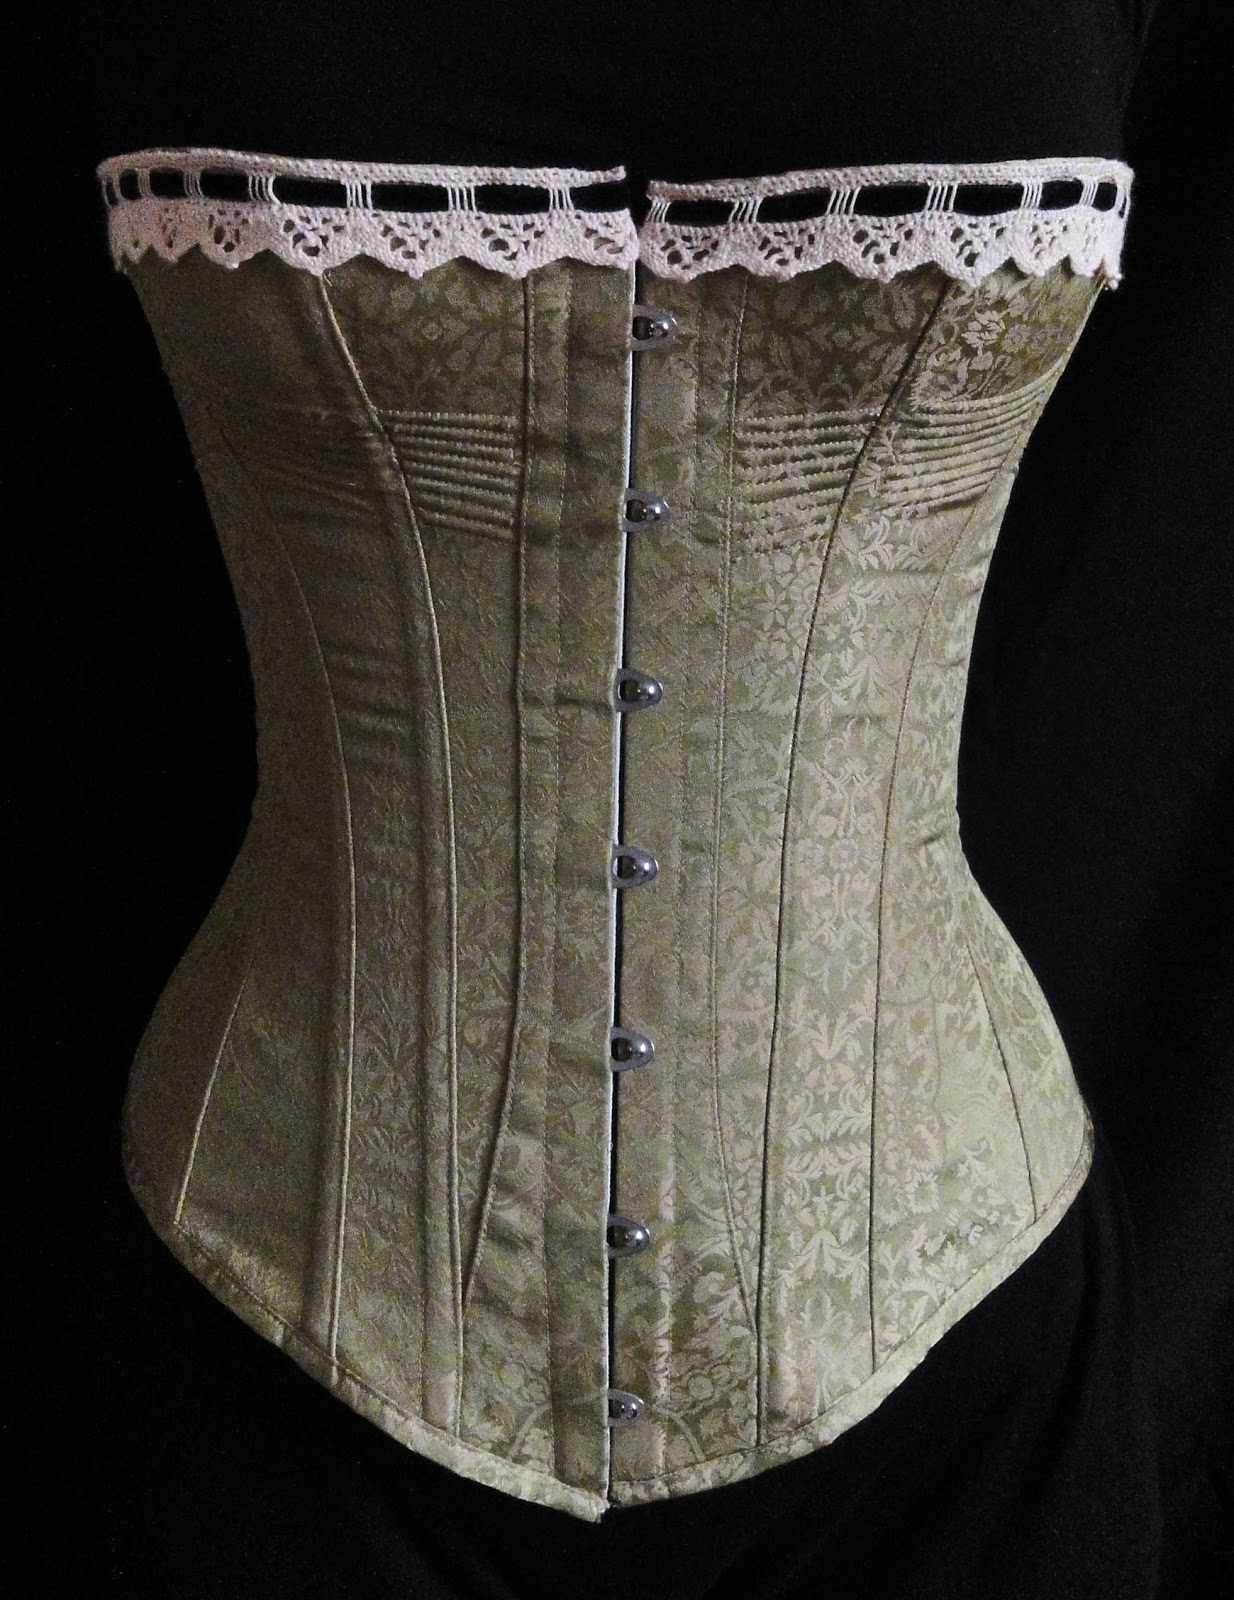
I'm not sure if a corset counts as "very simple", but it was something that I had made before and I knew I could knock one out before the New Year.  I also have several new Victorian dresses that I am wanting to make in 2013, so it seemed like it would be a good idea to get the corset out of the way early so I could focus on the dresses when I am back at work and have less time on my hands.

So I looked at a variety of patterns of corsets from the years 1875-1885(ish) and made paper mockups to compare the shapes and see which one I liked the best. The paper mockup on the far left is a 1877 corset from a de Gracieuse pattern diagram. It makes a pretty shape, but it was way too high-waisted to work on my body.  The middle one was the 1880's corset from Corsets and Crinolines, but I decided against this one because it didn't seem very curvy.  The one on the right is the 1880's "exotic" corset from the book Corsets.  I loved how curvy this one was, so I decided to give it a try.

I enlarged the pattern to 113% so it would come closer to fitting my waist measurement, but I didn't make any other changes to the bust/waist/hip proportions, and I followed the pattern as precisely as possible.  However, I am tall and pretty long-waisted, so I had to add 2" onto the torso to make the bust hit me in the right place.  I also had to remove 2" from the bottom edge in front because it was so long over my belly that it buckled when I sat down.  I'm guessing that this corset was meant for a lady with a higher waistline than mine, but I don't like having the tightest part of the waist hit at my ribs, so I deiced it was worth making some adjustments.  

Even though I didn't change any proportions other than the length, I was surprised at how non-curvy my corset turned out when compared to my paper version.  To be honest, I'm a little boggled by it considering how little I changed the pattern. The only thing that I can guess is that the extra length makes the curves less apparent, or maybe I'm just not busty enough to fill out the top as intended.  But even though this corset didn't turn out exactly how I had hoped it would, I still think it'll work fine for my projects this year.  The shape will be nice and smooth for natural form styles, and it also reminds me of the long and lean corsets from the 1890's like the one on the right.  It'll be a good foundation garment to have in my closet.

My corset is made with silk brocade and coutil treated as one layer, and the spiral steel boning is held under tapes on the inside.  The original corset was boned with cane, so I left off some of the boning channels on my version since the steel is so much stronger.  However, the missing boning caused the top to wrinkle under the bust a little, so I added cording in that area like the example from Corsets and Crinolines to add a bit more support.  I still need to add flossing, but I'm going to put that off for sometime further down the road.  Maybe that can even be my entry for challenge #4 - Embellish!  


Sunday, June 10, 2012

Bustles at the museum

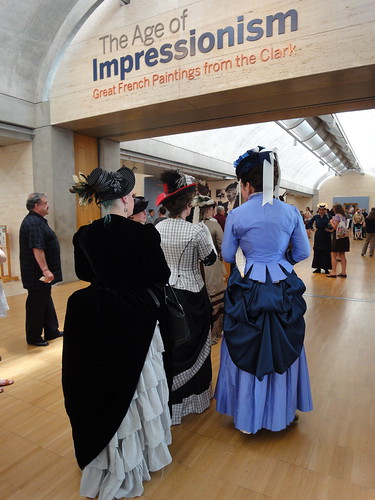
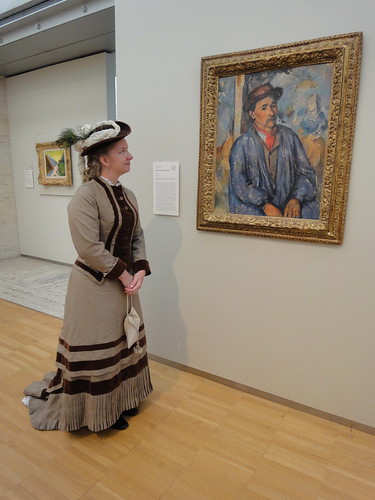
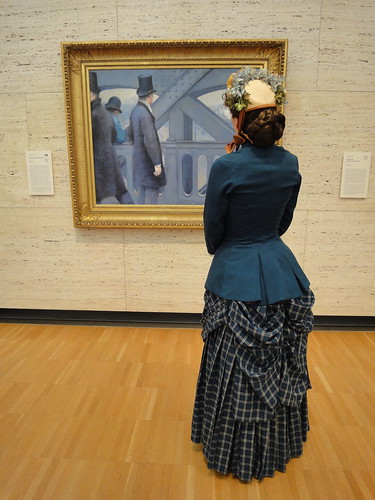
This weekend the DFWCG took a trip to the Kimball Art Museum to see an exhibit on Impressionism, and we all wore bustle-era fashions for the occasion.  We were quite the side show at the museum, but everybody was so gracious and nice to us, and we had a really lovely time seeing the art and chatting with people about our clothing.  We finished the day by heading over to La Madeline for desserts and more socializing.  It was such a fun afternoon!

DSC09786

While waiting for other guild members to show up at the museum, we posed for a LOT of pictures from all the curious bystanders.

DSC09810

Eventually we all arrived and we went into the exhibit, where unfortunately, photos were not allowed.


DSC09815   DSC09813

But they did allow photos in the permanent exhibit, so my friend Christy and I posed for a few quick pics with the art.

DSC09836sepia

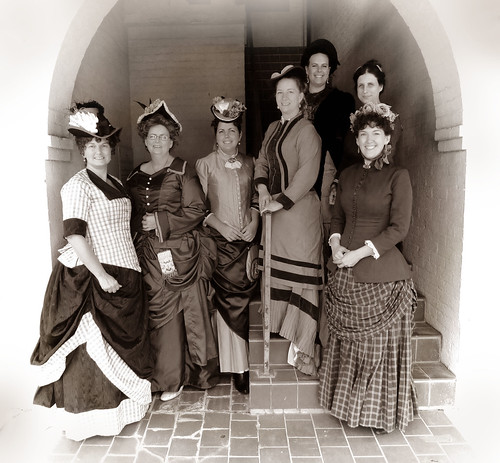
Here's the majority of our group at the end of the day. We had already lost several of our lovely ladies at this point, but it's the best group shot that we got. More photos from the day can be found on my flickr.

DSC09766As for me, I ended up wearing a "this old thing" dress from my closet, but I had to make a new hat for it since my original bonnet got crushed on the return from from Costume College last year.  The straw on the brim was broken in several areas, but the crown was fine, so I chopped off the brim and recycled all the bits and pieces to make it into a small brimless bonnet similar to the one seen on the top right here from koshka-the-cat's collection of 1883 Godey's illustrations.  I really miss my wide-brimmed bonnet, but this was better than nothing.

I also tried wearing a curly fringe hairpiece since it is almost impossible to find a photo or illustration of women in the 1880's without bangs.  I know it it technically "correct" for this era, but seriously, y'all - I hate it.  I feel like I'm back in middle school in the 1980's with a bad perm.  LOL!  I think I'll try wearing straight bangs next time since I've found a few photos of women from the 1880's with non-curly fringe.   But oh well... at least I tried!  :)


DSC09763    DSC09765

Saturday, September 10, 2011

Telegraph fancy dress

Wow, I am getting so behind on my costume posts!  I started this entry a month ago, but I'm just now finding the time to finish it.  Now that school is back in session, I'm hoping that things start settling down a little bit and I can keep up with all of my online projects a little better.  Fingers crossed...


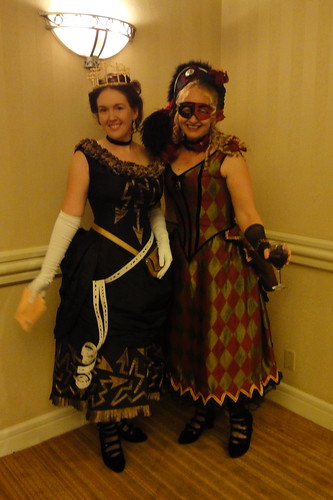
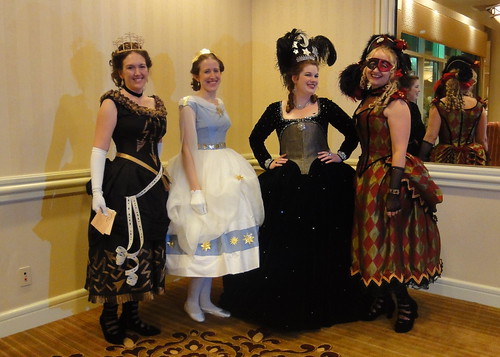
The other new costume that I made for Costume College this summer was my gala dress, which was an 1885 fancy dress costume (like a for masquerade ball) representing the telegraph.  This is one of the most bizarre costumes that I've ever made, but also one of the most fun.  I wish I could take credit for the zany design of this dress, but other than a few minor modifications, I just tried to copy the fashion plate as closely as possible.

The dress is made out of silk taffeta, and the gold arrows and ruffles are made out of silk/metal organza.  For the bodice, I used one of the ball gown bodice patterns in Fashion of the Gilded Age where you use the little apportioning rulers to create a custom fit.  It worked fabulously, and I made sure to keep a good copy of this pattern for future use.  The foundation skirt is from Patterns of Fashion, and both the bodice and foundation skirt are flat lined with cotton calico to give them more structure.  I also boned all of the seams in the bodice, which is something that I don't usually do, and it really helped to create a smooth fit.  All of the arrows are machine appliqued using gold thread, and although that part was pretty time-consuming, I actually had a lot of fun doing it.  The decorative treatment around the neckline was made by running gathering stitches across a super-long strip of the gold fabric, and then tacking the gathered parts to the bodice to create puffs.

This is only the 3rd bustle dress that I've ever made, and I while I think I did pretty good with the foundation skirt and the bodice, the overskirt was less to my liking.  I tried to just drape something on my own at the very last minute, but looking at pictures now, I'm disappointed with how flat it looks in back.  If I ever have an excuse to wear it again, I'm definitely going to take the overskirt apart and try a different bustling technique.  Luckily, all that black fabric hides a lot of flaws, so I don't think it was too obvious to anybody other than me that the overskirt didn't live up to my expectations.

For the accessories, I made a faux-leather pouch that I sprayed with a little gold spray paint to give it a bit of a shimmer.  The pouch closes with an antique telegraph messenger button that also has zig-zag arrows on it, which I'm sure nobody would ever notice in real life, but details like that always make me happy.  I also made some morse code tape to wear around my waist out of brown paper tape that was folded in half and glued.  Then I painted it white and punched a message into the paper tape with a hole puncher.  Of course I had to entertain myself while doing all of that punching, so one of the things that it says is "tonight we're gonna party like it's 1885".  ;)  And finally, I found some online examples of real telegraph envelopes from the Victorian period, and I made my own reproductions to carry around in my messenger pouch to use as a prop.

I only thing that I didn't like in the original illustration was the kooky headdress made out of one of those glass telegraph pole insulators.  I love silly hats, but that was even too weird for me to get into!  So I decided to make a telegraph tiara using model train telephone poles and a very simple bridal tiara.  I sawed the poles to the right lengths, super-glued them to the tiara, strung the poles with gold wire, and then spray painted the whole thing with gold paint.  

So that's about it!  I am totally hooked on Victorian masquerade costumes now, and I hope I get a chance to make another one in the future.  The most fun part of this whole project was getting to wear my costume with other fancy dress people at the Costume College Time Traveler's Gala.  I love dressing in themed groups, and we had quite a ball at the ball!

DSC05429


DSC05482