
For this year's Frontier Forts Day outing with the DFWCG, I decided that I just couldn't bear to wear another "this old thing" dress. I didn't have a lot of time to work on anything fancy, but I whipped up a simple summer bustle dress using some fabric from my stash and a few patterns that I wanted to test out for another project.
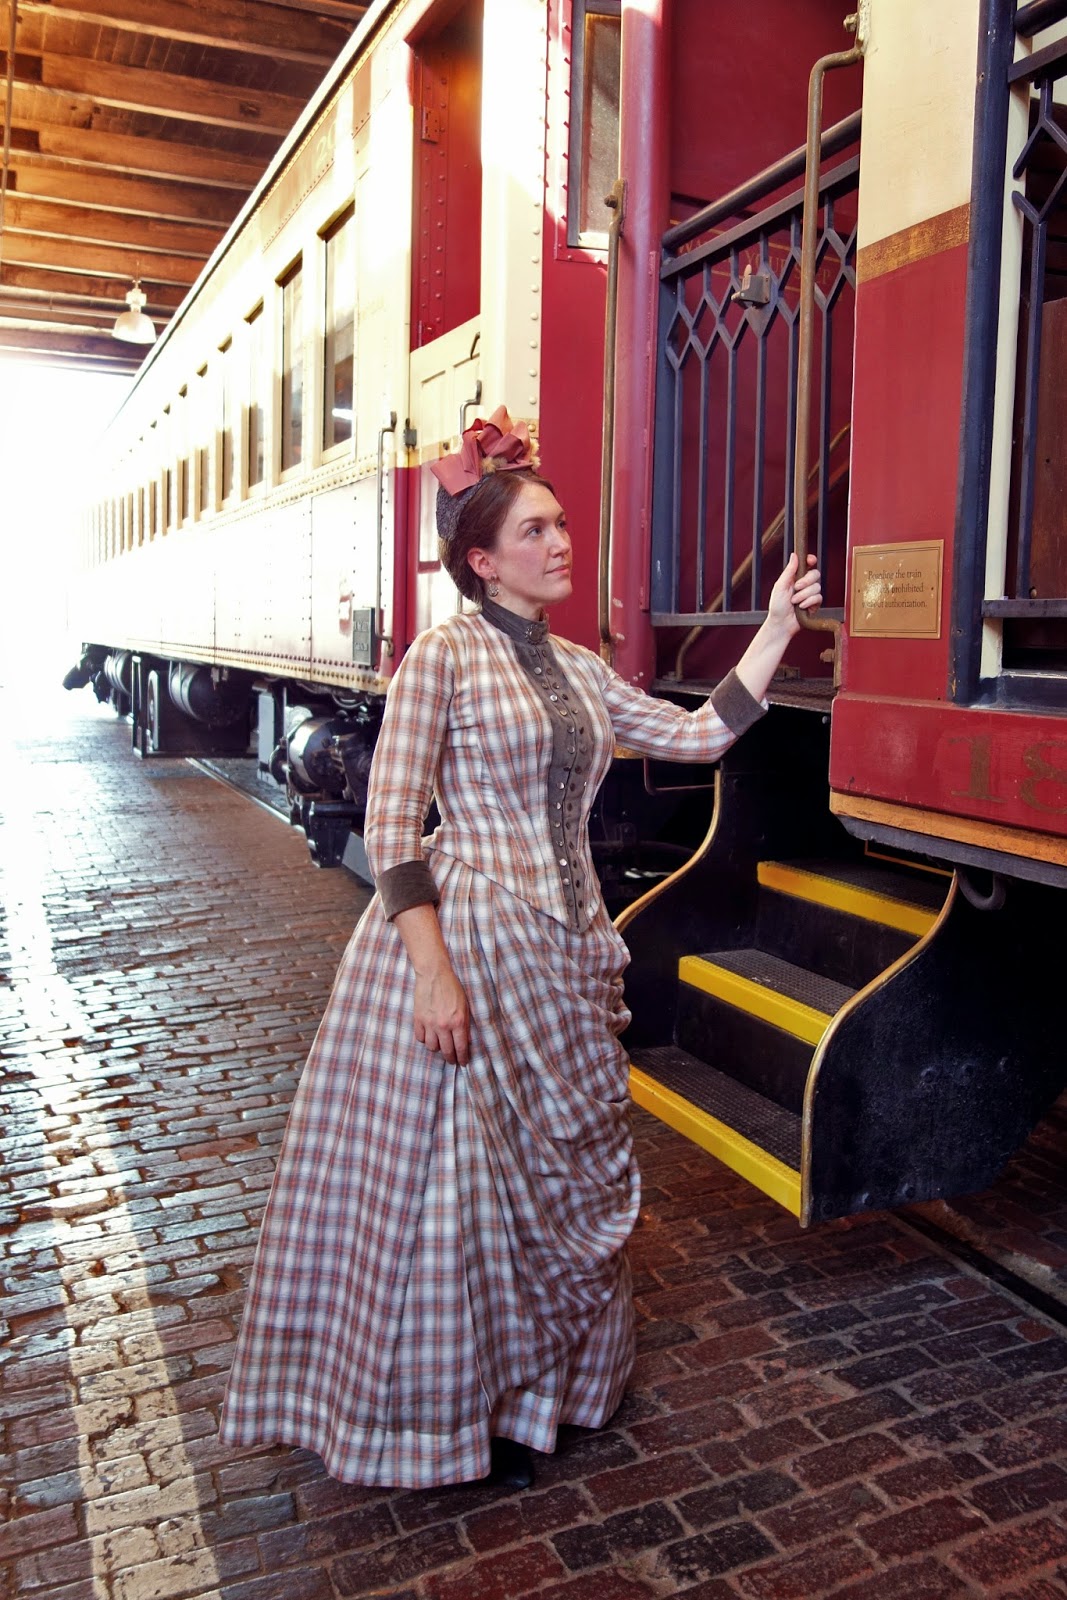
Since May events can be pretty toasty in Texas (I think we hit 90 degrees this year), I picked some cotton fabric from my stash that is almost sheer to try to keep cool. The underskirt is unlined except for a facing at the hem, the overskirt and sleeves are lined with voile just to keep the color of everything consistent, and the bodice is lined with cotton sateen. It was actually turned out to be a very cool and comfortable outfit and I was never uncomfortable from the heat, which was such a wonderful thing. Of course, I still wasn't opposed to catching a bit of a breeze to keep my ankles cool when the opportunity arose! ;)
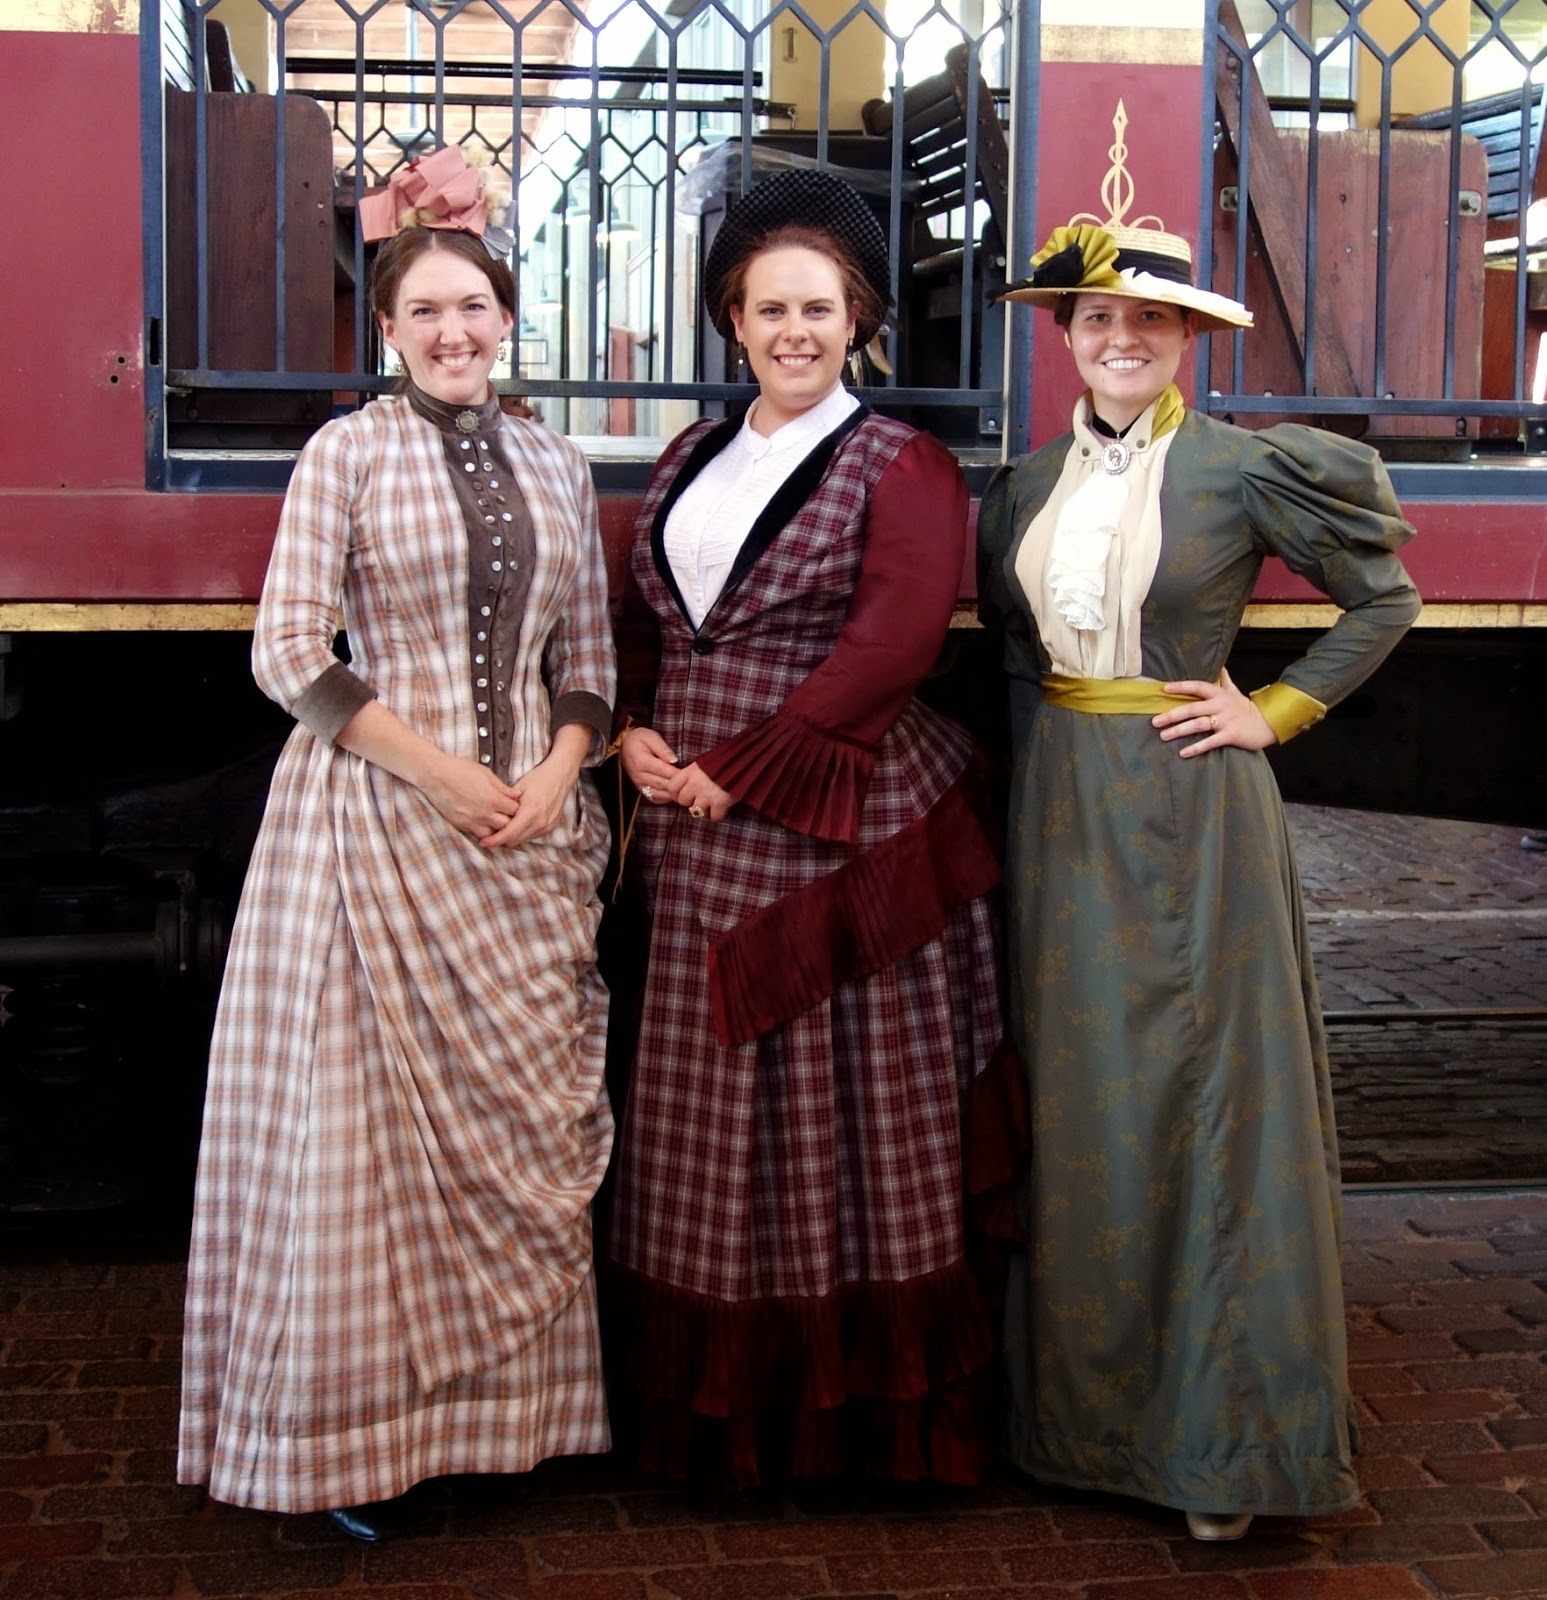
Best of all, the plaid fabric came from Walmart and only cost me $14 total, and the other fabrics for the lining and accents were given to me in trades, so this is probably one of the least expensive dresses that I've ever made. Two other ladies - Liz from the Pragmatic Costumer, and Megan from Mistress of Disguise - also happened to be wearing dresses made out of Walmart fabric at this event, and we were quite proud of our fabulous display of Walmart Victorian couture.
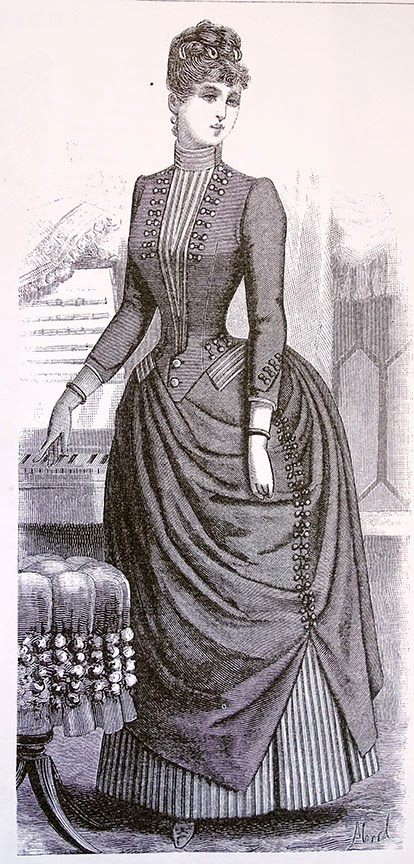
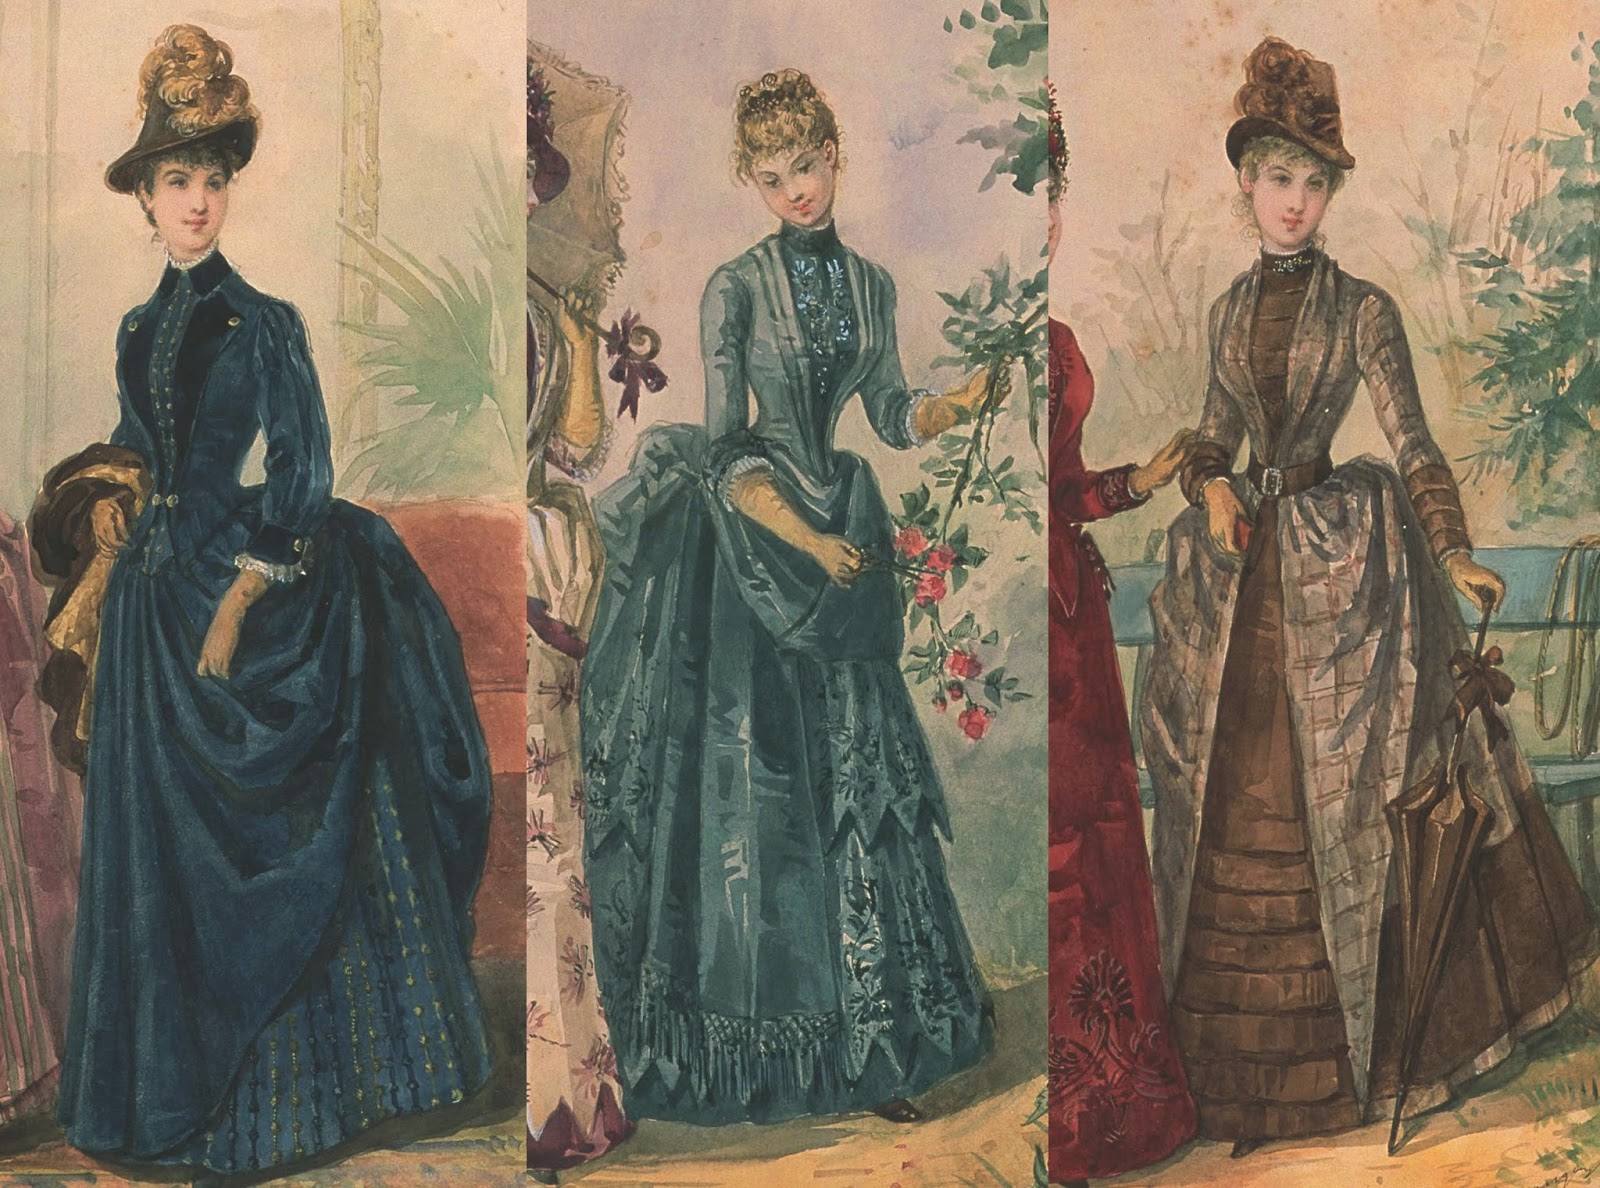
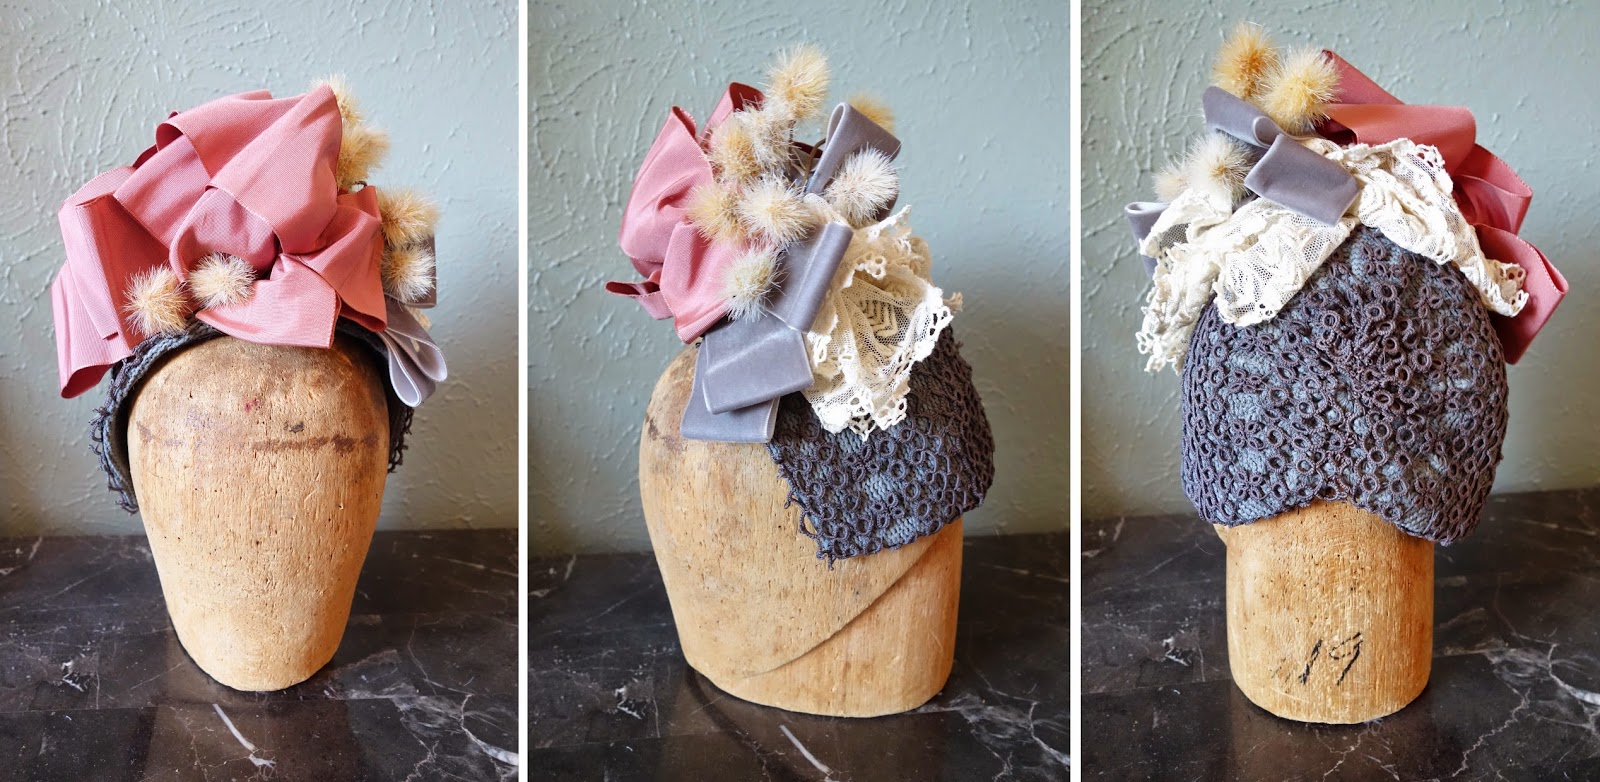
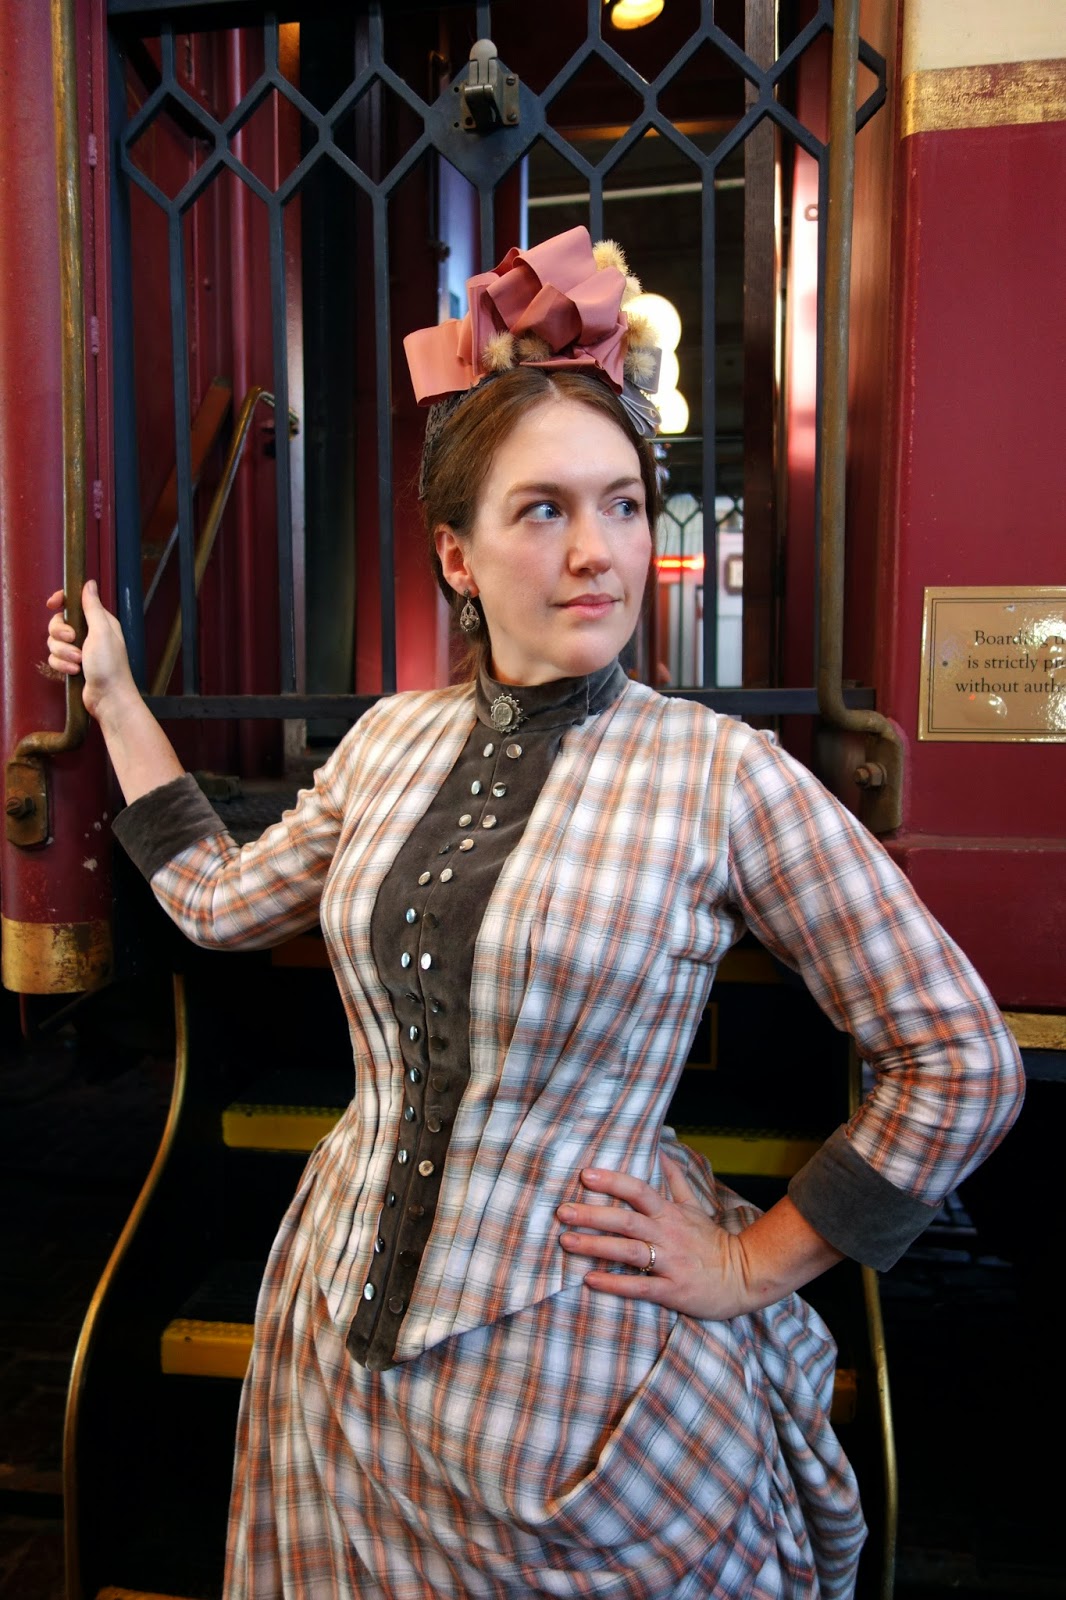
But my favorite part of this new outfit is definitely my bonnet. I LOVE silly hats, and I think the tall, elaborately bedecked bonnets worn in the 1880s like this one from the Met are some of the most wonderfully ridiculous hats that I've ever seen! To continue my cheapskate costuming streak, I made the base of my hat by cutting down a modern hat that I never really wore very much so that the crown would just perch on the back of my head. I wired the edges and covered the base with some antique tatted lace from my stash that I dyed dark grey to match my dress. Then I just added a pile of ribbons, lace, and a few flowers (also from my stash) to the top to give it some height and color. I've never been overly fond of ribbons that are tied under the chin, but luckily, I found examples in 1880s fashion plates like this one proving that these bonnets could be worn with or without ties. I sewed a comb under the front edge of the hat and pinned the bottom corners to my hair with bobby pins, and it stayed put all day with no worries.
At first I was hesitant to make what is essentially the same dress two times in a row, but making a wearable mockup helped me discover a few minor problems with my outfit, and hopefully my next dress, which will be a close copy of this bustle dress, will be even better. I know these issues might seem nitpicky, but here are a few notes about what I would like to change:
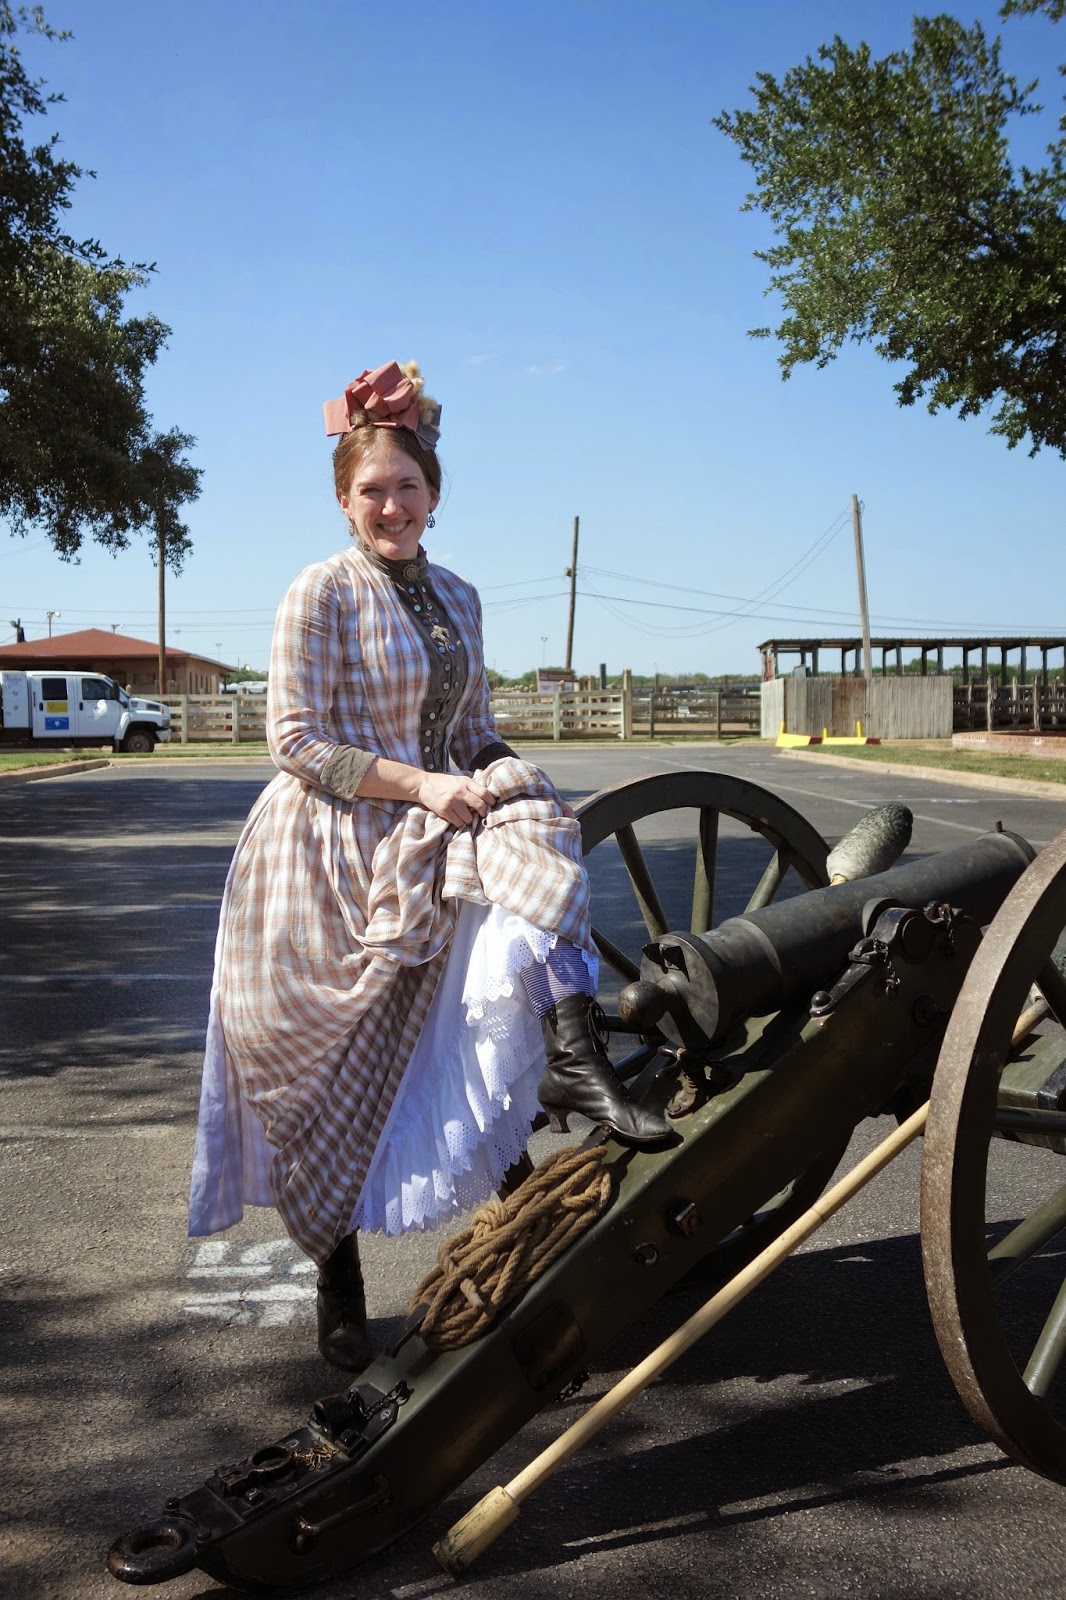
 - I wore my short bustle with this outfit, and unfortunately, the hoop boning folded in on itself while I was driving to the event, and I don't think the bones popped out again until I finally noticed my sad, deflated butt toward the end of the day. And with the smooth skirts in back, there isn't a lot of drapery to to create fullness in back on its own. Poo! So the next time, I need to remember to check my bustle after sitting to make sure everything falls back into place like it should.
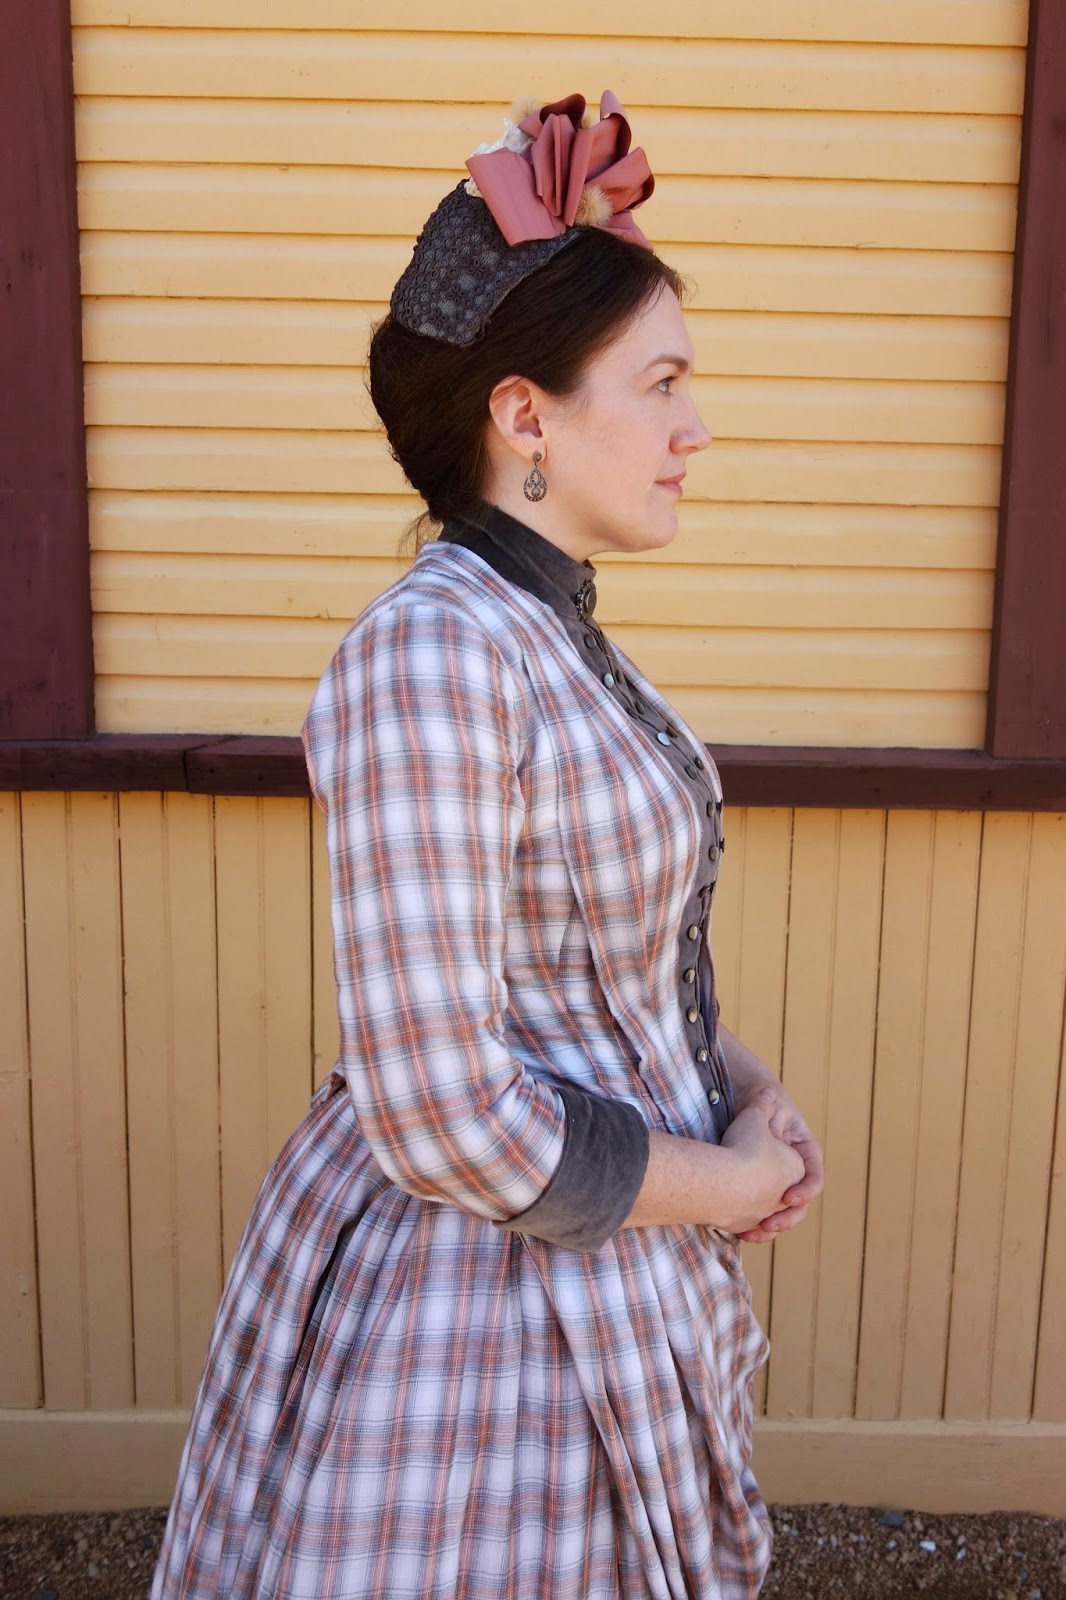
 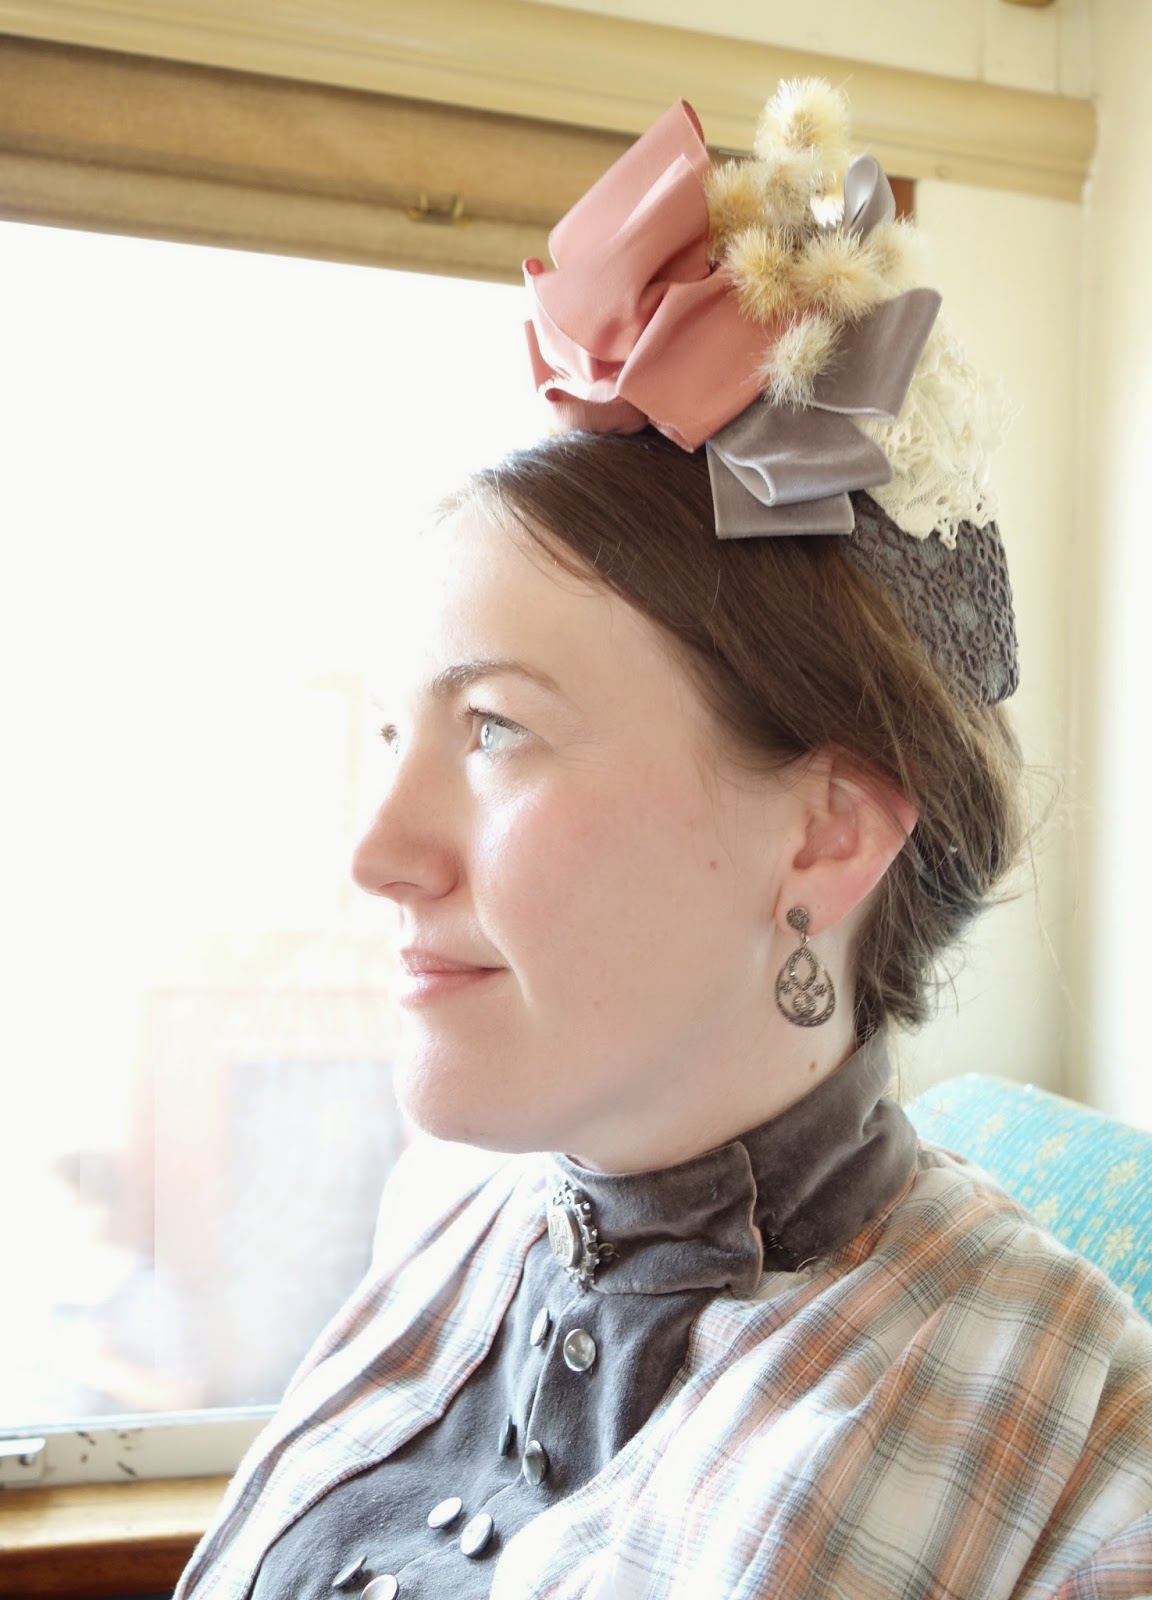 - I was unsure what I should line the placket on my bodice with, so I used coutil in the hopes that it would add some stiffness and keep it flat. But actually, it tended to buckle above my chest when I was sitting, which I'm guessing is because the fabric was stiffer than it needed to be and crumpled more than it draped. Also, I did not interline my collar with anything, and it wrinkled a good bit as well. I think next time I will keep my placket soft and interline my collar with some hair canvas to see if that helps the problem any.
 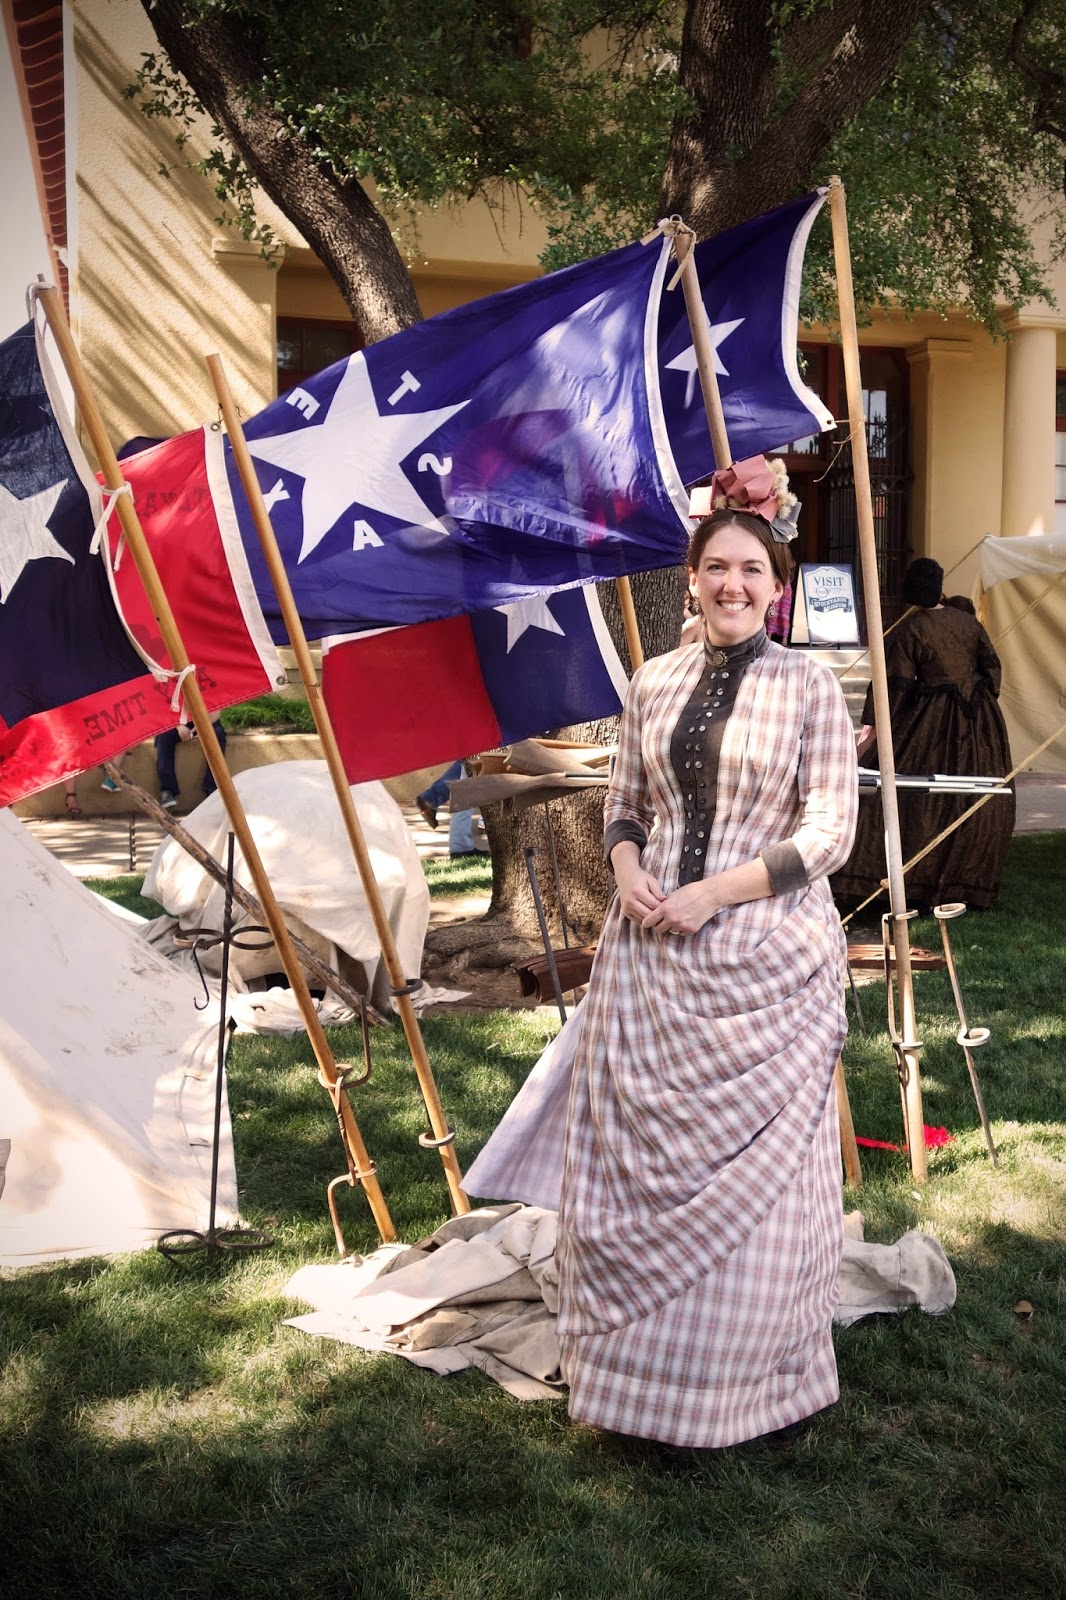 - I was worried from the start that the long flaps of the overskirt would flap around and show the white lining, and yes, they did. Not that this was a huge problem with this dress, but the next dress that I am wanting to make has applied stripes on the underskirt, so I don't want the top layer to blow around and show where the stripes stop. I think with the next one, I might add some hidden button tabs that would attach the overskirt to the underskirt and keep everything in place better.
 - I think the fit of my bodice is about 90% there, but I did get some wrinkles under my armpits that show up on my back and the sides of my chest from time to time. It seems like the fabric of my bodice is getting pushed down a little under my arms, and I have several theories as to how to fix this. I thought about cutting the bottom of my armscye a little lower to remove some excess fabric under my arms, but I'm worried that it will reduce movement if the armscye goes too wide since a tight fit in the shoulders usually moves better than one that is too big. I also considered raising my waistline a little or adding a waist stay to try to keep the bodice pulled down better so the fabric doesn't ride up from the waist. Or, perhaps those are stress wrinkles and I should let the bust out a little more. But I'm not sure which of those options would really solve the problem, so I would love to hear your tips if you know how to fix this!
 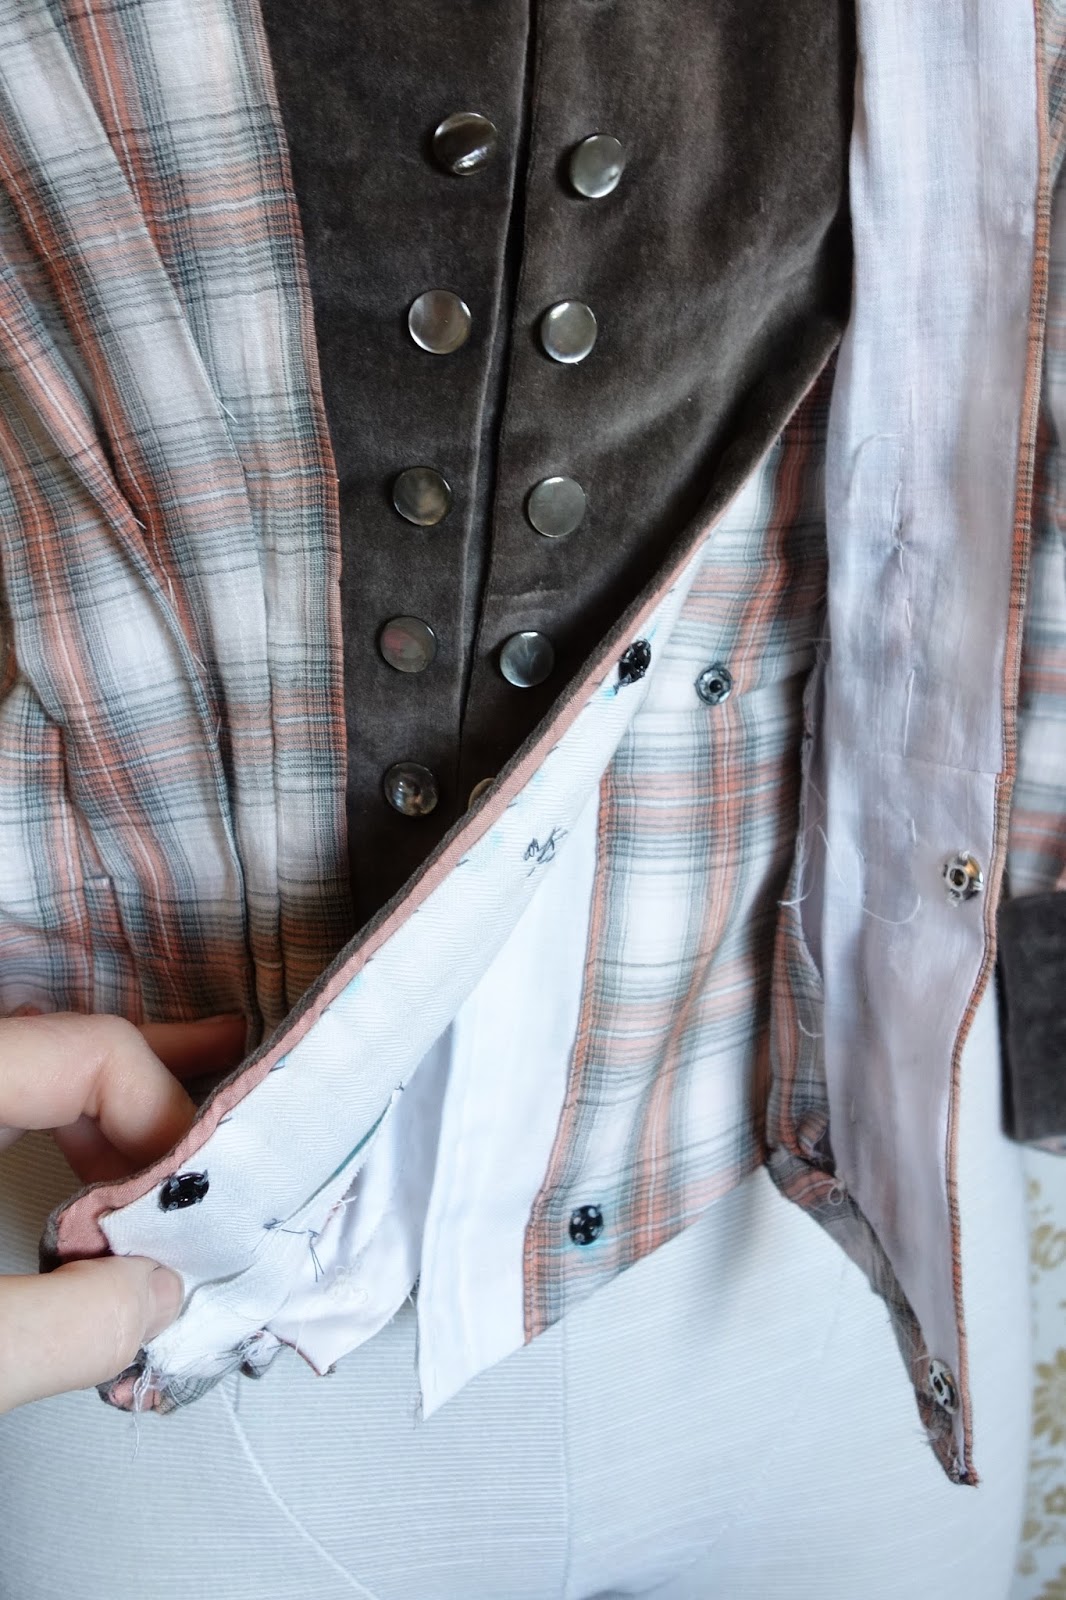 - Finally, the pattern that I used didn't have a lot of instruction about how to fasten the bodice or the placket, so I used hook and eye tape for the center-front lining and a few large snaps to attach the open side of the placket and outer fabric. I know snaps weren't used in the 1880s, so I will definitely switch to hooks for the next one, but even more importantly, I need to use more hooks to keep it smooth. The few widely spaced points of attachment worked okay on the upper half of the bodice, but I need to attach it very securely below the bustline because I discovered that it tends to pull away from the body there if you aren't careful. I ended up having to add a few extra pins to keep my placket flat because I didn't use enough snaps. I would love to do more research on the construction methods of surviving 1880's bodices with plackets before making my next gown. This was just a "good enough" solution done at 3:00 a.m. on the night before the event, so I know there must be better ways.
And that's pretty much it! It's not the fanciest outfit that I ever made, but it was quick and cool and comfortable and I learned a lot from it. You can find many more pics from our event on flickr.


14 comments:
Looks to me like your side back pieces are just a little too long. I would suggest taking out a small cross section of your pattern pieces (horizontally) from nothing at the seam that touches the center back panel to nothing on whichever piece of the front the wrinkles end at. The amount you take out would be the amount it wrinkles: looks to be about ½". I hope that makes sense!
Love your bonnet. It's amazing that you manage to throw things together and have them turn out so beautifully. I spend a lot of time struggling over little things... :)
Best,
Quinn
That turned out so cute Jen! I just adore the bonnet, so flirty and fun, and that color looks great on you.
Your outfit is so cute and period. You always do such a nice fit and fabric.
Oh what fun! I love the front closure.....buuutttooooonssss...Yes, I'm drooling! Your hat is so darling! You have done a fabulous job on this outfit!
Blessings!
Gina
Ugh...I have that problem with the bodice riding up. Can't seem to figure out how to stop it aside from sewing hooks and eyes to the skirt and bodice to secure them together.
Anyway, I think your dress looked great! I love how you share your thoughts on what you'd do differently after a wearing. So helpful!!
russell westbrook shoes
off-white
yeezy boost 350 v2
yeezy boost 350 v2
supreme clothing
pg 1
yeezys
golden goose
supreme
supreme
Resources best replica bags about his check over here Find Out More look at this website
Read More Here Dolabuy Bottega Veneta the original source Dolabuy Goyard i was reading this dolabuy hermes
Vintage
The dress and the turban were all so gorgeous. screened in patio Wesley Chapel FL
Late 1880s plaid bustle dress: An elegant, vintage ensemble featuring a structured bustle, rich plaid fabric, and ornate detailing, reflecting Victorian fashion. Perfect for historical events or collectors. calculadora igv for accurate cost calculation.
Oh what fun! I love the front closure.....buuutttooooonssss...Yes, I'm drooling! Your hat is so darling! You have done a fabulous job on this outfit! visit https://lightroomapp.com.in/old-version/
The detailed craftsmanship seen in late 1880s plaid bustle dresses reflects how structure and support were essential even in fashion design. In a similar way, ConcreteFix Tampa represents modern repair work where maintaining strength and restoring damaged surfaces keeps everyday structures reliable and long lasting. Both ideas highlight how careful restoration whether in fabric or concrete helps preserve form, function, and history over time.
SkyExchange is an online sports exchange platform that provides users with access to cricket, football, tennis, and other major sports events. The platform offers a simple and user-friendly interface, allowing users to enjoy live updates, smooth navigation, and quick account access from multiple devices.
sky exchange cricket id
sky exchange betting id
Post a Comment