Showing posts with label photography. Show all posts

Saturday, August 11, 2018

Victorian Cycling Costume


Wow.  It's been a loooong time since my last blog post, but I'm so giddy over my new 1890's cycling costume that I decided to knock the dust off of this website so I can share a little bit about my new outfit and throw in a pattern review while I'm at it.

After hearing that a few of my friends were making cycling costumes for Costume College this year, I decided at the last minute that I desperately needed one too, so I ordered the Wearing History Bicycling Outfit pattern since I was in a rush and didn't have time to draft patterns from scratch.  This turned out to be a really excellent plan, and I couldn't be happier with the way this pattern went together.  Unlike a lot of historical reprints, Lauren has graded this one so that it includes multiple sizes, which was extremely helpful.  I made up one of the largest sizes, and I was really pleased with how close it was to fitting right off the bat.  I did end up taking in the bodice seams in a few areas, but that's totally to be expecting when working with a Victorian period pattern, and it's always easier to make something smaller than try to make it bigger.  The only part of the pattern that seemed a little odd was the neckline, which I found to be lower than it needs to be if you were attaching a high collar. But since I decided to change the design to an open neckline, this really wasn't a problem for me - just be mindful of it if you want to make up the bodice like the original and are using a larger size.  I also decided to make the shoulders on the bodice a little narrower so the sleeves didn't sit so wide (helps prevent the linebacker look!), but that's another easy change to make, and it's definitely more of a personal preference than a necessity.
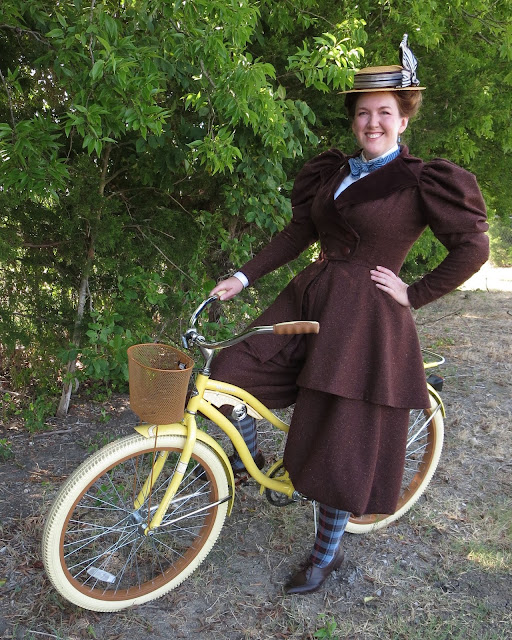

Even though my final results might appear quite different from the original pattern illustration, I really didn't have to change much to get a completely different look.  The sleeves and bloomers are made up exactly like the pattern, and I love both of those elements SO MUCH!  The sleeves have the perfect amount of fulness to give you an 1890's shape without being so large that they are ridiculous.  I flatlined my sleeves with a layer of tulle to help give them body, but most of the "poof" is controlled by mounting the outer layer of fabric to the inner layer before assembling the sleeves.  It really does a excellent job of creating the right shape, and I'll definitely be using this sleeve pattern again in the future if I make more dresses from this decade.

The bloomers are my favorite part of this whole pattern, and they went together so quickly.  I used Wearing History's excellent YouTube tutorial to help me figure out how to assemble the pointed side plackets, and they both went in perfectly on the first try.  I've never used that technique before, and it was kind of like magic to see how well it works!  My only other tip on the bloomers is to cartridge pleat the bottom of the legs into the cuffs if you want maximum fullness - it makes them even more jaunty and fun, and it is much more practical than gathering or pleating if you are using a heavier fabric, like wool. 
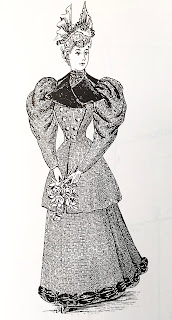
To personalize my costume I decided to pull some inspiration from other 1890's fashion patterns and cycling imagery and convert my bodice into a jacket.  I used the pattern diagram for a "ladies' street costume" in Kristina Harris's 59 Authentic Turn-of-the-Century Fashion Patterns to create the jacket peplum, and these patterns also to helped me figure out how to add a wide collar and lapels to my existing bodice.  There are a lot of great historical patterns in Harris's book (and its companion, Authentic Victorian Fashion Patterns), and in my opinion, it's a million times easier to modify a good foundation pattern like the Wearing History one than to draft something from scratch.

Under the jacket, I am wearing a modern man's tuxedo shirt that I bought at a thrift store, plus a bowtie that a made from some silk scraps left over from a previous project.  I also re-trimmed a vintage straw hat with a long strip of striped silk that I sewed into a tube so that it looks like ribbon.


Amusingly, the part of my costume that got the most compliments at Costume College was my plaid stockings!   These socks were a lucky find on Amazon, and they come in a three-pack with red and tan as well.  I've always been completely charmed by images of Victorian women wearing checked and plaid stockings with their bloomers, and it seemed to be quite a fad during the 1890's.  Even if you don't have a cycling costume in the works, I highly recommend these socks if you want to add a bit of fun to your historical (or modern) wardrobe!

This costume turned out to be a real joy to wear.  It's quite comfortable, and the bloomers make you feel so free and liberated compared to heavy skirts.  I have to admit that I frolicked around like a big nerd when I was wearing this for my photoshoot.  All of that extra mobility makes you want to run and jump and flop on the ground!  I can totally understand why cycling outfits were so popular with Victorian women - they are just so much fun to wear!

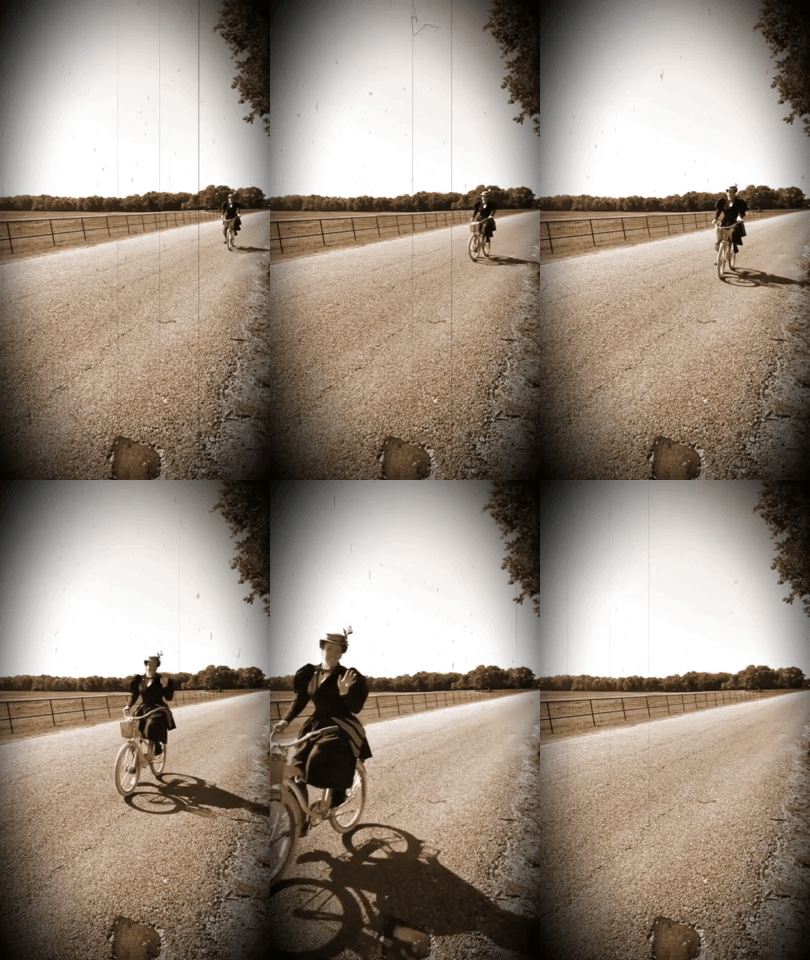
And because I'm officially Extra™, I also pulled out my bicycle and took it for a spin to see how this outfit feels on a bike.  The bloomers are really comfy while riding, although you still have to dismount carefully so they don't get caught on the seat.  My only issue was with my shoes, which tended to slip on the plastic pedals if I wasn't careful thanks to their smooth leather soles, but that issue could probably be solved pretty easily by adding some rubber grips.  I've had several people ask me if I would be wearing this outfit for any tweed rides, and I would absolutely love to do that if they host any more themed cycling gatherings in my area.  It was crazy fun to ride my bike in this kooky outfit, and the only thing that would be better is if I could buy an actual antique bicycle to add to the authenticity. 

I have some more photos and another video of me riding my bike on Flickr, and you can find more Victorian and Edwardian cycling costume inspiration on my Pinterest.  I'm also having a ton of fun using these photos to practice my faux-antique photo techniques using photoshop, so I'm sure I'll be adding more of those to my Flickr account whenever I find some more time to play.

Wednesday, November 4, 2015

Another trip to Lost Hope


For Costume College this past summer, a group of ladies decided to make Lost Hope costumes inspired by the fabulous book and BBC miniseries, Jonathan Strange and Mr. Norrell.  I had already made one Lost Hope costume a few years ago, but after seeing this world brought to life in the new miniseries, I was totally charmed by the silvery gowns seen at the nightly faerie balls, as well the creepiness of the scenes where the not-quite-human moss-oak version of Arabella wandered through the wilderness in a black gown. Confused?  Go watch the miniseries! *cough*youtube*cough* It's SO GOOD!


So instead of re-wearing my old gown, I decided to combine these two influences into one dress by adding some silver sparkle and a few fun accessories to my black Regency mourning gown. I found some silver lamé fabric in the clearance bin with a design that reminded me of gnarled wood. It's pretty gaudy in large doses, but when you just see glimpses of the pattern and sparkle under the sheer black fabric of my mourning gown, it fit my vision perfectly for an oak-y ballgown.  The lamé undergown is a bib-front style dress, and I could also wear this gown on its own... if I ever want a disco-themed Regency costume.


Sleeveless overbodices were a popular way to dress up Regency ballgowns, so I decided to also use the lamé to make a new bodice to wear over my gown.  I ended up cutting it too high in the back at the waistline, so I had to improvise and add a little peplum to cover the gap.  But this turned out to be a happy accident because I think the peplum adds a fun detail to an otherwise simple garment.  I had originally planned on embellishing my bodice with lots of beads and spangles and embroidery, but I ran out time, and honestly, I'm not sure how much that sort of thing would show up anyway since the fabric is already pretty busy.


I also made a faerie tiara by twisting together some plastic sprigs of grain sold with the fall floral supplies.  I wanted my costume to be sort of creepy and earthy, so I added some plastic bugs to my tiara for good measure before spray panting the whole thing silver.  I also loved the look of moss-oak Arabella's wavy, raven-colored hair, so I bought a long, black, 3/4 wig, and I sprayed the front of my own hair with temporary hair color to match. A simple beaded necklace and a pair of silver flats from the resale shop finished off my outfit.


We had a large group of gorgeous Lost Hope characters at Costume College, including a wide variety of fairies, Lady Pole, and the Gentleman with the Thistledown Hair.  We never managed to get everybody who participated in one spot at one time, but we did arrange a few group photos where you can see most of our faerie finery. This was such a fun theme for a group costume project, and I LOVED seeing all of these creative interpretations of magical Regency fashions.  

Unfortunately, sunny California summers don't make the best backdrop for slightly sinister moss-oak gowns, so I've been dragging my feet about posting this write-up in the hopes that I could take some better photos in a more appropriate setting.  I finally had my wish granted this past weekend, and I snuck away on the evening of Halloween to take some pictures in a muddy park after a few days of heavy rain. Then I used Photoshop to make the photos even darker and more blue to match the look of the miniseries.  Much better!   Now I feel like I'm finally ready for an otherworldly faerie ball.


Saturday, August 15, 2015

1920 Bathing Suit


I’ve been madly sewing for Costume College over the past few months, and I finally have enough free time again to blog about my projects and show you all what I’ve been up to lately.  I’ll start by sharing the most summery of my new outfits – a late 1910’s/early 1920’s bathing suit.  I think these bathing suits tend to look pretty silly to our modern eyes, but they are comfy and fun and so easy to make, and I thought it would make a great low-stress costume to wear to the Costume College pool party after a long day of traveling.

bathing suits from 1918 New Idea Quarterly
My suit is not an exact copy of any one historical outfit, but the basic long tank top and boxy shorts were hugely popular in both photos and fashion plates of women (and men!) from the years around 1920.  You can see a wide variety of similar styles on my historical bathing suit Pinterest board.  Black was one of the most popular colors for bathing suits, and like most of the surviving examples, I made mine from wool.  I had a hard time finding wool knit for an affordable price, but I lucked upon some wool mommie cloth, which has a slightly stretchy crepe-like weave that worked perfectly for my project.  Then I decorated the edges with white rayon soutache.  I threaded the soutache onto a large eye tapestry needle, then sewed it directly into the fabric by using a big running stich around the edges.  The weave was loose enough that the soutache slipped through holes in the cloth with no trouble at all.  You can see a similar treatment on bathing suits like this one

I drafted my own pattern for this suit after consulting several 1920’s swimsuit pattern diagrams in the book Women's Wear of the 1920's: With Complete Patterns. I was very doubtful that the shorts pattern from that book would work for me - it’s just one rectangle for the front, one rectangle for the back, and a square gusset inserted into a slit for the inner legs and crotch - but it actually worked quite well.  Many of the 20’s bathing suits had the shorts attached to the top, but I made mine separate and used elastic at the waistline just to make it less fussy. Or if you wanted an even easier alternative, this type of suit would also be very easy to fake with a modern sleeveless blouse and shorts pattern.  


These early bathing suits are pretty plain on their own, so accessories go a long way to creating a more historical look.  The vast majority of women in 1910’s and 20’s photos of bathing suits are wearing some sort of cloth cap or bandana to cover their hair, so I just hemmed a large triangle of striped cotton to wear for my own beachy headwear.  

I also loved that so many of the women in the earlier photos were wearing black tights with their bathing suits, so I took some photos both with and without the tights, but I think I like the look of tights better just because it is more "old timey" looking. I was also curious to see how it felt to wear hosery on a beach or in water, but it was really pretty nice.  They offered protection from the itchy sand, and having wet tights next to my skin kept me much cooler than having the sun on my bare legs.  But it was also fun to take the tights off and get a more modern, later 20's look.  After having the tights on first, I have to admit that bare legs felt quite scandalous!  

For my beach shoes, I stitched some soutache around the edges of a pair of cheap ballet flats from Target and added some ties to wrap around my legs.  It was an easy alteration, and they held up well to wading through the water.  

But my favorite accessory of all was my parasol. The big one in my beach photos is made of canvas and bamboo, and it was sold at World Market a few years ago.  It is HUGE and heavy, but I loved how similar it looks to the beach umbrellas seen in some period photos, like this famous image by Jacque Henri Lartigue. I tried to take some similar photos, but it was harder than I thought it would be to look glamorous while running back and forth to take pictures with a tripod and automatic timer in the soft sand.  My umbrella kept rolling away and the waves would catch me off guard, so I'm sure I made quite a curious and memorable sight for the tourists watching me from their balconies at the condo!  


I obviously couldn't carry such a huge umbrella around Costume College, so I painted some swallowtails on a cheap paper parasol in a design similar to the parasol in this fashion plate.  It's not nearly as exciting as my big umbrella, but it definitely helped my outfit feel more complete.  The black and white is pretty severe without a little dash of color.  

So that's pretty much it for my first new Costume College costume.  I've uploaded all of my pictures from the weekend to this flickr album if you want to see some spoilers about what I'll be blogging about over the next month, and I also have another album with a few more of my beach pics. I also had fun indulging in my other hobby and turning some of my favorite shots into faux-autochromes and other antique photo fakes.  I think my favorite part about Edwardian and 1920s costuming is getting to Photoshop all the pictures when I'm done!  Autochromes are the best, and I always love getting new inspiration by looking at the real ones - aren't they gorgeous?


Friday, May 15, 2015

When life throws you lemons, make a hat!

Like many people, I was very touched by the recent blog post on Wearing History about Social Media and the Myth of Perfection. I can relate to many of the things she has gone through, and I SO admire the courage that she showed by giving us a glimpse into the less public side of her life. I think Lauren started a conversation that really needed to happen. It is SO easy to feel inferior, jealous, or like the people around us live charmed lives when we only see the highly curated images that are typically shared on blogs and Facebook. I can also relate to the Dreamstress's post on Privacy, Perfection, and Blogging, because I too am an extremely private person, and there are just some things that I don't feel comfortable talking about in this very public forum.

2014 was a very bad year for me. 2015 has been much much worse. I have been struggling with what to say or how to say it here on my public site, so this string of recent articles was very timely for me. Everybody is different, but for me, costuming is my joy, my creative outlet, and most of all, my escape, and I just don't want to talk about sad personal things here - that's what LiveJournal is for! But if you notice that I'm not posting as much, I'm replying to emails even less than usual, or you see me wearing lots of black for awhile, just know that there's a lot going on beneath the surface, and I'm doing the best that I can.

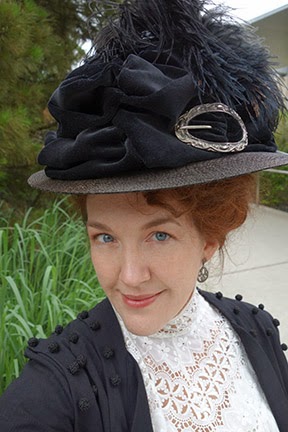
So on a lighter note, I thought I'd show you a quickie project that I just completed last week. I wanted to wear my Edwardian half-mourning outfit to a DFWCG outing, but we were going to a crowded museum, so I didn't want to be a nuisance in my ginormous Merry Widow hat. So the night before the event, I whipped up a much smaller version to wear instead.


Edwardian hats are some of the most delightful things to make because they often appear to be big piles of fluff with very little rhyme or reason to them. I started with a flat brimmed straw hat that I found at an estate sale, and then I took some scraps of velvet and piled them on top to make the crown seem much bigger than it actually is. I tacked the velvet down by hand, and I just folded and scrunched it up as I went until it looked "right". (I know that's not very helpful, but I don't know any other way to say it!) I finished it off by adding 4 feathers that I lightly curled with my curling iron, and an antique buckle brooch that I bought on Etsy. These brooches are quite common and are often surprisingly affordable, and I love them because they are so easy to switch out from one project to the next.

Even though I don't want to delve into sad personal topics today, I will share one "myth of perfection" confession with you all. I often retouch my photos to remove wrinkles, blemishes, dark circles under my eyes, or fix my hair a little better. I figure that all of those issues could be avoided or at least lessened if I used expensive eye creams, botox, wrinkle fillers, or a hairdresser... but I'm poor and Photoshop is free, so eh? why not? I also take an average of 50 photos for every 1 that is good enough to show up on my site, so I'm extremely selective about what I show here. I often wonder if people see me in person at costume events and are shocked by how old and ragged I look compared to my online photos.  :)  But it's really hard to put yourself out there for the amusement and nit-picking thousands of strangers. A bit of retouching makes me feel braver and less self-conscious - it's like a psychological coat of armor - so I feel more comfortable sharing more photos of my costuming work, which is the real point of it all. So now you know my dirty little secret, and if you'd like to see the raw, un-retouched me, just roll over this picture and take a peek.

So am I spreading the myth of perfection by retouching my photos? Maybe. Am I going to keep doing it? You better believe it! Because in the end, costuming is not reality - it's an escape. Reality is not always pretty and it's not always fun, but I'm grateful to have this quirky little hobby where I can take a break from the real world to cast off my woes, wear silly hats, magically erase my wrinkles, and laugh with my friends. For me, it's the best therapy in the world.

Tuesday, November 4, 2014

Edwardian half-mourning dress pics


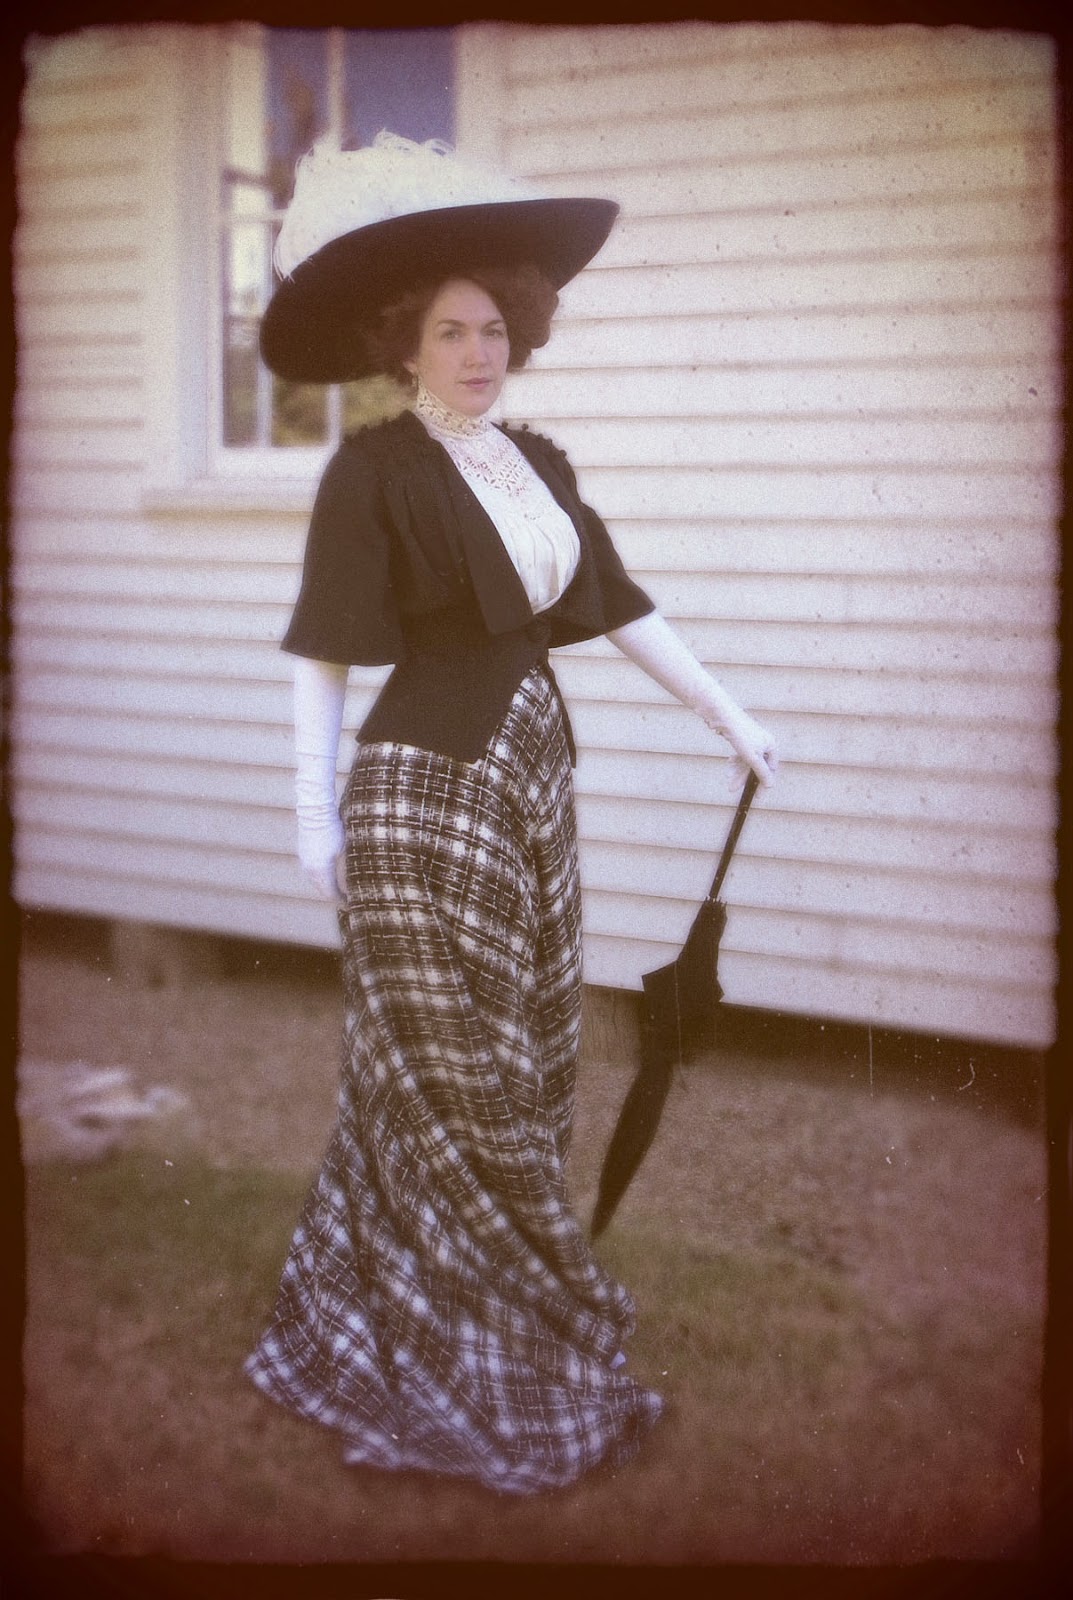
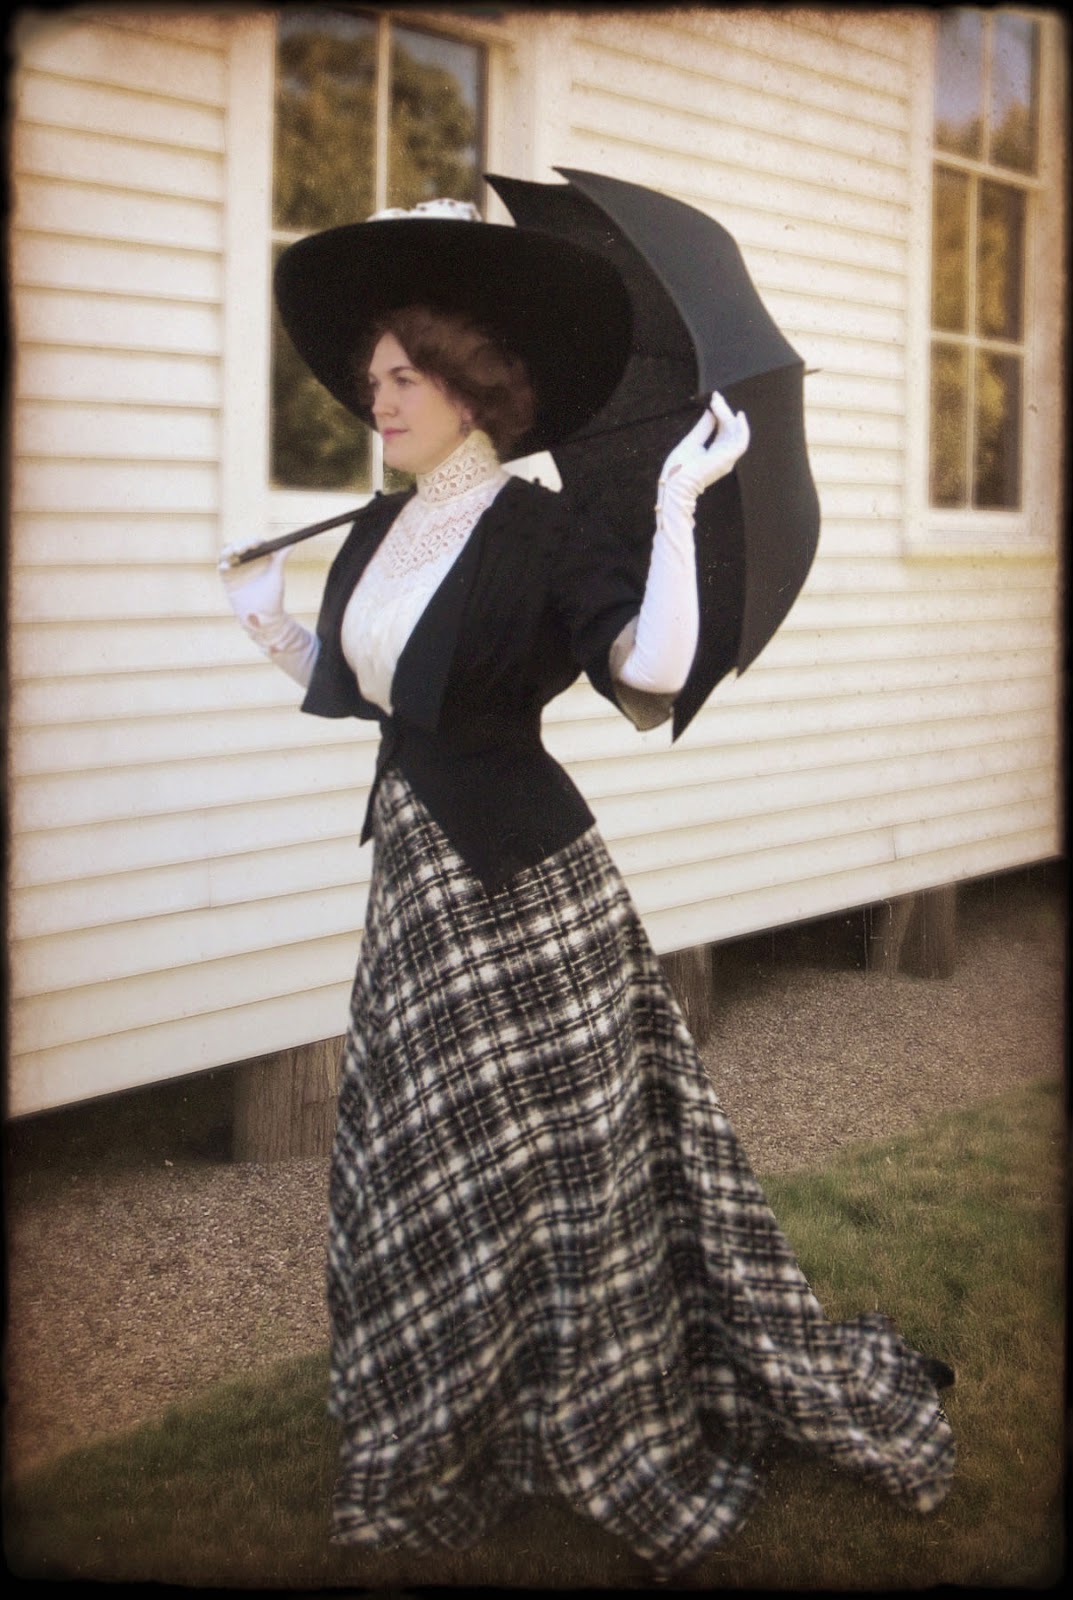
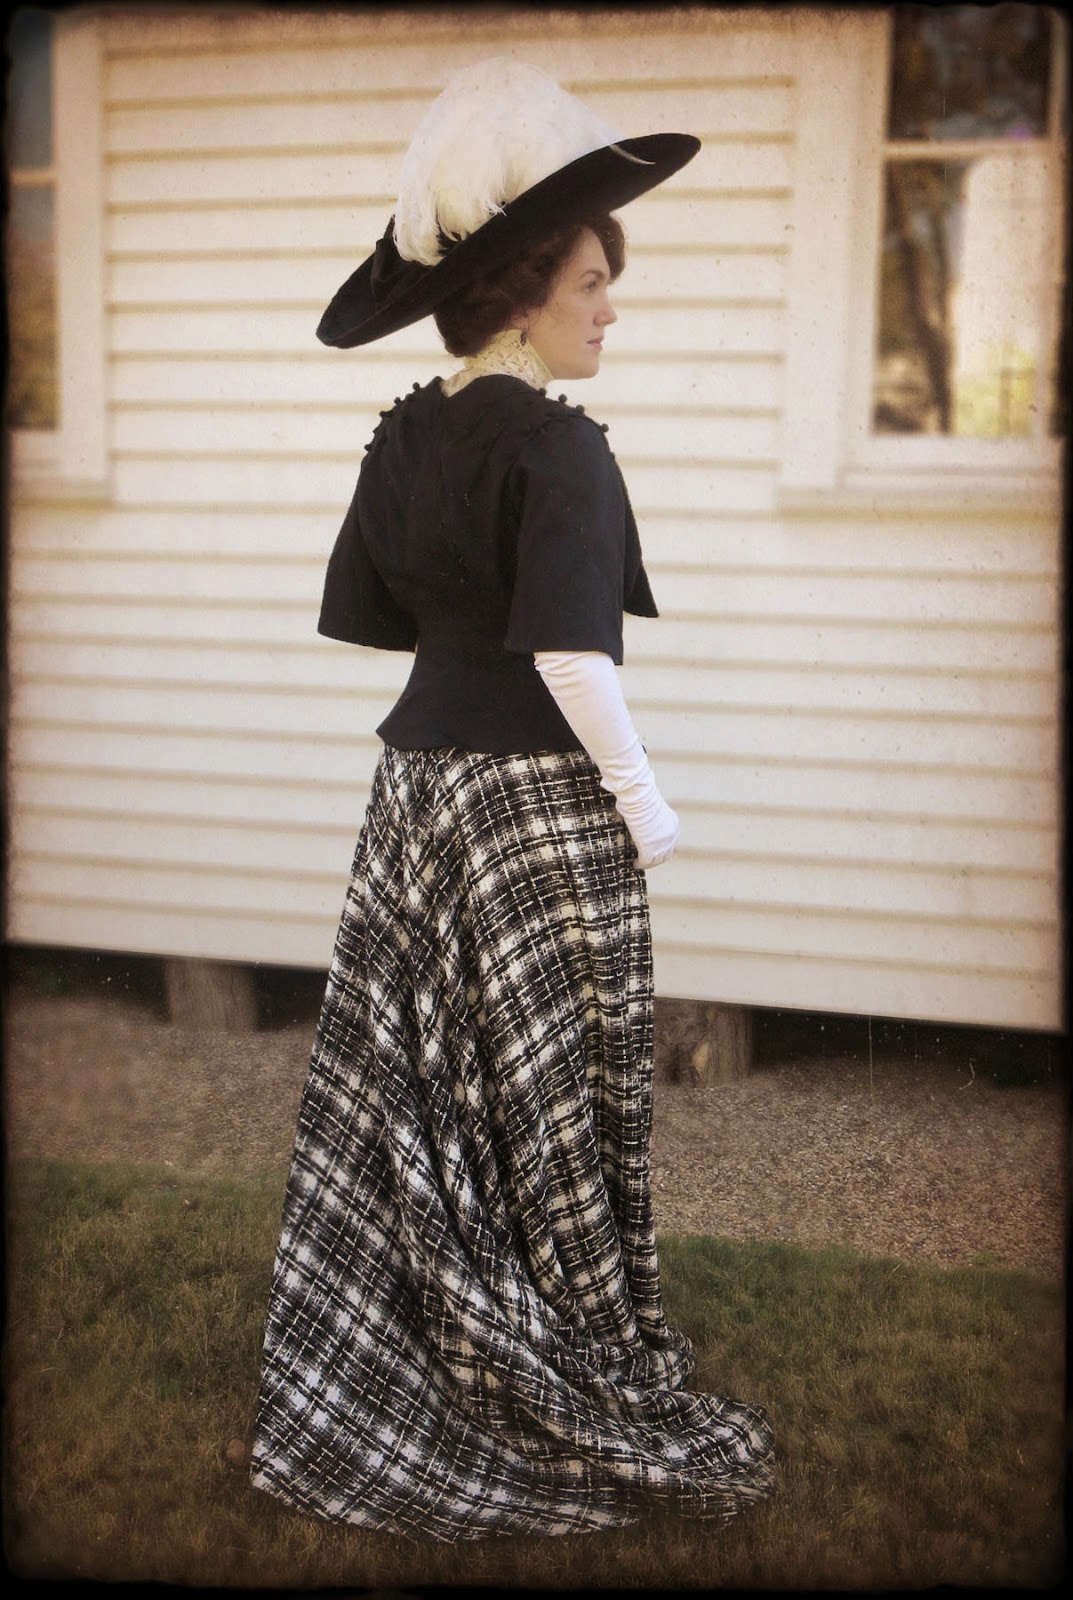
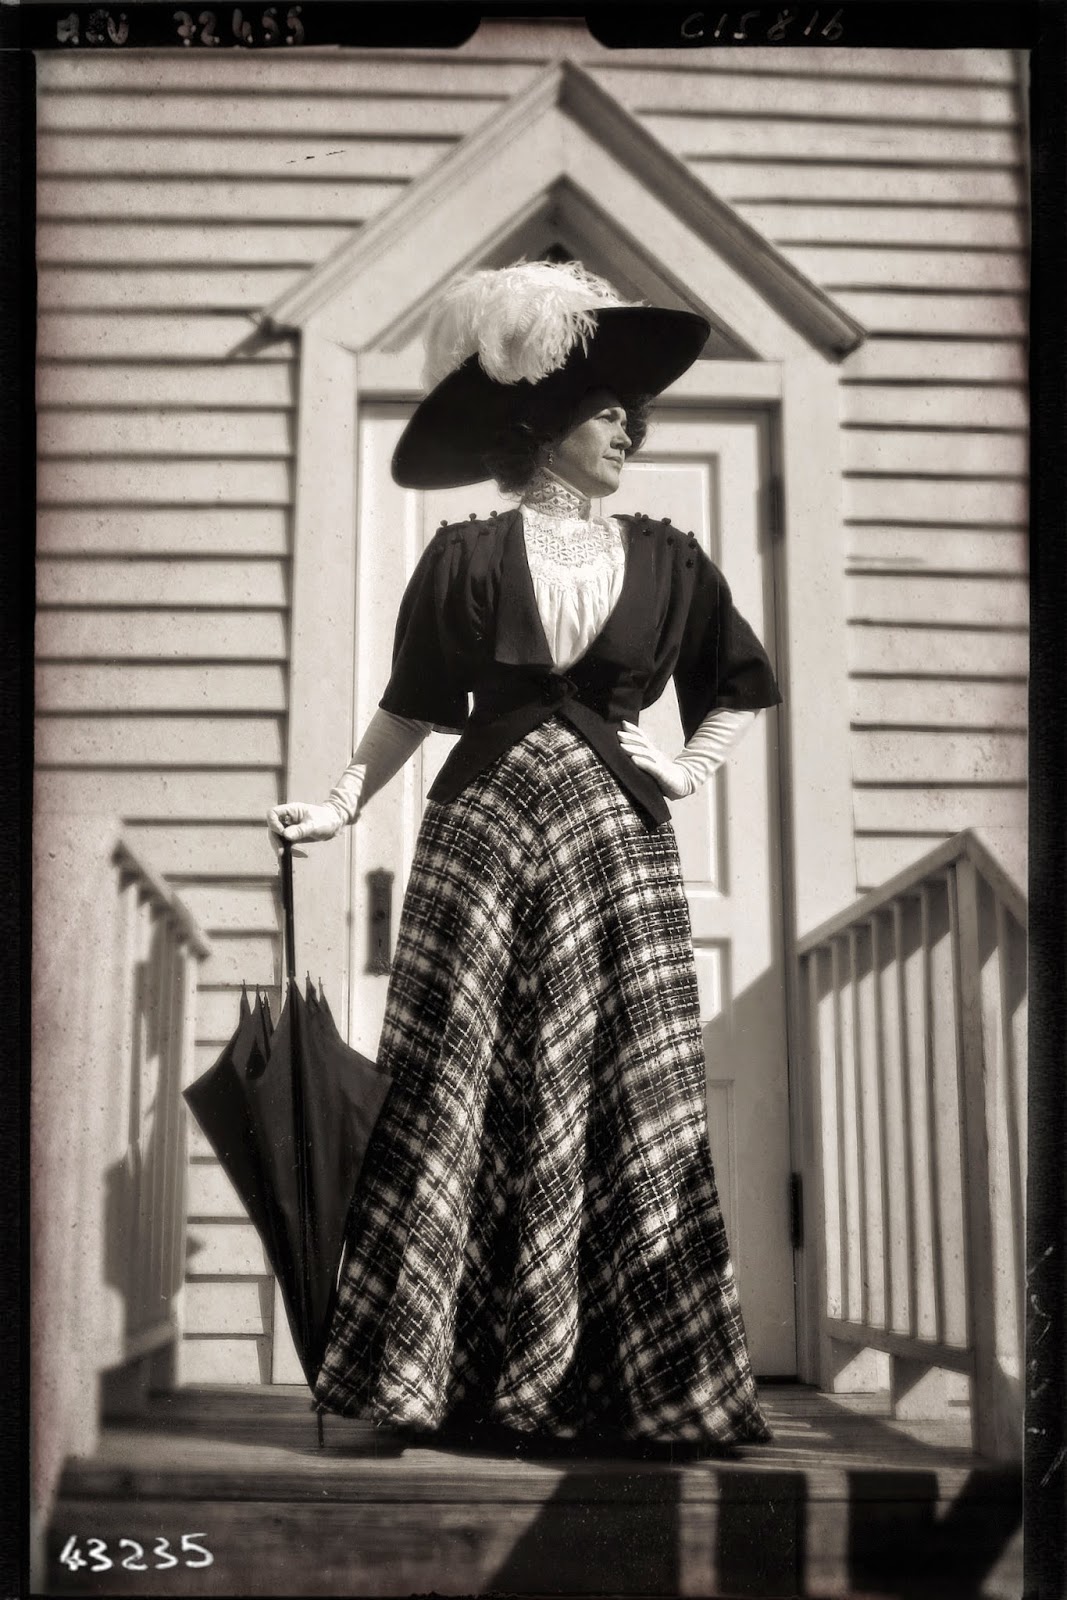
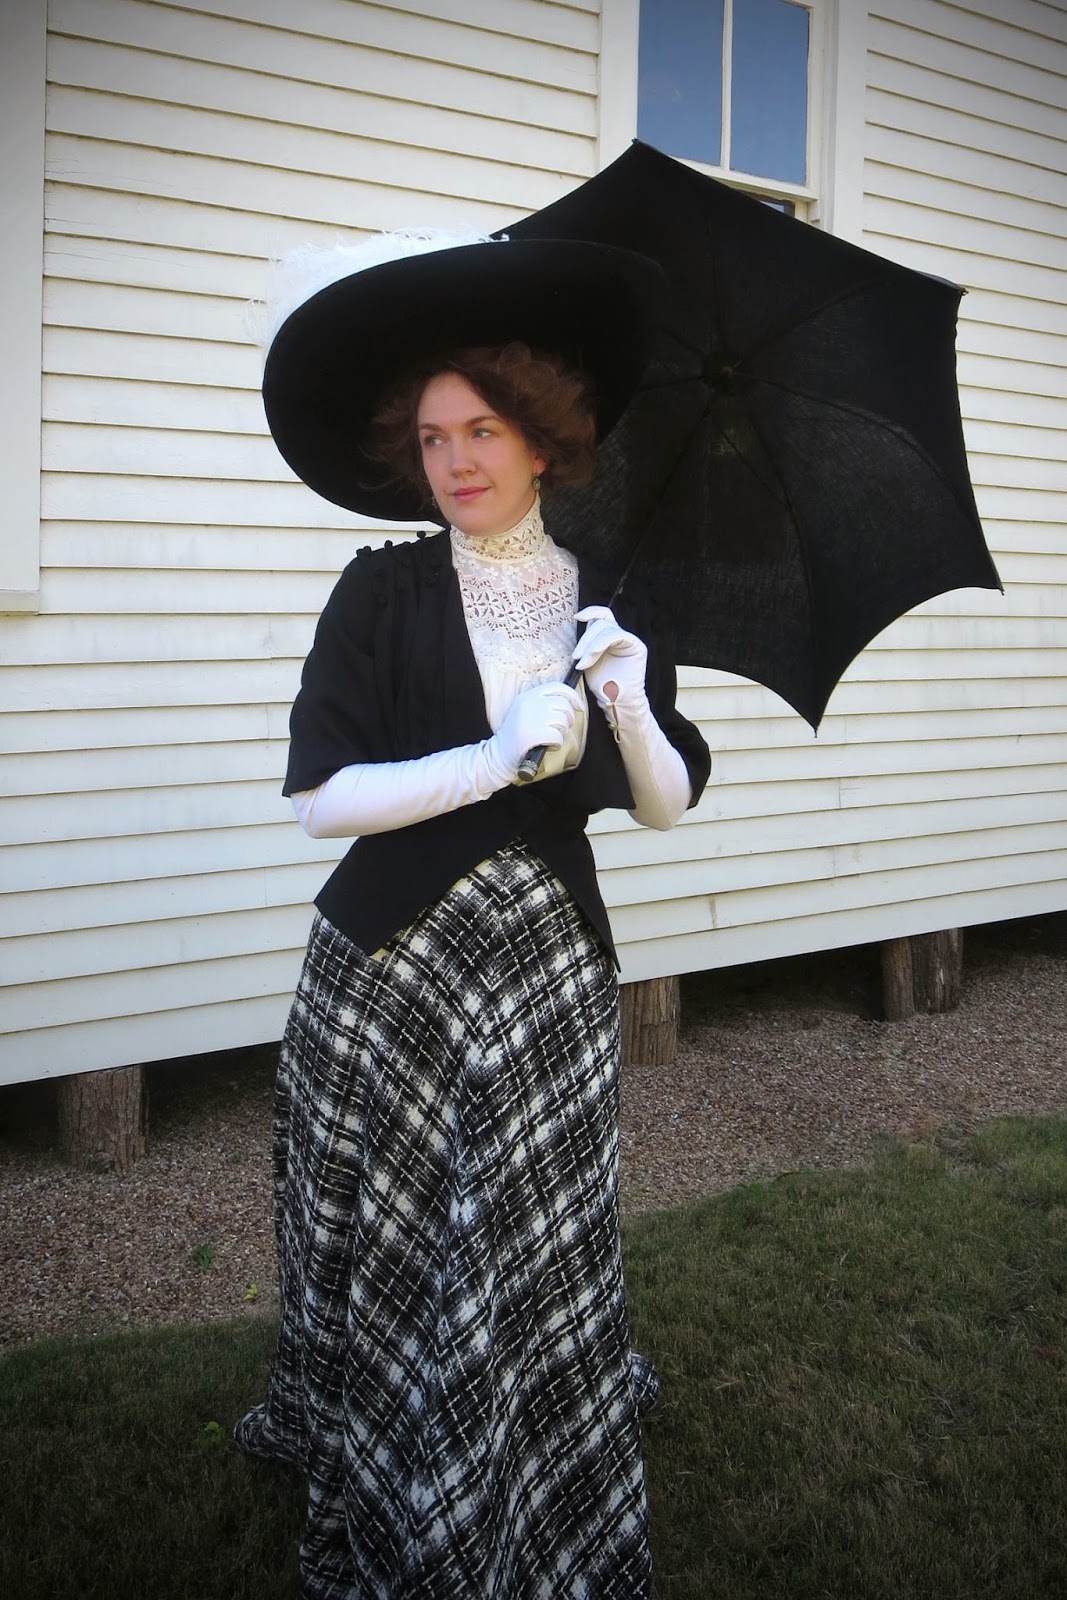
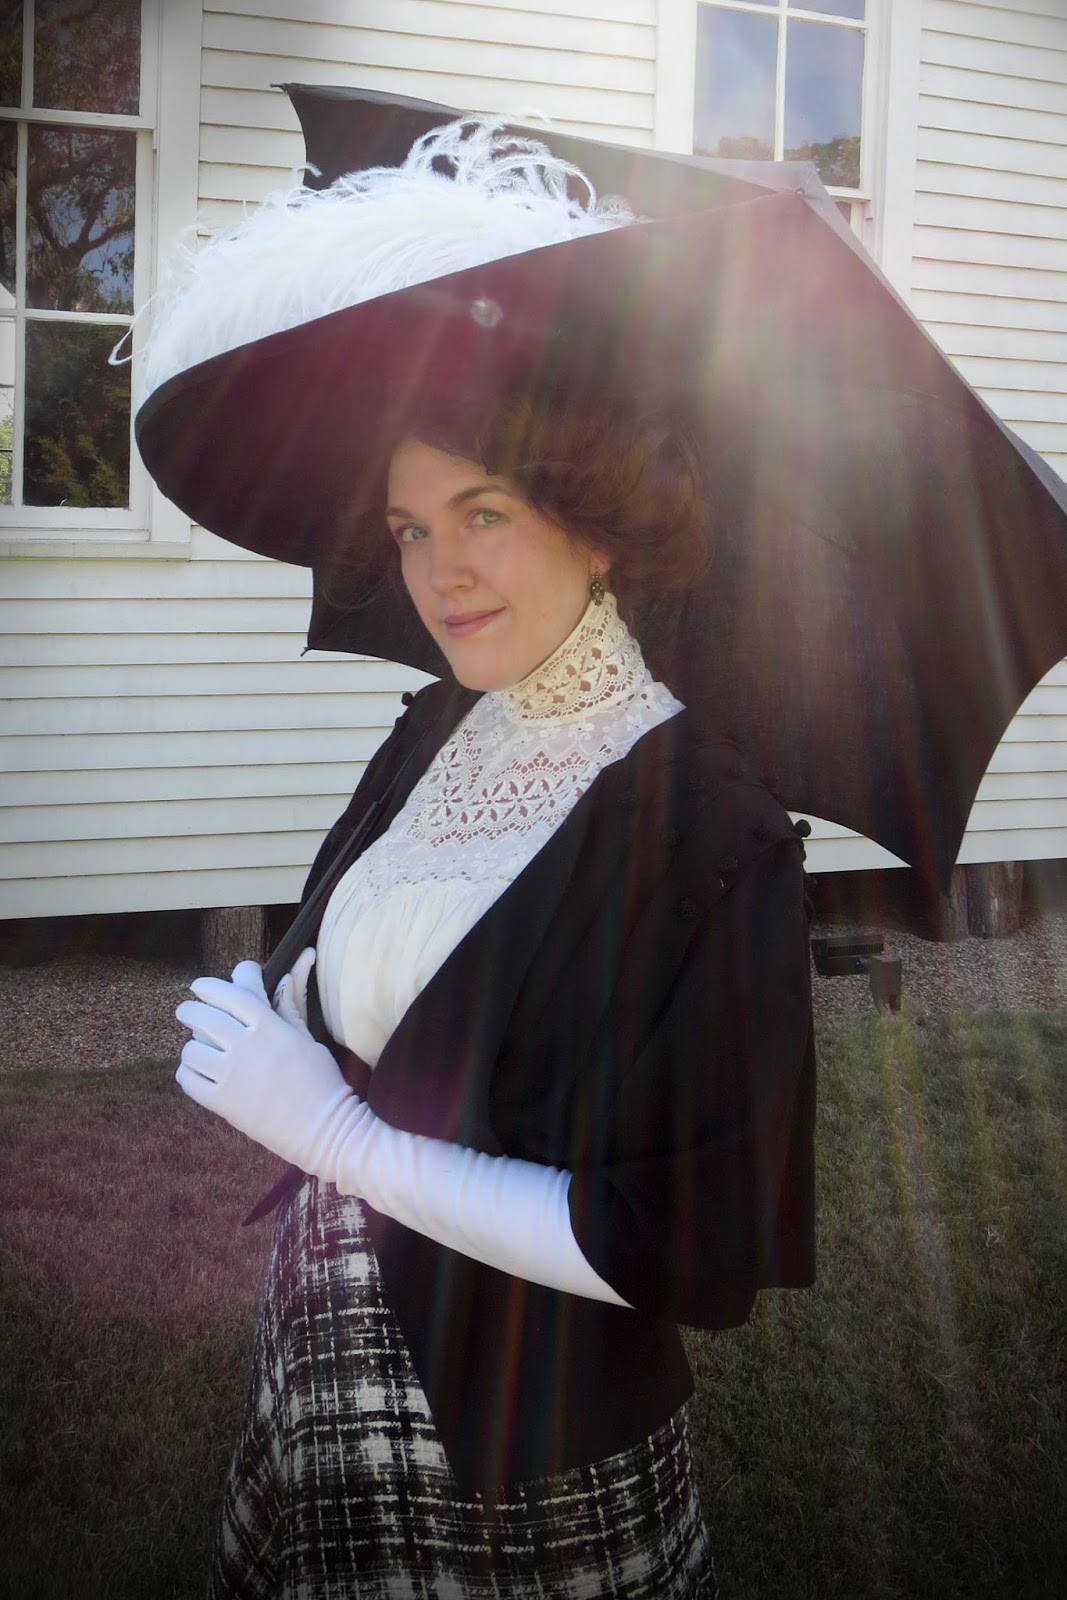
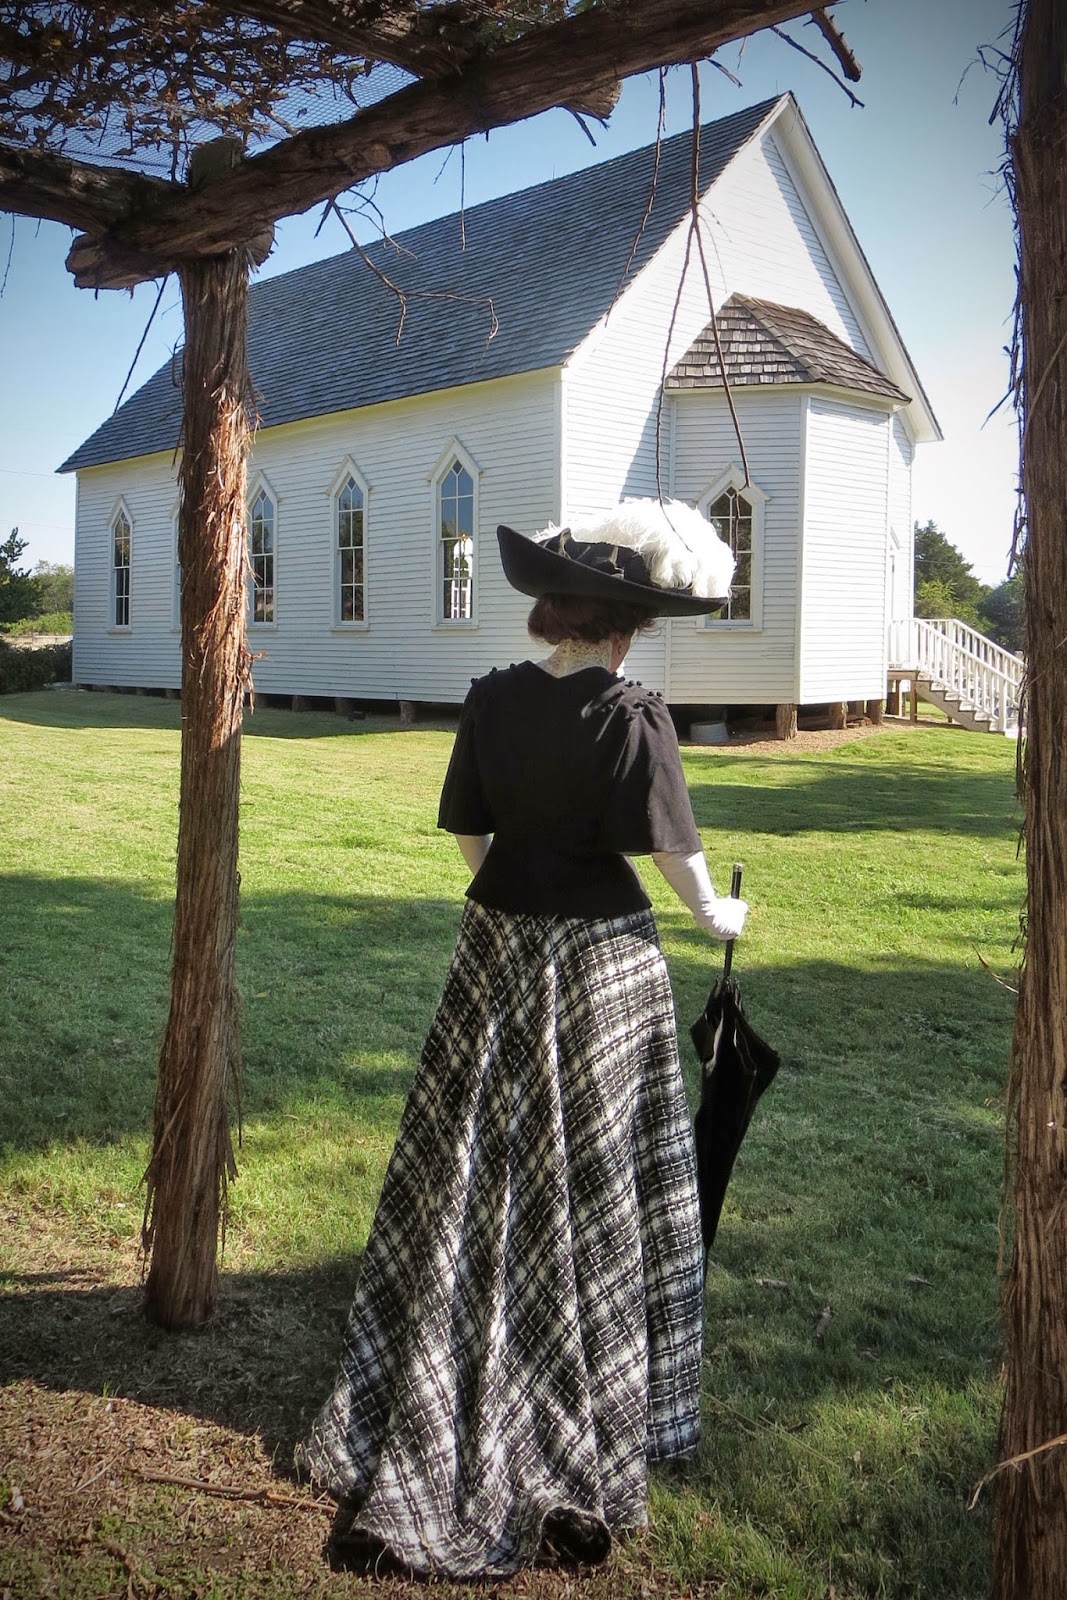
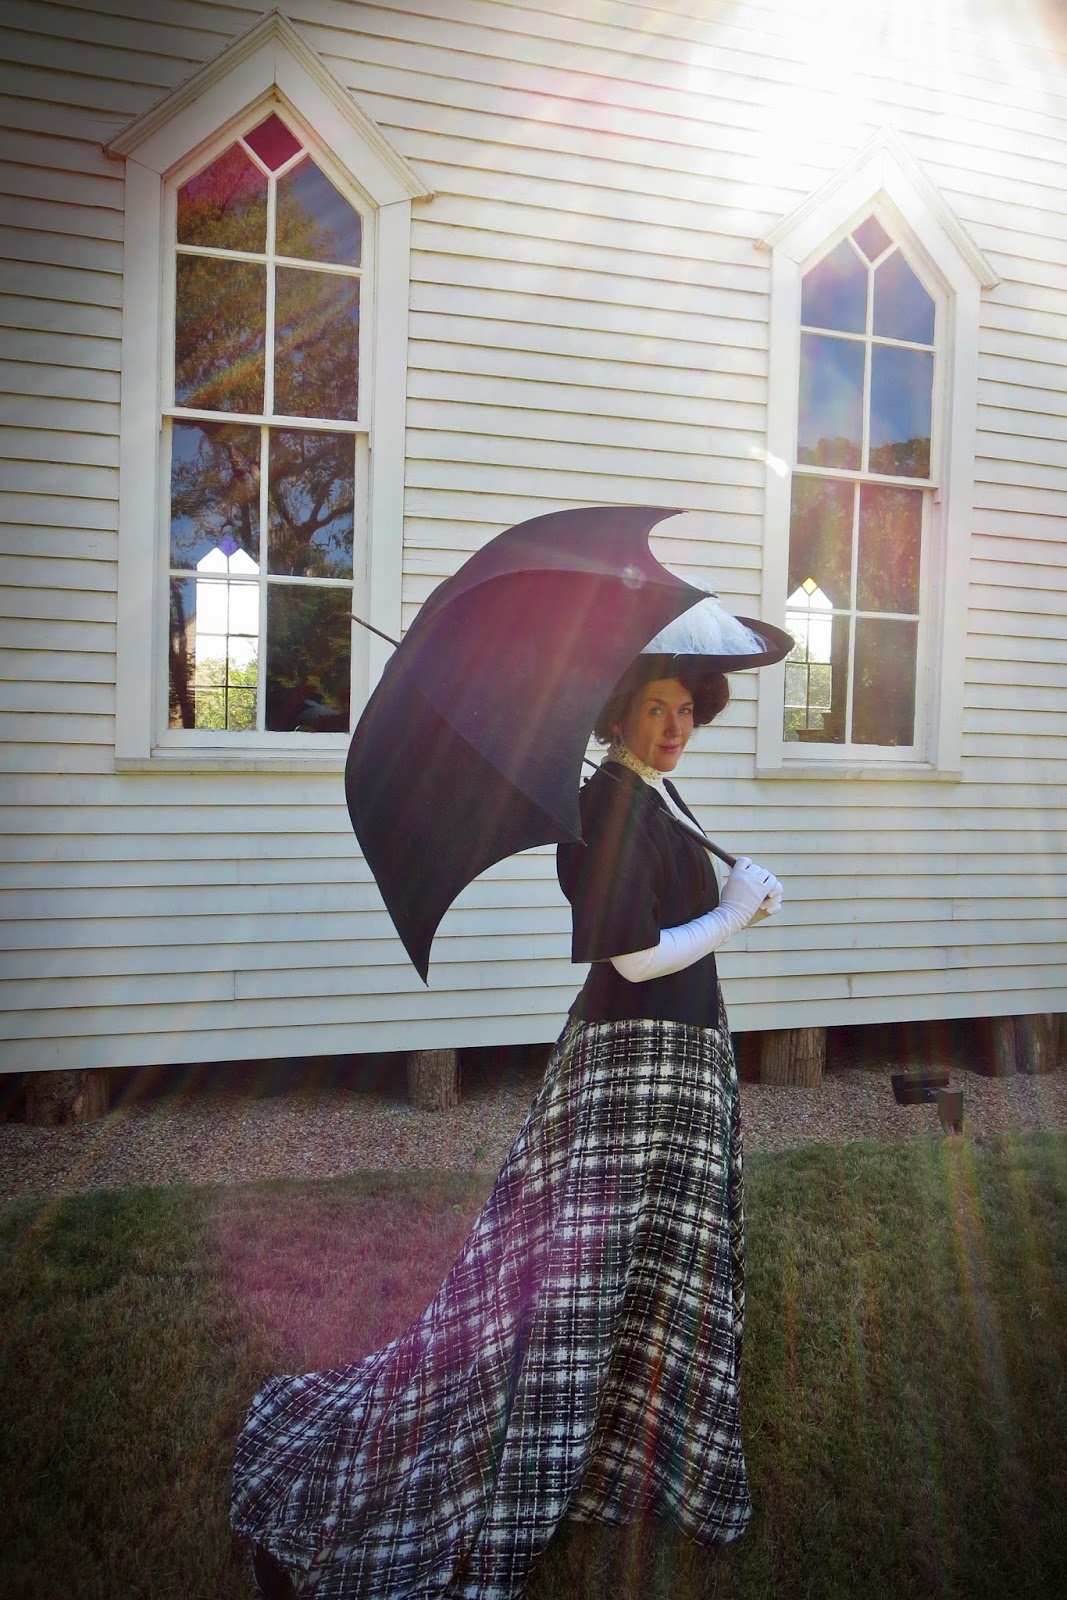
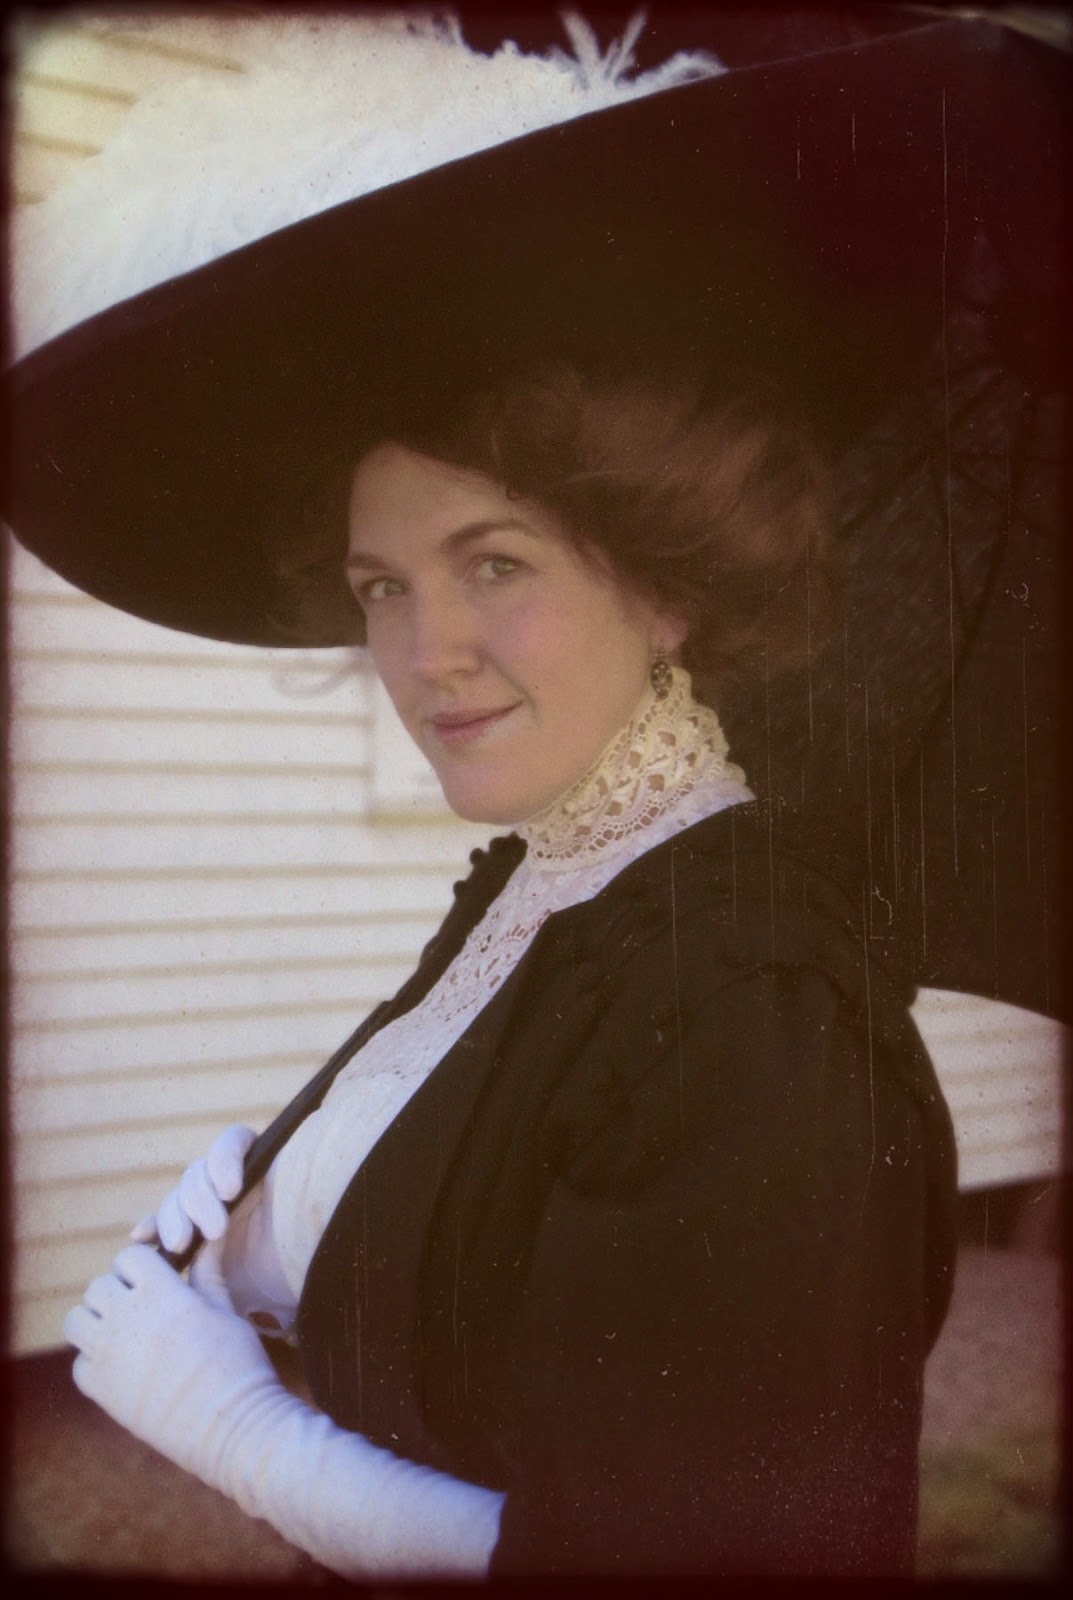
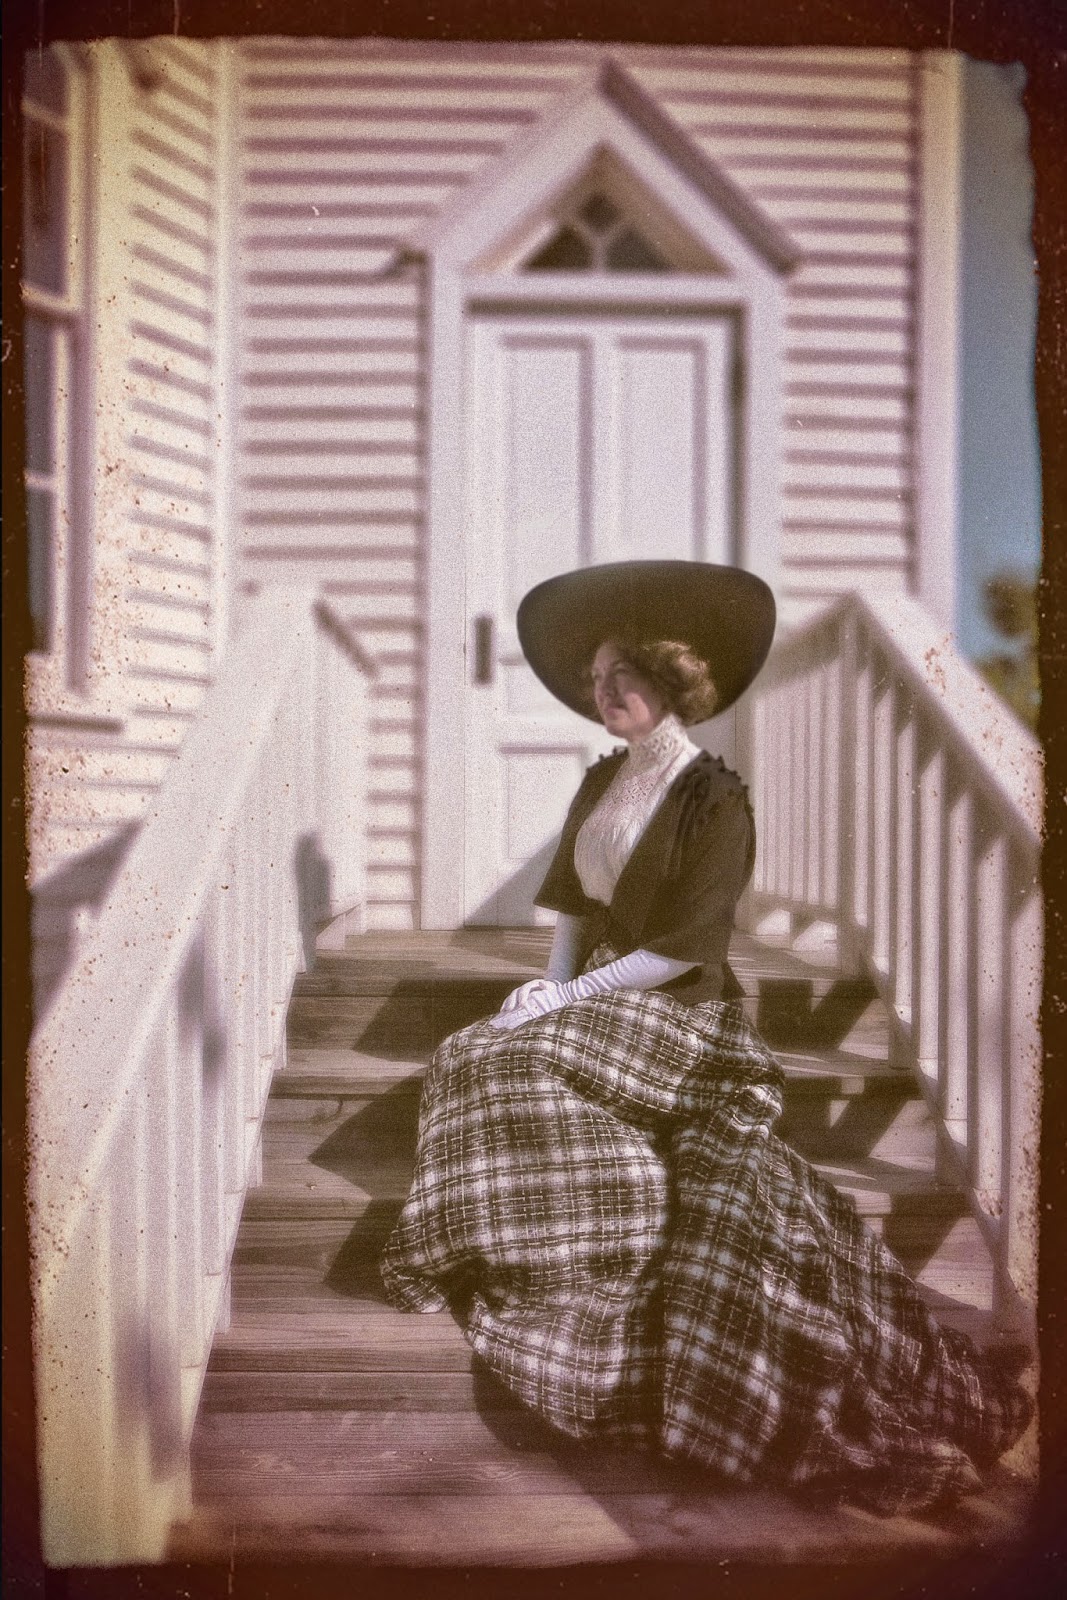
I knew I would be incredibly busy at the DFWCG's Mourning Tea, so I stopped by a beautifully restored Victorian chapel and cemetery near my home so I could take a few pictures of my new half-mourning dress before the party. I was running short on time and never made it down to the cemetery itself, but I did get some pretty shots outside of the chapel. Here are some of my favorites, and there are a more on flickr.  I'm also having fun turning these into faux-autochromes and Longchamps-style photos, so I'll probably keep coming back and replacing these as I have time.

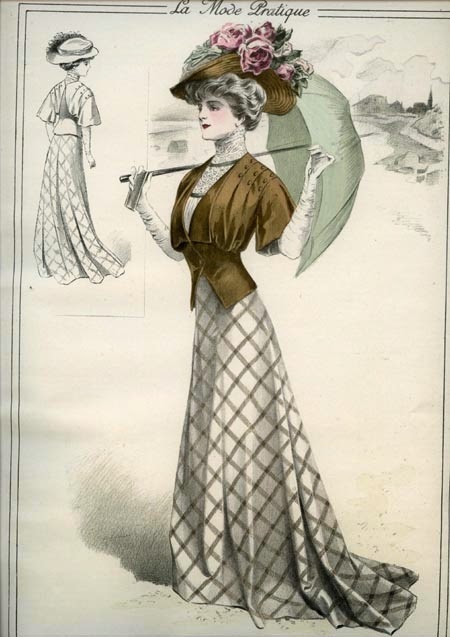
I'll start by reposting my original inspiration from a 1908 edition of La Mode Pratique, followed by two photo where I tried to copy the poses shown in the illustration. I didn't intend to copy every last detail of this dress, but I think I managed to capture the over-all feel of the fashion plate pretty well, which was my main goal for this project.  Out of all the things that I create, nothing beats the satisfaction of recreating an outfit from a work of art.  There's just something magical about seeing an artist's depiction of fashion once again turn into a living, breathing, moving thing.  


Thanks for following along with my little mini-diary about this dress, and if you missed the earlier entries, you can go back to read about the corsetskirt/blousejacket, and hat.  


Tuesday, April 8, 2014

faux autochromes at the Jazz Age Sunday Social


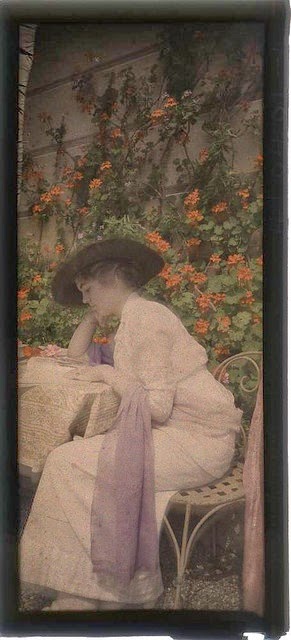
So if you follow my blog, you might already know that in addition to making costumes, one of my other quirky hobbies is creating faux-antique photos.   Although I love all varieties of early photography, the antique photos that I adore most of all are autochromes, like this 1910s photo seen on the right from the George Eastman House collection.  This process was invented by the Lumière brothers in France, and it was used to produce the world's first commercially successful color photographs.  Most autochromes date from around 1905 through the early 1930s, and you can see more examples on my pinterest page devoted to the subject.  There is something so hauntingly beautiful about old autochromes with their hazy colors, soft focus, and pointillist-style coloring.  Their subjects exude such quietness and serenity, and I adore the dreamy, other-worthy feeling that you get from seeing 100 year old subjects in full realistic color.  
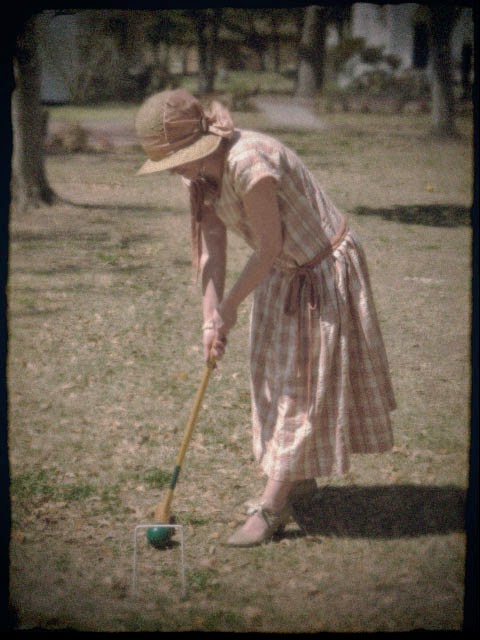
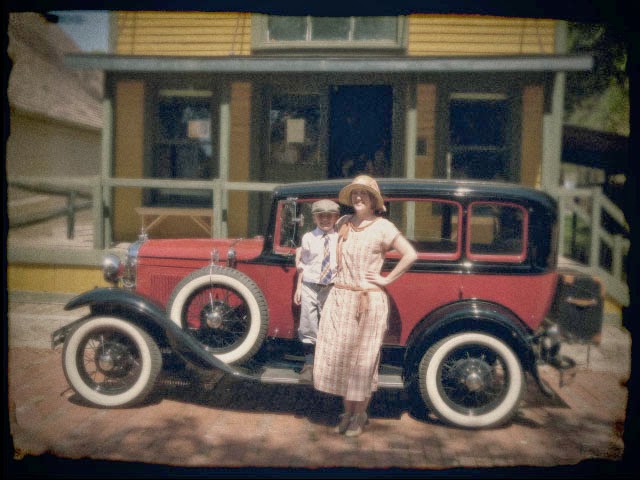
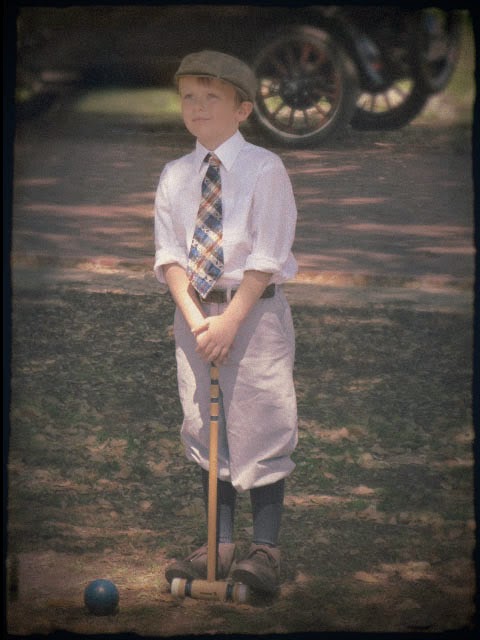
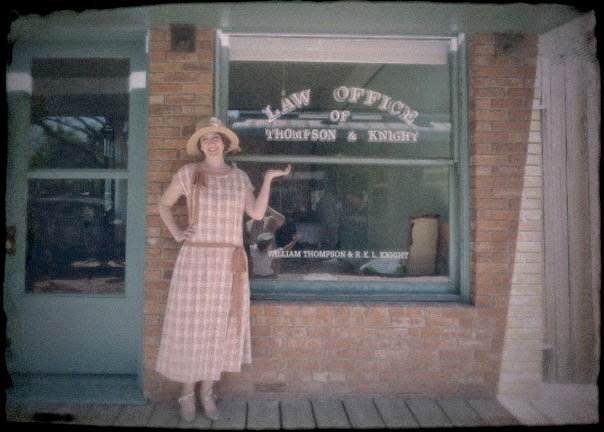
So after our recent DFWCG outing at the Jazz Age Sunday Social, I decided to try my hand at creating my own faux-autochromes.  The 20's era costumes, old cars, and historical buildings from that event made the perfect subject matter for this type of photography.  I used photoshop to make these, and I developed with my own custom techniques and actions to create an autochrome effect.  I also spent a good bit of time de-modernizing the backgrounds, as you can see in this "before and after" comparison.  It's a lot of work, but SO much fun to use my 21st c. computer skills to create images that play homage to this fascinating photo process from the past.