Showing posts with label reticule. Show all posts

Sunday, November 30, 2014

1790s Autumn accessories

Gallery of Fashion, 1796

A few weekends ago, the DFWCG had its annual Georgian Picnic, and I decided to make some new cold-weather accessories to dress up my old 1790's spencer and round gown. Unfortunately, I ran short on time and had all sorts of unforeseen drama that weekend, so my fancy new accessories did not get finished and I ended up with a very boring outfit for the picnic. *blah* But I was so excited about what I was working on that I decided to give it another try and finish everything so I could at least do a photo shoot and share my projects here. I spent lots of time pouring through Gallery of Fashion illustrations when coming up with ideas for my new accessories, and all of those plates can be found on the Bunka Gakuen archive, which is an invaluable resource for studying costume of this era.


First on the list was a new fixed turban. The construction was very similar to the turban I made last summer, but this one has a 3-yard strip of velvet wrapped around the crown, which made it much rounder and taller than my first version. I didn't get a chance to decorate it before the picnic, so it was painfully plain during its first wearing. To add a bit more excitement, I added strips of fur to the twists and a drape in the back, and I like it a million times better now. It just goes to show how important those finishing touches are when making hats from this era. I used a straw hat as the base for this turban, and everything is tacked into place by hand, so it would be easy to change again in the future if I wanted to try something else.

Gallery of Fashion, 1801
I also had a massive hair fail on the morning of the picnic and didn't have time to work out a plan B, so I decided to invest in a new wig to make sure that never happens again. I bought the Aneesa wig by Mona Lisa (you can sometimes find cheaper prices for this wig on Ebay), and I think it's a nice match for the short cropped curls that you see in some of the fashion plates from this era. I took sections of hair and brushed them out, then I wrapped them around my finger to make distinct ringlets. It's sort of a silly look, but it seemed very Gallery of Fashion-esque, which is exactly what I was going for.


reticule from the MFA Boston - 1800
Next, I decorated a silk reticule with brass spangles. I made the reticule earlier this year, but it wasn't anything exciting, so I decorated it with a pattern similar to the bag shown on the left. My version is fairly subtle since the color of the spangles matches the silk so well, but I'm quite pleased with the way it turned out, and I discovered how fun it is to add spangles to things.  I don't think I'll ever have a plain reticule again!

The gloves were another quick project that helped to add some more color to my outfit. They are vintage gloves that I found at an estate sale, and they were originally orange. I over-dyed them with purple Rit to make them a burgundy color that would match my turban. The color is a little spotty in a few areas, so the next time I dye gloves, I'll be sure to wash them first to make sure any old grease or oil is removed, which can cause the dye to be absorbed differently in those areas. But it's nice to know that I can take boring old gloves and dye them any color that I want. I never even though about doing that before.


Gallery of Fashion, 1795
In the past, I wore my paisley shawl with this outfit, but paisley shawls don't typically show up in fashion plates until after 1800, so they aren't the most historically correct style to use with this period. So I decided to make myself a fur tippet, which is an accessory that you do see often in 1790's illustrations.  I had a small remnant of faux fur left over from another project, so I pieced it together and sewed it into a long tube.  Honestly, it doesn't provide much warmth unless you wrap it tightly around your neck, but they do look pretty glamorous, so I guess that's the main point.

Finally, I made myself a high-necked chemisette to fill in the neckline of my round gown and make it more appropriate for winter. I made it out of a vintage baby gown that had been badly stained and torn and was headed for the scrap bin. But I managed to salvage enough of the plain cotton to make the chest piece and collar, and then I used the lace edging to create some long ties that I could arrange like a cravat. I think more than anything, the chemisette helped to keep me warm by covering one of the few exposed areas on my body, and I love the smart and sporty look that it creates - perfect for a hike through the woods on a November day.

So I might have missed my goal of having these new accessories finished for the picnic, but I still had fun wearing them for my photoshoot, and I hope I get another chance to wear them to a real event in the future. You can see the full set of photos on Flickr, and here are a few more of my faves.


Tuesday, June 24, 2014

Regency "little white dress"


M5053MA_214X02X00050_L_3
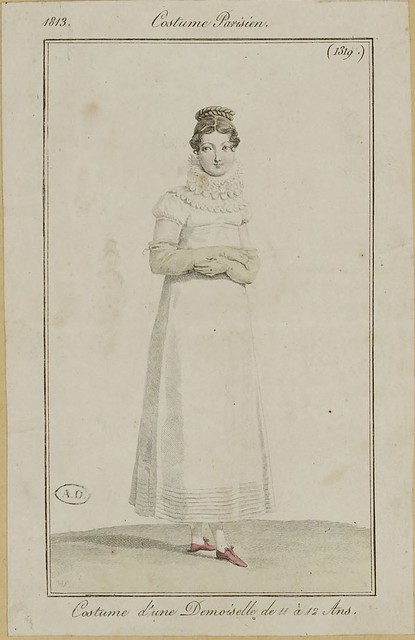
1813 fashion plate from
Scene in the Past on flickr
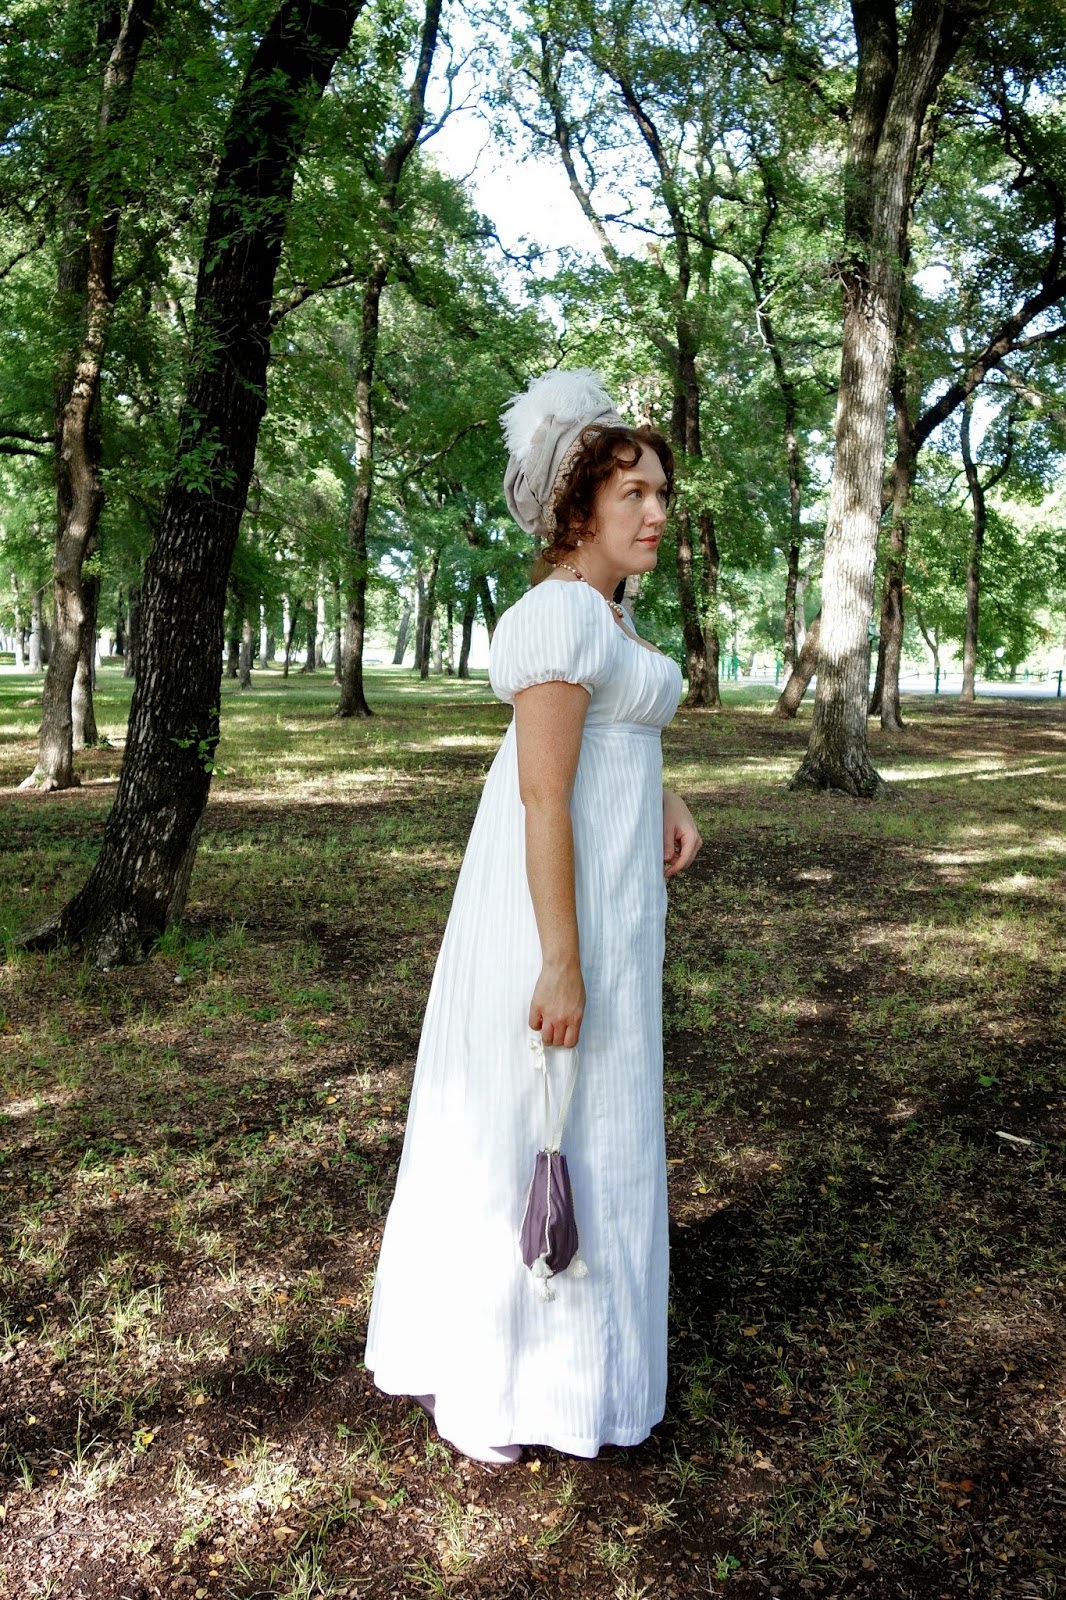
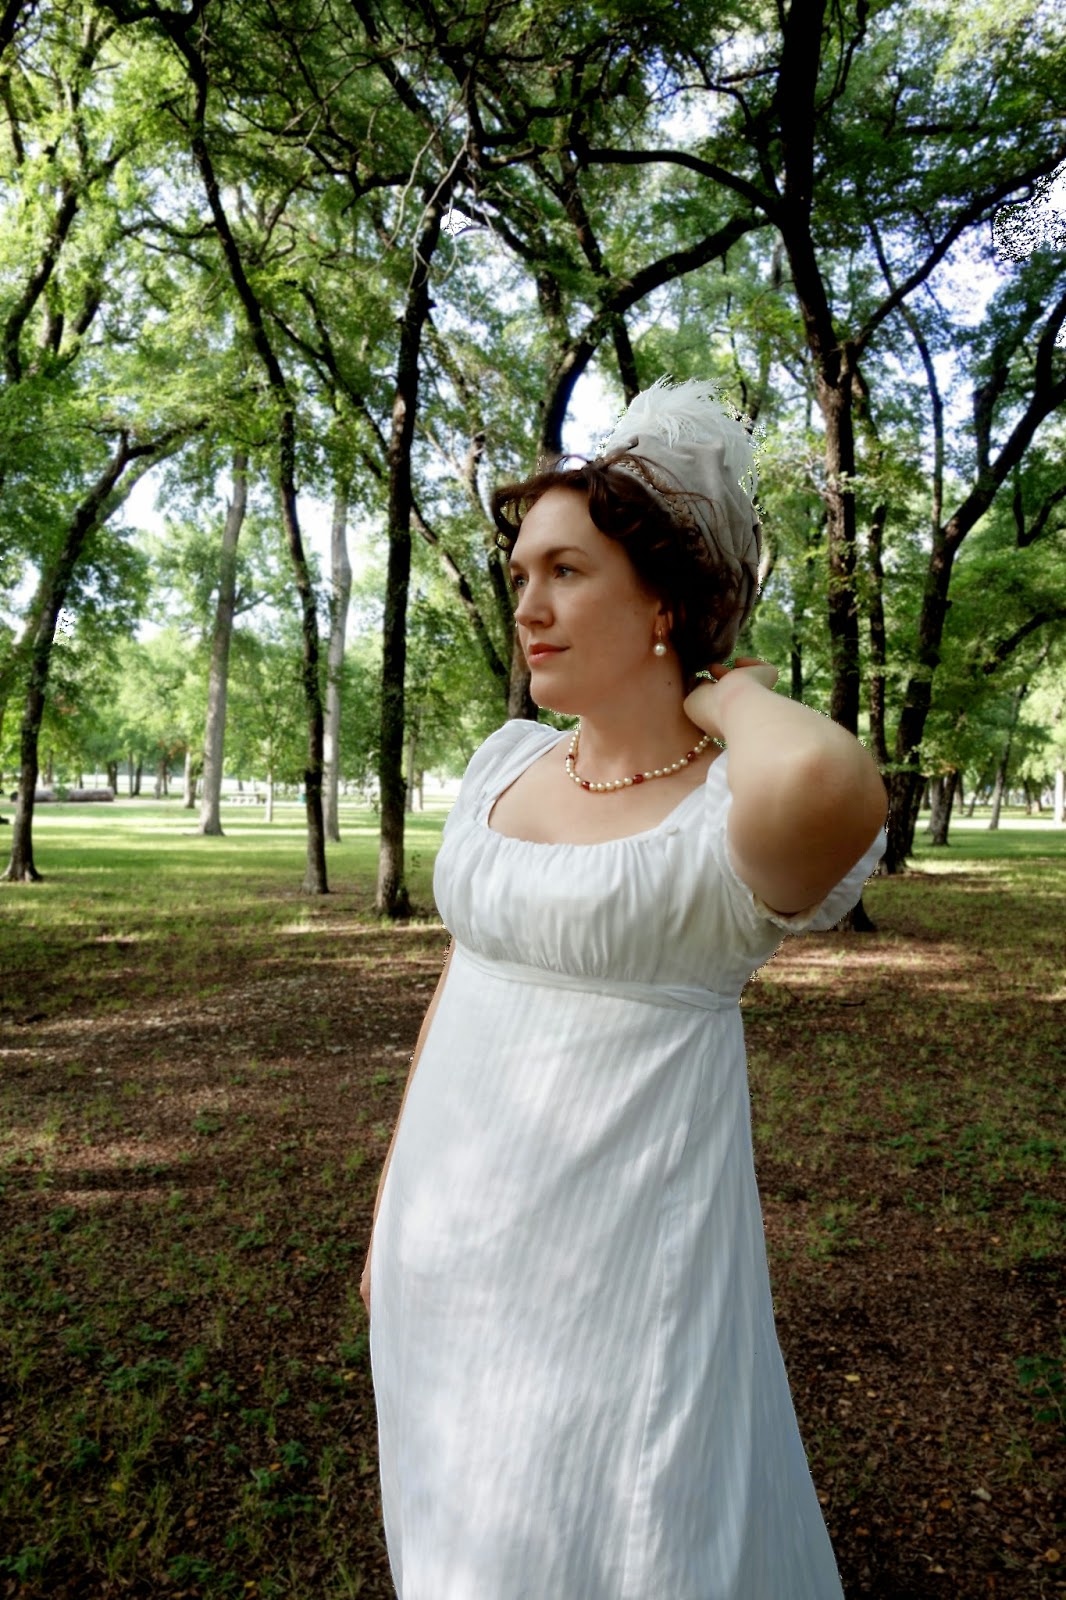
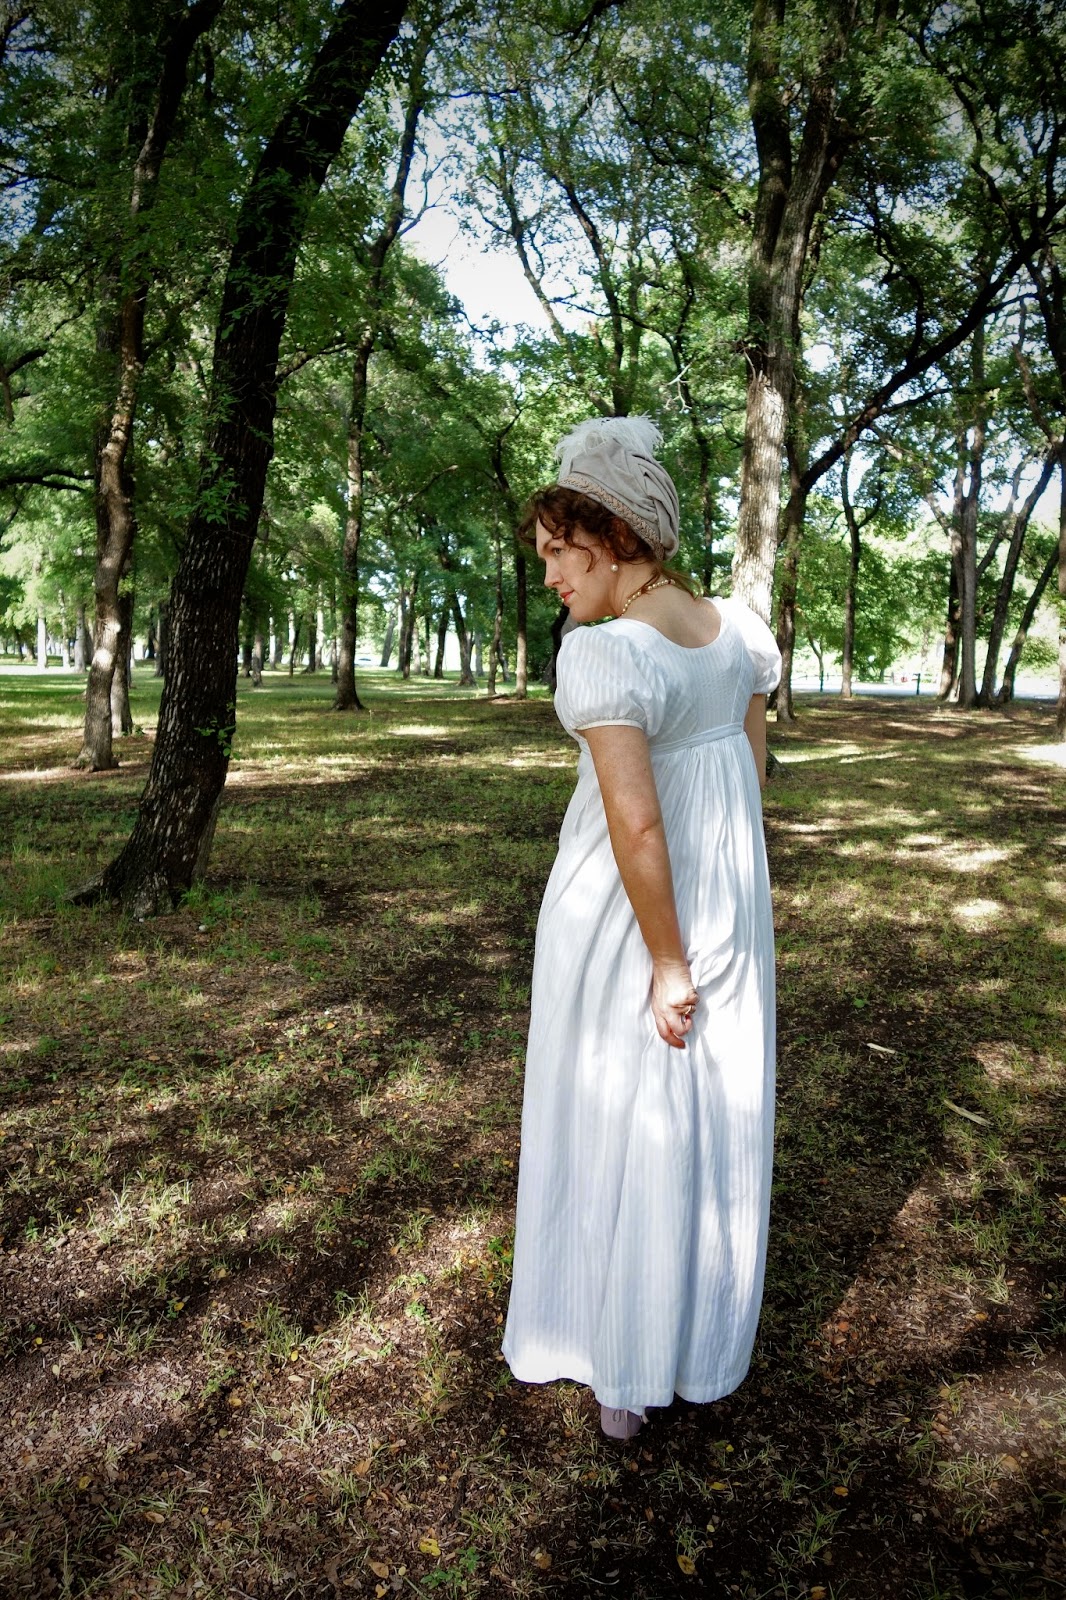
Of course everybody has heard of a LBD - a "little black dress", but I think there needs to be a special spot in the wardrobe of historical costumers for the LWD too - the "little white dress".  Years ago, before my personal aesthetic changed and I grew to love Regency costuming, the LWD stood for everything that I hated about this period of clothing.  I always thought that these dresses looked like little girls' prissy nightgowns, and I have to admit that I still have a preference for colors and patterns and the earlier Empire styles.  But what has changed is that now I appreciate how versatile these basic white dresses are as wardrobe builders.  You can pair a LWD with a spencer or pelisse for outdoor-wear, a sleeveless overdress for daywear, a fancy bodice or robe for evening, or you can always keep it plain and accessorize it with colorful accessories for every type of event in between.  It's such a great building block for a huge variety of looks that I finally gave in and decided to make my own Regency LWD.  I'm hoping that my dress will work for a wide variety of Regency looks, but I designed my dress have several of the hallmarks of early 1810's French fashions, like the flat-front skirt, shorter hemline, super-high waistline, and small puff sleeves.  This dress was made to wear to an 1812 Overture concert, so I wanted my dress to be appropriate for that general time frame.

My gown is a bib-front style with a pattern that I cobbled together from a variety of dress diagrams taken from surviving garments.  Bib-front construction seemed to be going out of style by the 1810's, but it's very important that I can dress and undress myself for events, so I chose this style of gown for convenience more than anything else.  It is made of sheer striped cotton, and the bodice is lined with cotton sateen.  The sleeves and skirt are unlined, so my petticoat and chemise work as the lining layers.  I discovered that it still has a slightly "merveilleuse-ish" transparency when the sunlight shines behind me, which is a fun feature that makes it a little more daring, I think.


The bib is closed with a pair of dorset buttons that I made myself, and a cord that runs through a channel in the top edge of the bib with loops on both ends.  The bottom of the bib is attached to a waistband that wraps around the body and then ties in the front under the bib.  The skirt is left open for the top few inches at both of the side-front seams, and I added some thread belt loops at the sides and back to keep the bib ties from slipping down and making these openings gape or wrinkle.


The back is fitted and pretty simple.  The side back panels tend to wrinkle a little, which I guess is due to the bias cut, but it doesn't bother me too much.  To construct the bodice, I placed the outer fabric and lining together and sewed them as one layer, and then I used a strip of bias tape to finish the neckline.  The sleeves have a thin cord running around the bottom edge that ties in a bow on the inside so that I can adjust the tightness.  They are based on this pattern, but I ended up enlarging the pattern to 120% and I removed the bottom puff after I tried out a variety of sleeve styles.


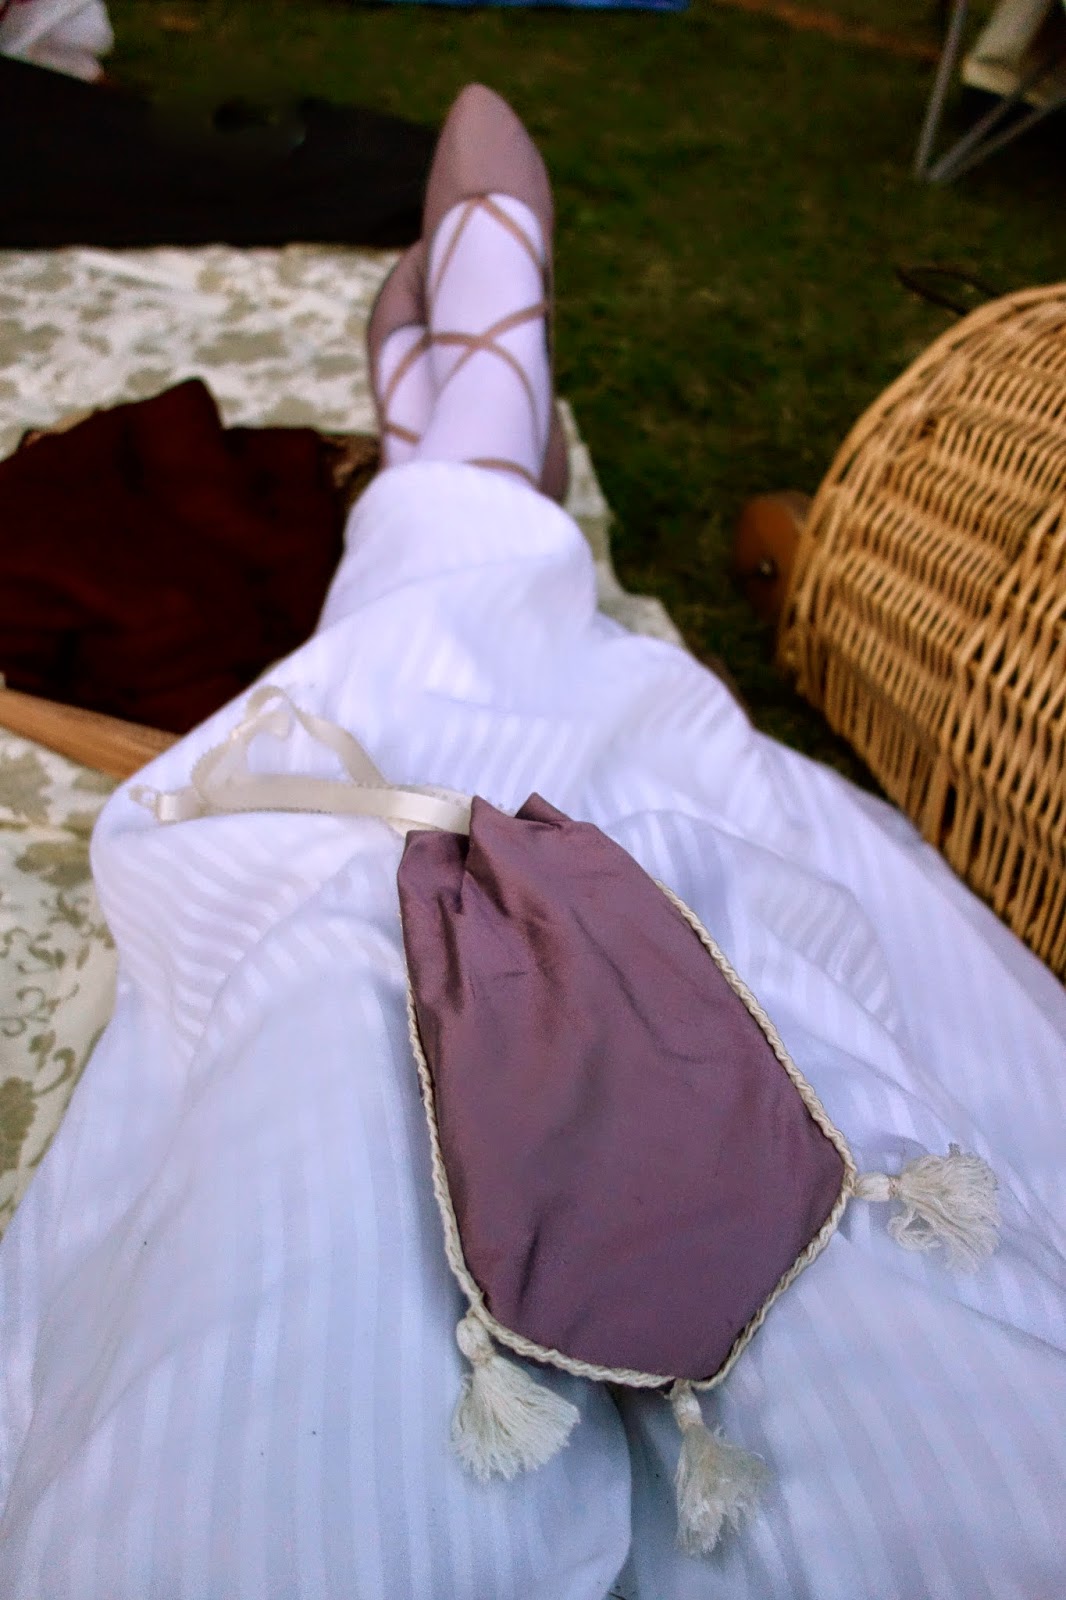
Since the dress itself was so simple, I had a lot of fun digging through my stash and making some accessories to liven it up.  I started with a 3-sided silk reticule made from these instructions.  It was a fun little 2-hour project, and I even made my own silk thread tassels to finish it off.  Now that I know how easy these are, I'm determined to make a new reticule to go with every dress that I ever make.


I also painted a pair of cheap cloth flats to match my reticule and added some criss-cross ribbon ties to dress them up a bit.  I never could find any ribbons that were the right shade of mauve-y purple, so I dyed some plain cotton tape with a little bit of black Rit, which is a very purple-based color, and they turned out perfect.  


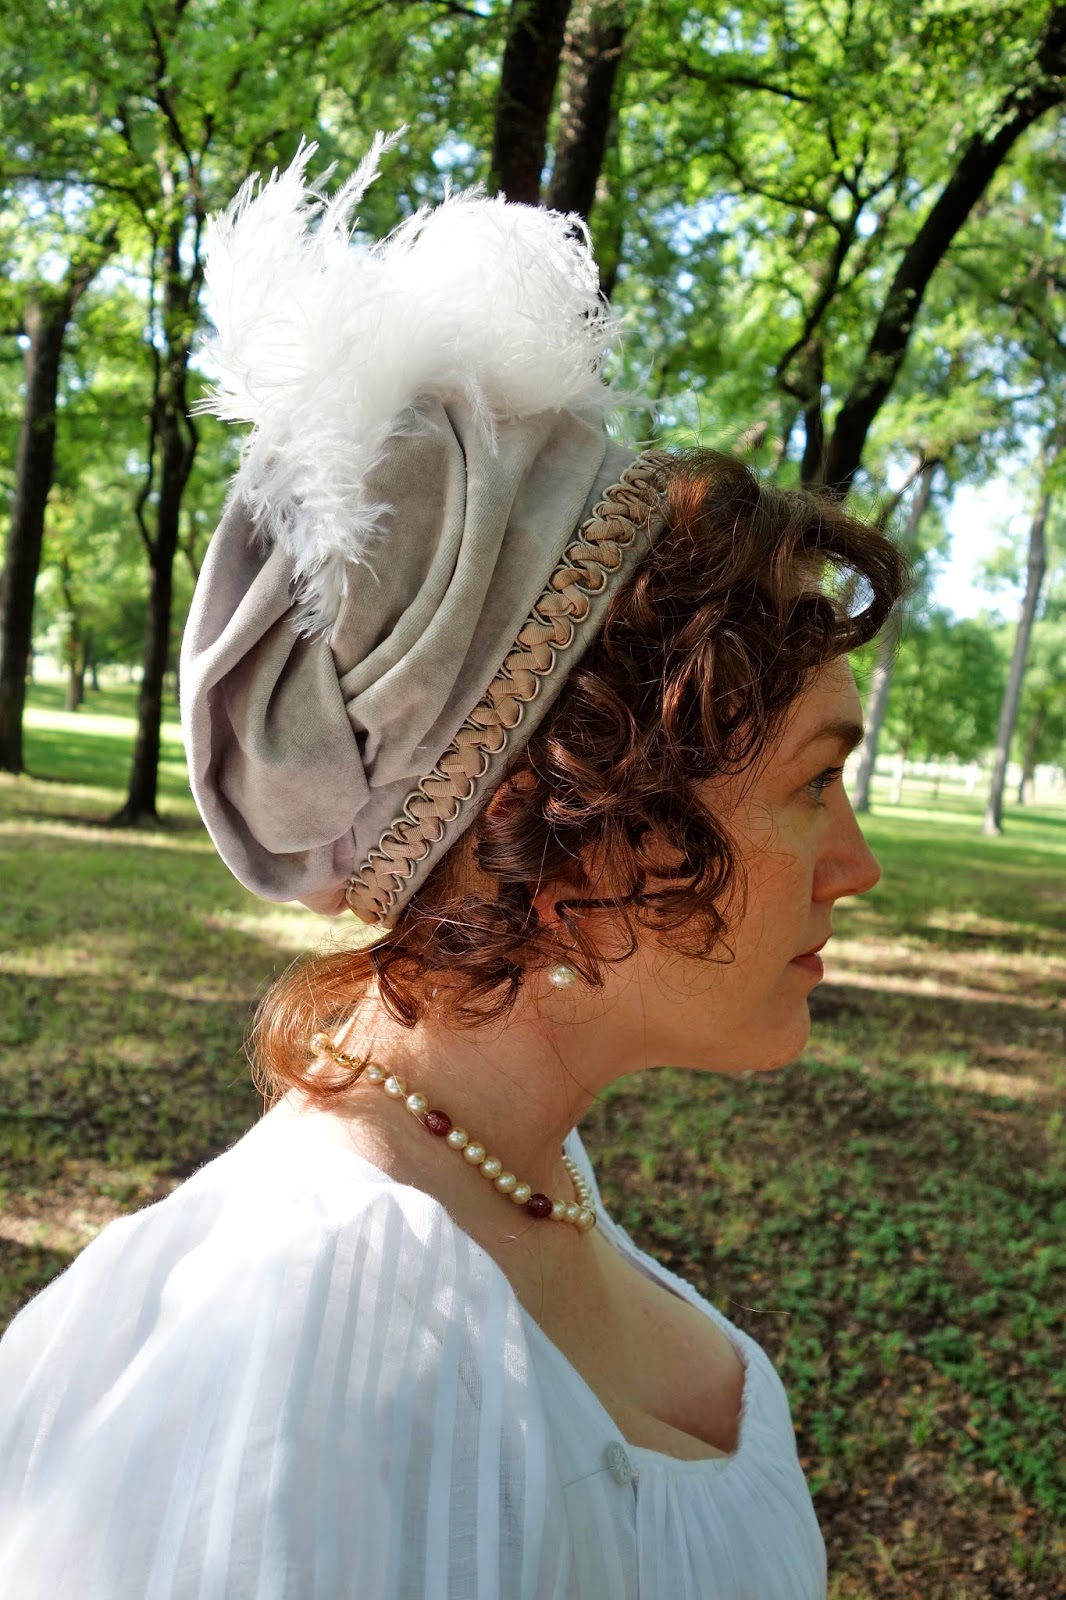
And last, but not least, I made a new turban-style cap out of grey velvet with a hint of purple in it.  I'll save the details about that project for the next post since I actually remembered to take step-by-step photos for a change.  :)


I have a few additional photos on flickr if you are interested, and you can find photos from our 1812 Overture outing there too.  We had SO MUCH FUN!  

I'll wrap this up with one more entry for the Regency Ladies Wedgie Society.  It sort of feels like the wedgie pics are a rite of passage for all of my Regency projects now - it's not truly finished until I take a silly wedgie pic.  :)