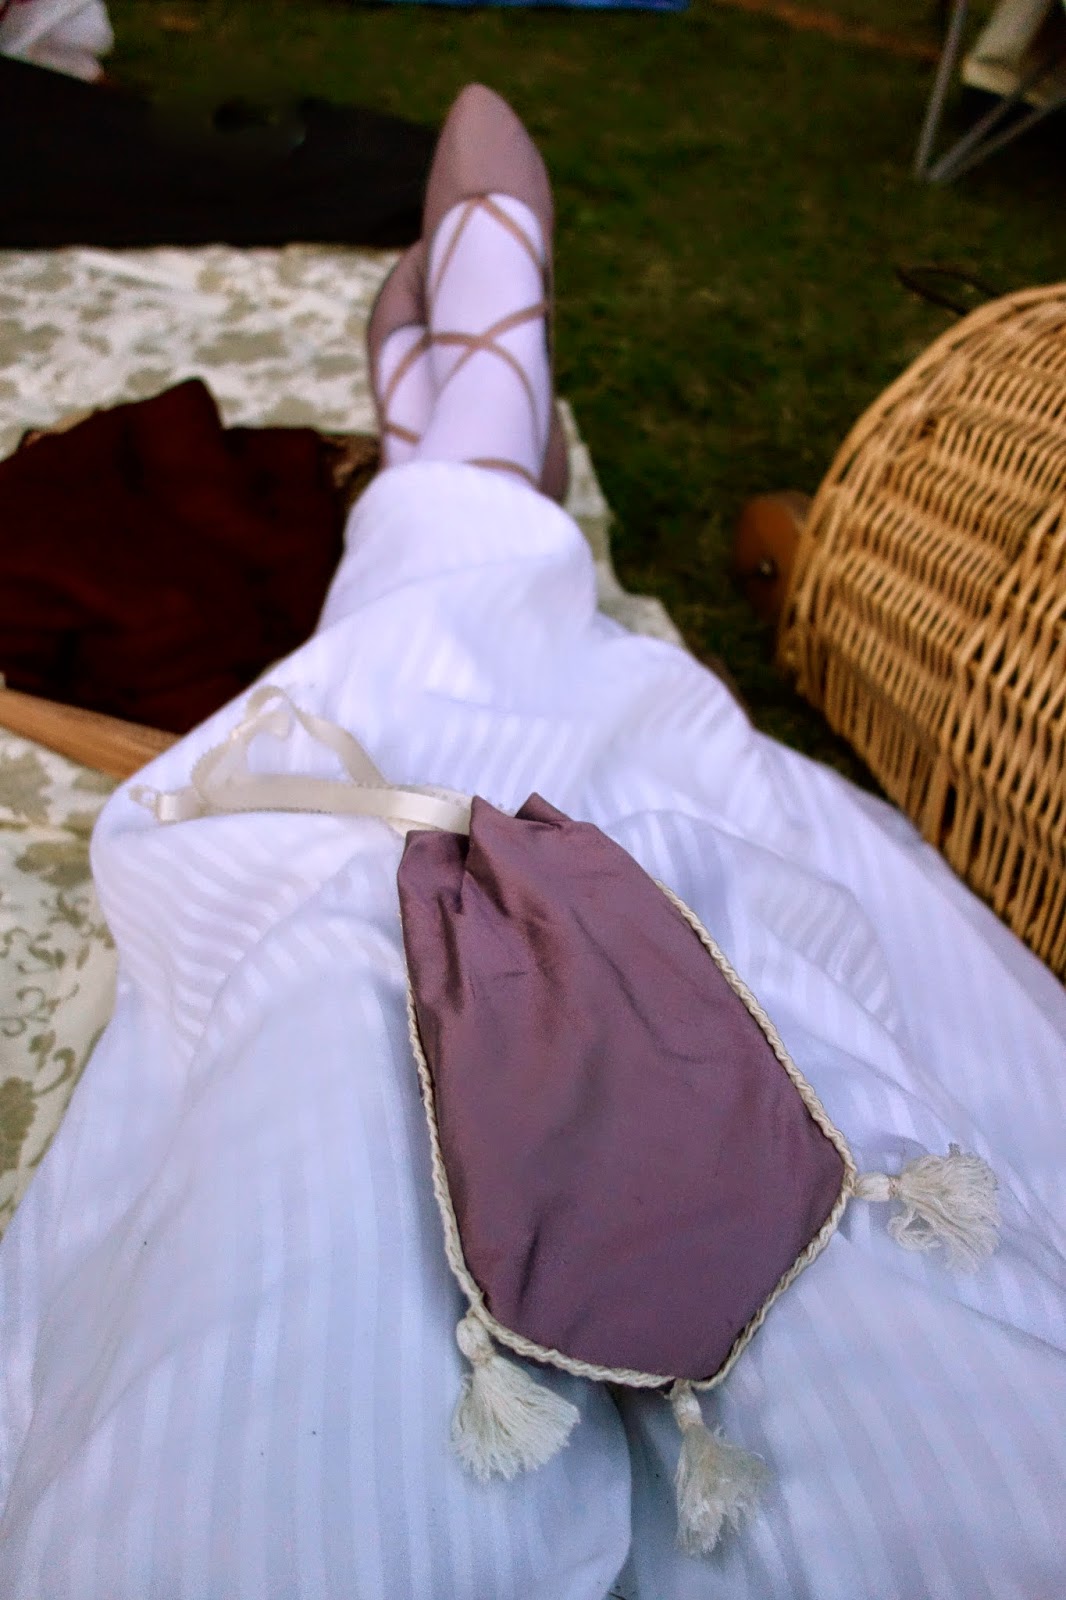
 |
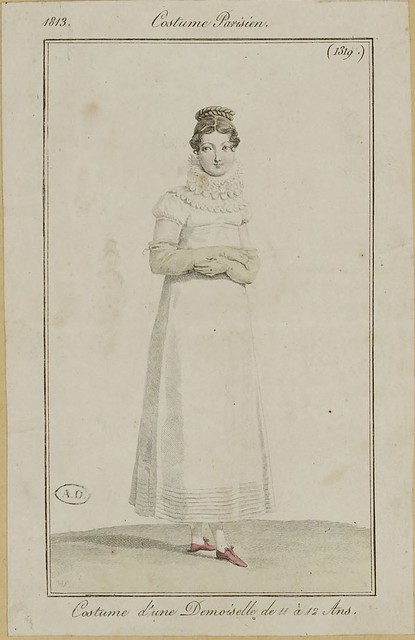
| 1810 fashion plate from Scene in the Past on flickr |

For my fixed turban, I started with a straw fedora, then I wet the hat and stretched it over my hatblock to make the crown round again. It would be even easier to start with a hat with a round crown, but woven straw is so easy to reshape that almost any stye of hat would work. I then cut off the brim right next to the internal sweatband. If your hat doesn't have a band sewn on the inside and your base is made from woven straw vs. straw braid, you will probably want to sew around the cut edge to keep the straw from unraveling as you work.
To cover the base, I used some cotton velvet that I dyed myself. The velvet was originally black (it's all I had on hand), but I bleached it and then dyed it with pearl grey Rit, which has a slightly purple-y color to it that I really liked. You can see that the color is a bit mottled because I wasn't being very careful when I dyed it, but you really don't notice that when all of the draping is in place.

I cut a long strip that was about 3" wide to cover the bottom edge of the crown and a large oval that was 17"x19" for the poofy part on top of the crown. I whip-stitched the long strip to the inside sweatband, then I folded it over the cut edge of straw and used a running stitch to secure it to the outside. The end of the strip where it overlaps in back is turned under and whipped down as well.

Next I pleated the oval down to a size that fit the circumference of the crown base. My pleats are pretty irregular and I didn't measure anything or try to space them evenly. You can even see in the picture above that there are some sections on the side of the oval that aren't pleated at all. It really doesn't matter much with this sort of randomly draped cap, and I just pinned and adjusted the pleats until it fit.
I had originally planned on basting this poofy oval to the straw base and then covering the raw edges with a strip of fabric that wrapped all the way around the hat, but unfortunately, I didn't have a long enough strip of fabric left over to do this. I solved this problem by sewing the back of the oval to the straw base with the right sides together. This makes the raw edges of the poof turn under and stay hidden in the back once the oval is flipped up over the top of the hat.

In this next picture, you can see the front of the hat once the poofy oval is flipped over the crown and stitched down with a running stitch. I left about 2" un-sewn on the sides between the back with the finished, turned-under edge, and the front with the raw edge. These open spaces will come in handy for the next step when I add the wrapped band.
Beside the hat are the two scraps of fabric that I had remaining. The 7"x20" rectangle is the part that will wrap around the front and cover the raw edge of the poof. I turned under the long edges of this strip and ironed them, but I didn't bother to finish the edges beyond that. I thought about using the long triangle as a drapey piece with a tassel on the end, but I decided that I liked the hat better without it.

Here, you can better see what I was talking about with the open section on the sides. I gathered the ends of the long rectangular wrap piece, tucked an end under the open section of the poofy oval, then stitched the end to the straw base. Once it was in place, I turned under the edge of the oval and stitched this over the wrap piece. Then I wrapped the long strip around the front, over the raw edges of the poof, and tucked the other end under the crown and sewed it down as well.

This is the front view of the hat with the wrap piece in place. I added a few stitches here and there to secure the wrap across the front so it doesn't shift around, but mostly it is un-sewn except on the sides where it tucks under the poof. To add a little more interest, I dug around in my stash and found a pretty little piece of vintage trim that coordinated well with the velvet. I hand-sewed this around the edge, and actually, if my oval poof had been smaller (or I liked the crazy chef hat look), it could have been done at this point.

To tame my crazy poof a little, I simply pulled extra fabric toward the back of the hat, pinched a few folds into the fabric, turned the extra fabric under, and stitched it down in back. It's amazing what a difference that made!

Here you can see the back view a little better. Once of the best things about working with velvet is that it drapes so nicely and hides your stitches so well. You can see that my back pleating is really pretty random and casually draped, but it still seems to work just fine.

With the outside finished, I decided to add a simple lining to the inside to hide my raw edges and basting stitches. Here is what it looked like before adding the lining.

And here it is with the lining in place. My favorite hat lining method is to use a long rectangular strip of cotton that is whipped to the edge of the crown. There is a channel sewn along the top edge of this rectangular strip, and a drawstring pulls the fabric in to gather it up at the top. I also added a comb to the front edge to help keep the cap in place without having to use hatpins.

As a finishing touch, I tucked a set of 3 short ostrich feathers under the wrap piece and stitched them to the base to make sure the wind didn't knock them loose. This is when it was really convenient to have the wrap piece mostly un-sewn. I was able to try the feathers in a variety of positions, and I could easily switch out the feathers for flowers or a cluster or ribbons in the future to give the cap a different look.

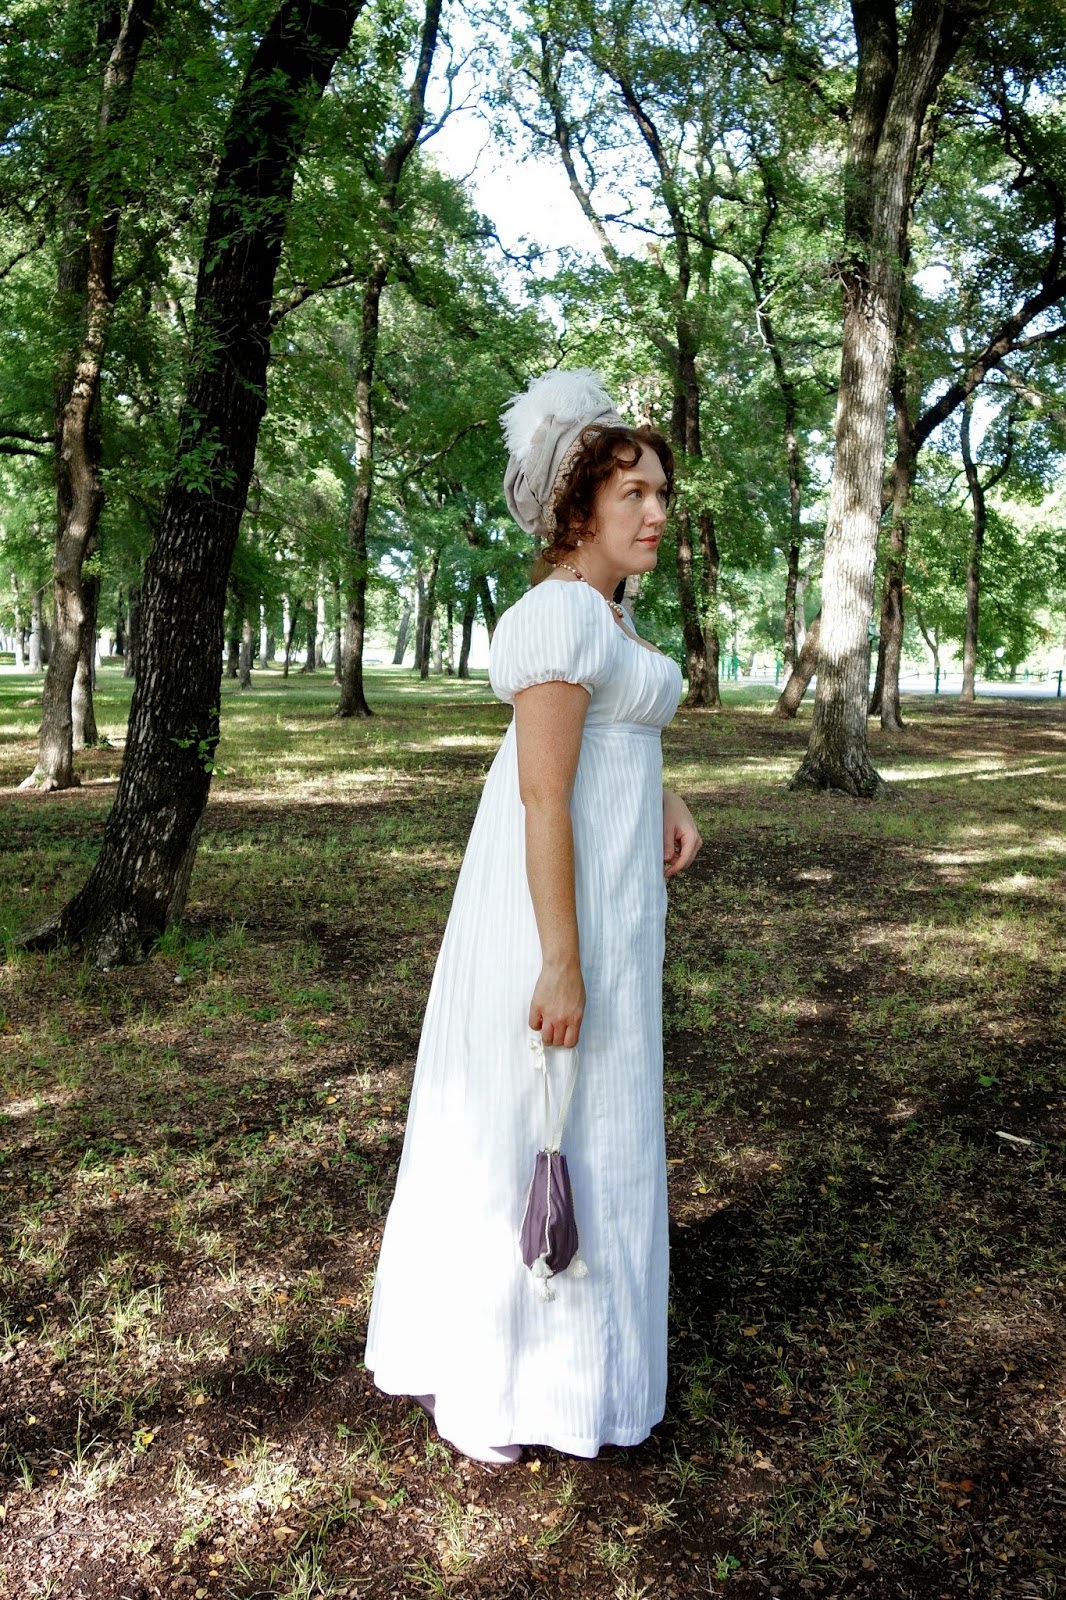
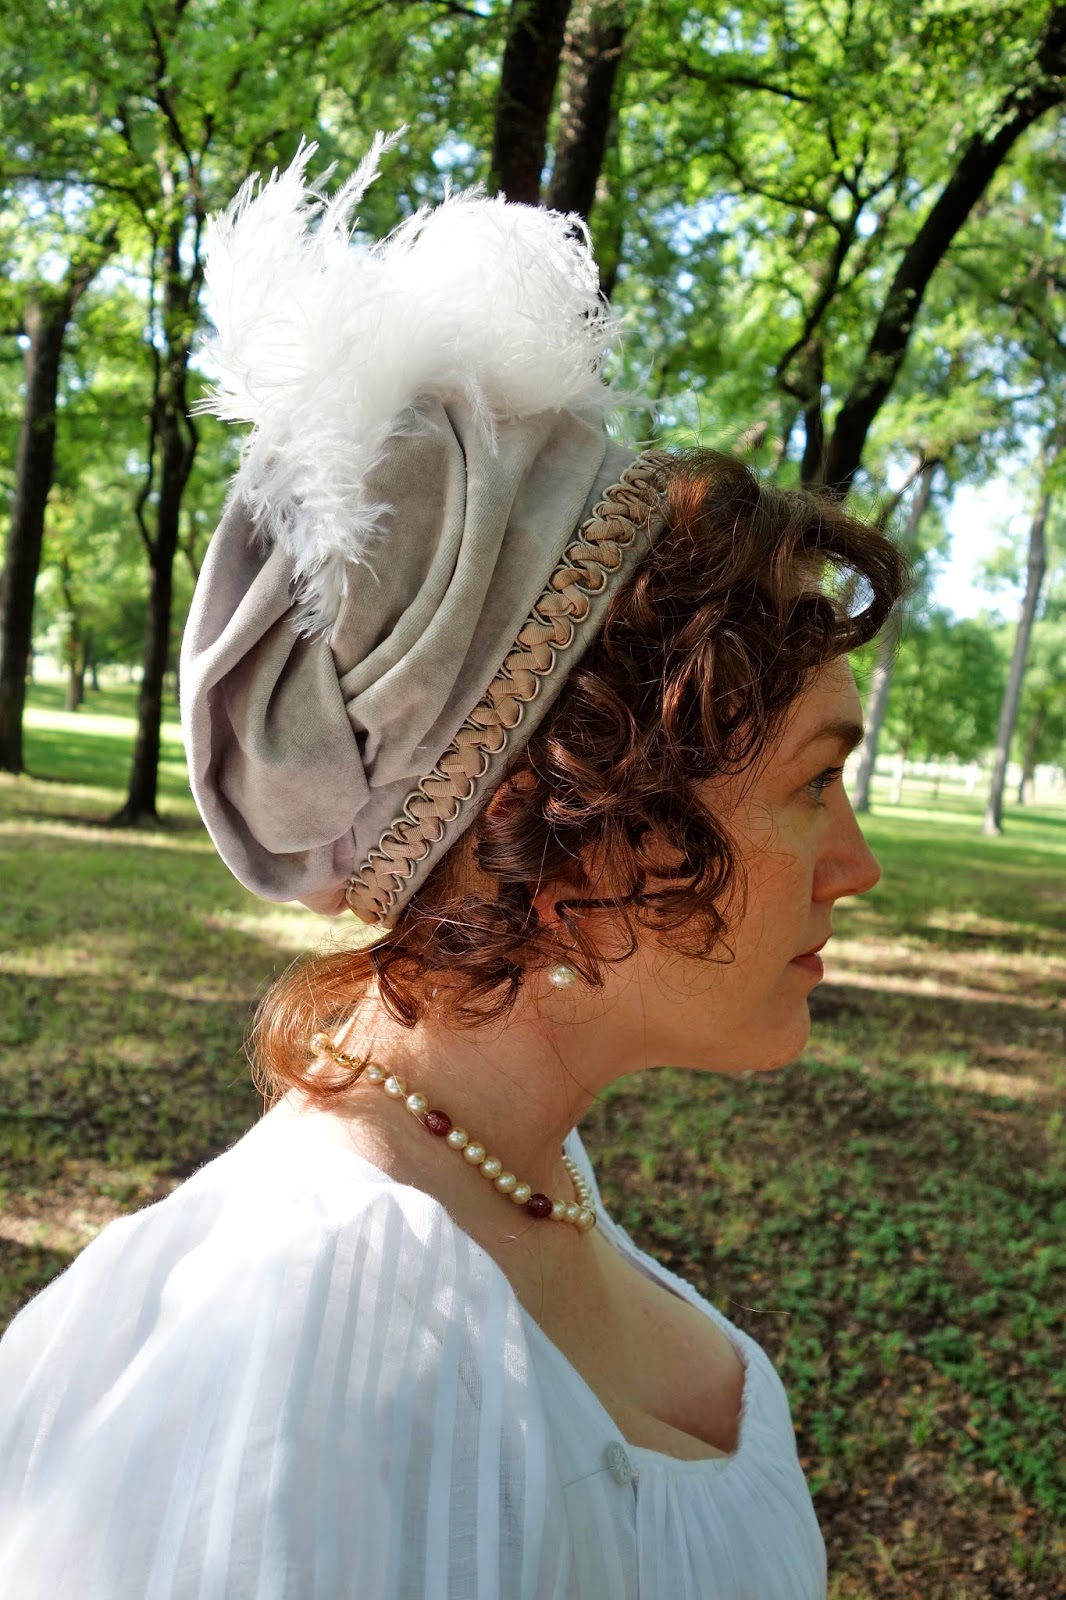
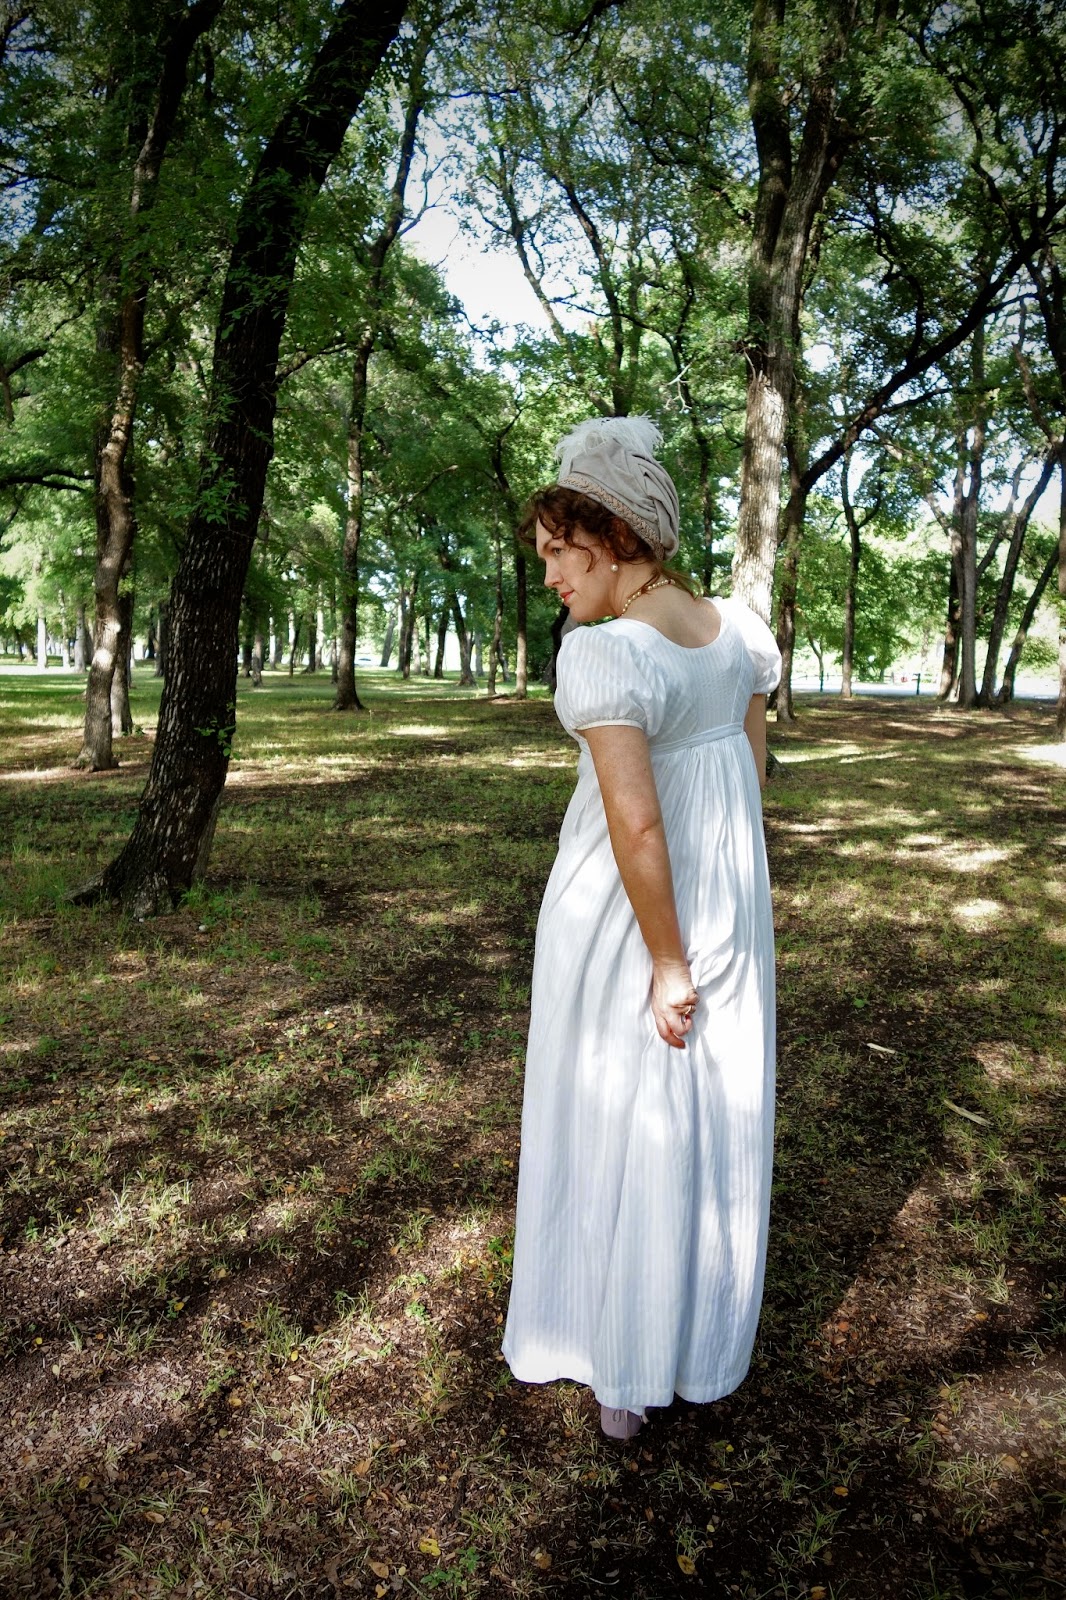
And here is what the turban cap looks like on me. I chose to wear it set pretty far back on my head, although you could also shift it farther forward and not have to worry about curling your hair as much in front if you liked that look better.

Here is the back view. I really had no idea what I was doing with this hat when I started, but I'm so happy with the way the draping worked out in the end!

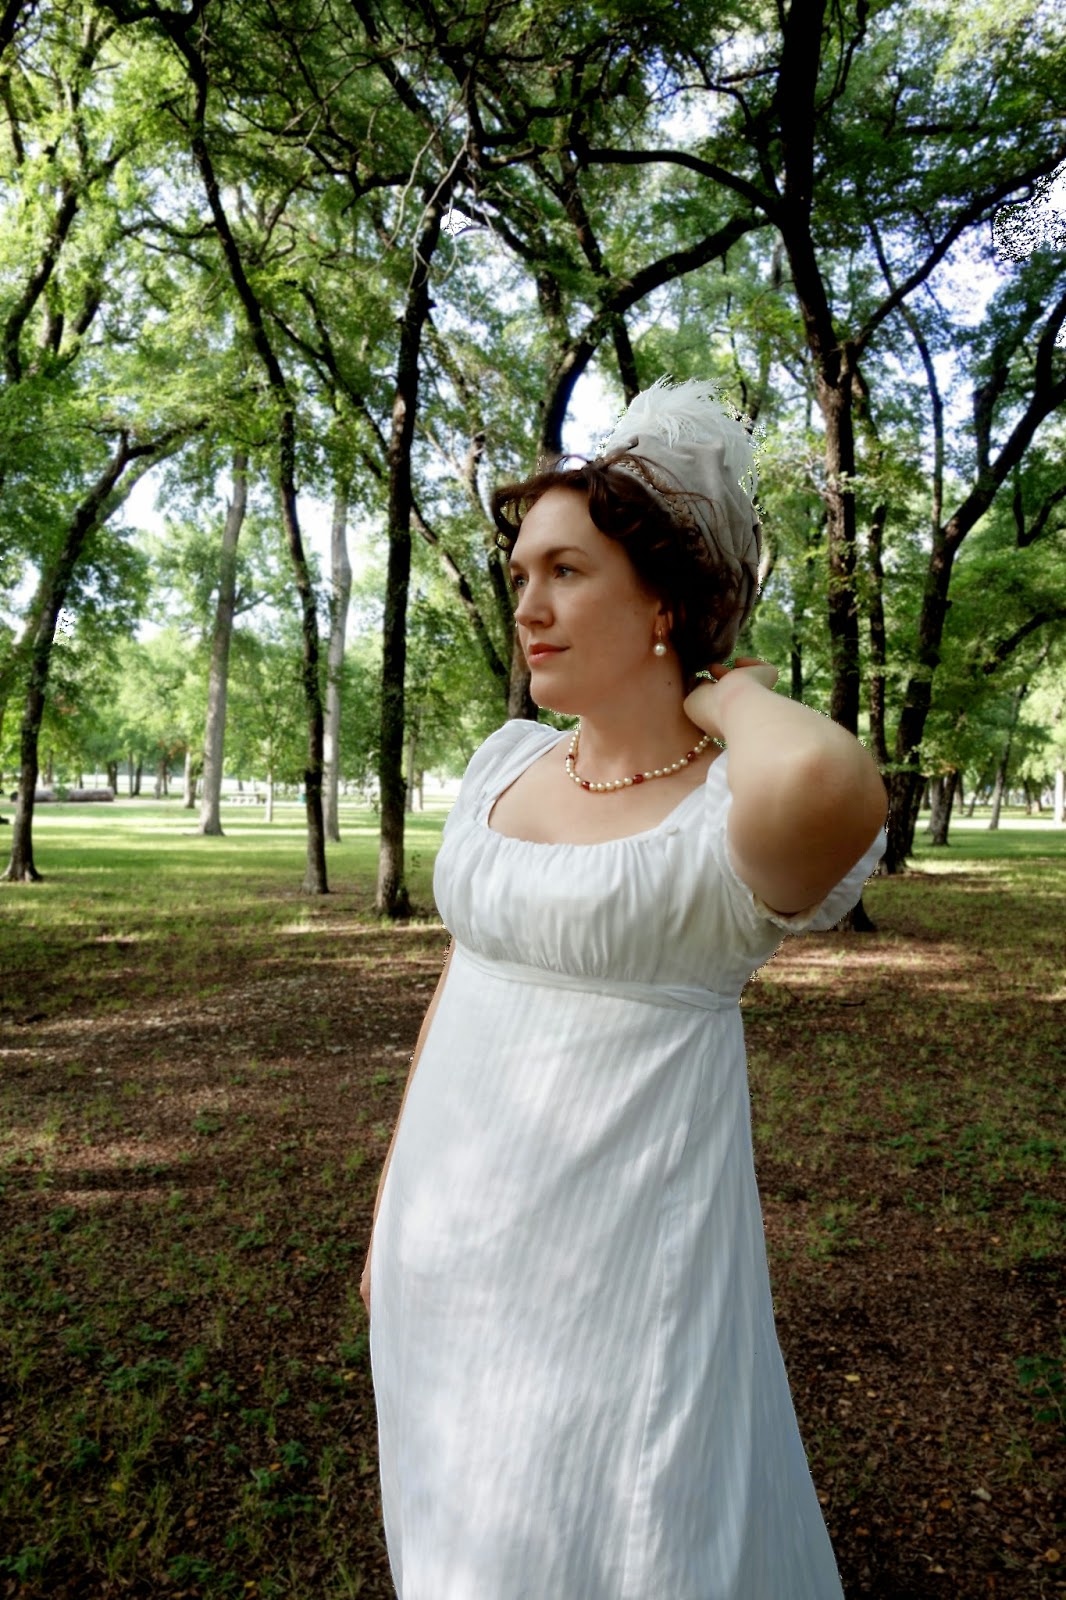
And here it is from the front. When I am looking straight ahead, all you can see are the feathers sticking up on top, so it really is a pretty subtle look. I made my turban cap relatively small, but you could easily pad your crown, leave a larger puff on top, or add thicker wraps to make your turban larger if you wanted something more dramatic.
I hope this tutorial was helpful and gives you some ideas for making your own fixed turban cap. Don't be afraid to drape and experiment and try your own thing - these hats really are simple and a lot of fun to make!