Showing posts with label Victorian. Show all posts

Saturday, August 11, 2018

Victorian Cycling Costume


Wow.  It's been a loooong time since my last blog post, but I'm so giddy over my new 1890's cycling costume that I decided to knock the dust off of this website so I can share a little bit about my new outfit and throw in a pattern review while I'm at it.

After hearing that a few of my friends were making cycling costumes for Costume College this year, I decided at the last minute that I desperately needed one too, so I ordered the Wearing History Bicycling Outfit pattern since I was in a rush and didn't have time to draft patterns from scratch.  This turned out to be a really excellent plan, and I couldn't be happier with the way this pattern went together.  Unlike a lot of historical reprints, Lauren has graded this one so that it includes multiple sizes, which was extremely helpful.  I made up one of the largest sizes, and I was really pleased with how close it was to fitting right off the bat.  I did end up taking in the bodice seams in a few areas, but that's totally to be expecting when working with a Victorian period pattern, and it's always easier to make something smaller than try to make it bigger.  The only part of the pattern that seemed a little odd was the neckline, which I found to be lower than it needs to be if you were attaching a high collar. But since I decided to change the design to an open neckline, this really wasn't a problem for me - just be mindful of it if you want to make up the bodice like the original and are using a larger size.  I also decided to make the shoulders on the bodice a little narrower so the sleeves didn't sit so wide (helps prevent the linebacker look!), but that's another easy change to make, and it's definitely more of a personal preference than a necessity.


Even though my final results might appear quite different from the original pattern illustration, I really didn't have to change much to get a completely different look.  The sleeves and bloomers are made up exactly like the pattern, and I love both of those elements SO MUCH!  The sleeves have the perfect amount of fulness to give you an 1890's shape without being so large that they are ridiculous.  I flatlined my sleeves with a layer of tulle to help give them body, but most of the "poof" is controlled by mounting the outer layer of fabric to the inner layer before assembling the sleeves.  It really does a excellent job of creating the right shape, and I'll definitely be using this sleeve pattern again in the future if I make more dresses from this decade.

The bloomers are my favorite part of this whole pattern, and they went together so quickly.  I used Wearing History's excellent YouTube tutorial to help me figure out how to assemble the pointed side plackets, and they both went in perfectly on the first try.  I've never used that technique before, and it was kind of like magic to see how well it works!  My only other tip on the bloomers is to cartridge pleat the bottom of the legs into the cuffs if you want maximum fullness - it makes them even more jaunty and fun, and it is much more practical than gathering or pleating if you are using a heavier fabric, like wool. 

To personalize my costume I decided to pull some inspiration from other 1890's fashion patterns and cycling imagery and convert my bodice into a jacket.  I used the pattern diagram for a "ladies' street costume" in Kristina Harris's 59 Authentic Turn-of-the-Century Fashion Patterns to create the jacket peplum, and these patterns also to helped me figure out how to add a wide collar and lapels to my existing bodice.  There are a lot of great historical patterns in Harris's book (and its companion, Authentic Victorian Fashion Patterns), and in my opinion, it's a million times easier to modify a good foundation pattern like the Wearing History one than to draft something from scratch.

Under the jacket, I am wearing a modern man's tuxedo shirt that I bought at a thrift store, plus a bowtie that a made from some silk scraps left over from a previous project.  I also re-trimmed a vintage straw hat with a long strip of striped silk that I sewed into a tube so that it looks like ribbon.


Amusingly, the part of my costume that got the most compliments at Costume College was my plaid stockings!   These socks were a lucky find on Amazon, and they come in a three-pack with red and tan as well.  I've always been completely charmed by images of Victorian women wearing checked and plaid stockings with their bloomers, and it seemed to be quite a fad during the 1890's.  Even if you don't have a cycling costume in the works, I highly recommend these socks if you want to add a bit of fun to your historical (or modern) wardrobe!

This costume turned out to be a real joy to wear.  It's quite comfortable, and the bloomers make you feel so free and liberated compared to heavy skirts.  I have to admit that I frolicked around like a big nerd when I was wearing this for my photoshoot.  All of that extra mobility makes you want to run and jump and flop on the ground!  I can totally understand why cycling outfits were so popular with Victorian women - they are just so much fun to wear!


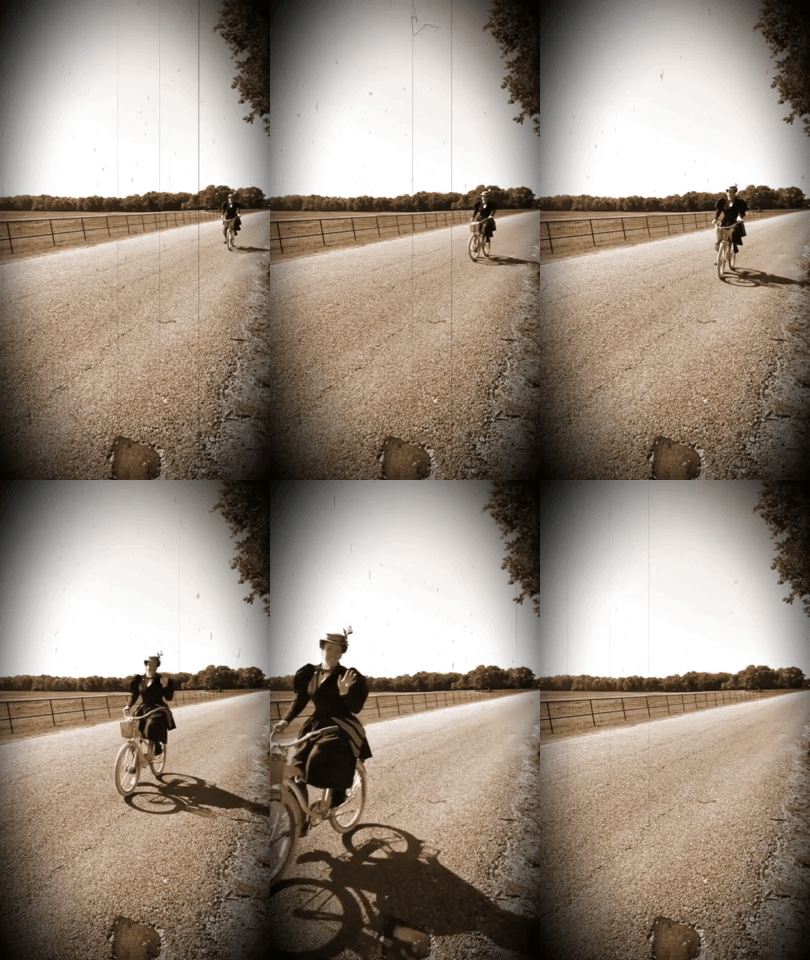
And because I'm officially Extra™, I also pulled out my bicycle and took it for a spin to see how this outfit feels on a bike.  The bloomers are really comfy while riding, although you still have to dismount carefully so they don't get caught on the seat.  My only issue was with my shoes, which tended to slip on the plastic pedals if I wasn't careful thanks to their smooth leather soles, but that issue could probably be solved pretty easily by adding some rubber grips.  I've had several people ask me if I would be wearing this outfit for any tweed rides, and I would absolutely love to do that if they host any more themed cycling gatherings in my area.  It was crazy fun to ride my bike in this kooky outfit, and the only thing that would be better is if I could buy an actual antique bicycle to add to the authenticity. 

I have some more photos and another video of me riding my bike on Flickr, and you can find more Victorian and Edwardian cycling costume inspiration on my Pinterest.  I'm also having a ton of fun using these photos to practice my faux-antique photo techniques using photoshop, so I'm sure I'll be adding more of those to my Flickr account whenever I find some more time to play.


Friday, September 18, 2015

mourning calico


So back in January, I shared a new natural form dress that I had made for a Little House on the Prairie group that was in the works for Costume College.  But then I had a change of heart and decided that I wanted a lighter weight cotton dress instead of a heavy wool one.   I also am a hopeless follower, and when I heard that my friends were making calico prairie dresses, I decided that I needed one too!  I found a great deal on a repro calico fabric from Saunders Fabrics, and I picked a black fabric with a simple diamond pattern, which I thought it would make a lovely half-mourning dress.  I'm so glad that I ended up switching plans because I think we made such a fun little group of Ingalls sisters in our nicely coordinating calicos.


For something a little different, I decided to try a yoked bodice, which was an incredibly popular style in the late 1870's.  In April of 1879, Peterson's Magazine features a plaid yoked house dress and stated that "the deep waist is made plaited back and front into a yoke; a belt around the waist, with a bow of ribbon on one side." Most of these yoked bodices had high, round necklines or small standing collars, but I found one example of a yoked bodice with a middy collar on a teenaged girl, so I thought that the V-neck might help keep me cool while I also try a style that I haven't done before.  

To help me get started with the construction, I found 2 yoked bodice patterns and several narrow overskirt diagrams in Fashions of the Gilded Age, Volume 1: Undergarments, Bodices, Skirts, Overskirts, Polonaises, and Day Dresses 1877-1882.  Although I changed these patterns up quite a bit to make my own dress, they were a huge help as I figured out the overall shapes.  

I used cotton velveteen for the collar, cuffs, and belt, and I edged it with natural linen rickrack, which really made these features stand out nicely.  The buttons are vintage and slightly mismatched, which is a fun little detail that seemed appropriate for a prairie dress.  I'm always amused when I see Victorian photos of women who have a mismatched button on their dress.  It happens more often than you would think, and I love imagining a practical frontier woman just replacing a missing button with something "close enough" and not wasting any time worrying about it.

I also wore a silk bow at my neck, and a mourning rosette at my waist. The rosette was a lovely gift from 2 friends, and I made a faux tintype of my husband to use for the portrait.  Similar mourning badges were quite popular after the death of Abraham Lincoln, and you can see a similar style here.  


As the finishing touch, I restyled a vintage black straw hat into a bonnet.  You can see the "before" version on the left.  I cut the brim off in the back of the hat and then wired the edge and covered it with petersham ribbon so that I could curve it around my face.  Then I stitched some wide vintage lace into the inside of the brim, and I trimmed the outside with some vintege ribbon and the original black feathers from the hat.  The ivory silk bow that was around the hat when I bought it was repurposed for the bow at the neck of my dress.

I love the long, loosely curled ponytails that you sometimes see in the late 1870's, so I took the easy way out of styling my hair and just attached a clip-in hairpiece and tied it with a bow. I think it's a nice change of pace from the more severe buns of the 1880s.


I only got a few posed pictures of my dress at Costume College, but I'm hoping to get some more fun ones in a pretty setting when I wear it again this winter.  But if you'd like to see a few more, you can check out my Flickr album.  

Sunday, January 11, 2015

Little House natural form dress


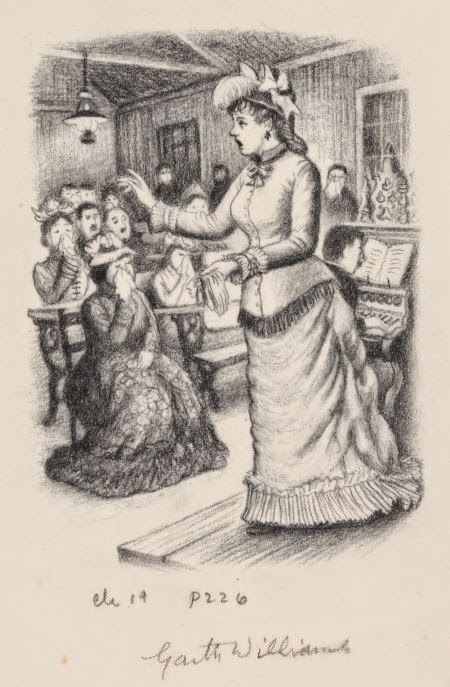
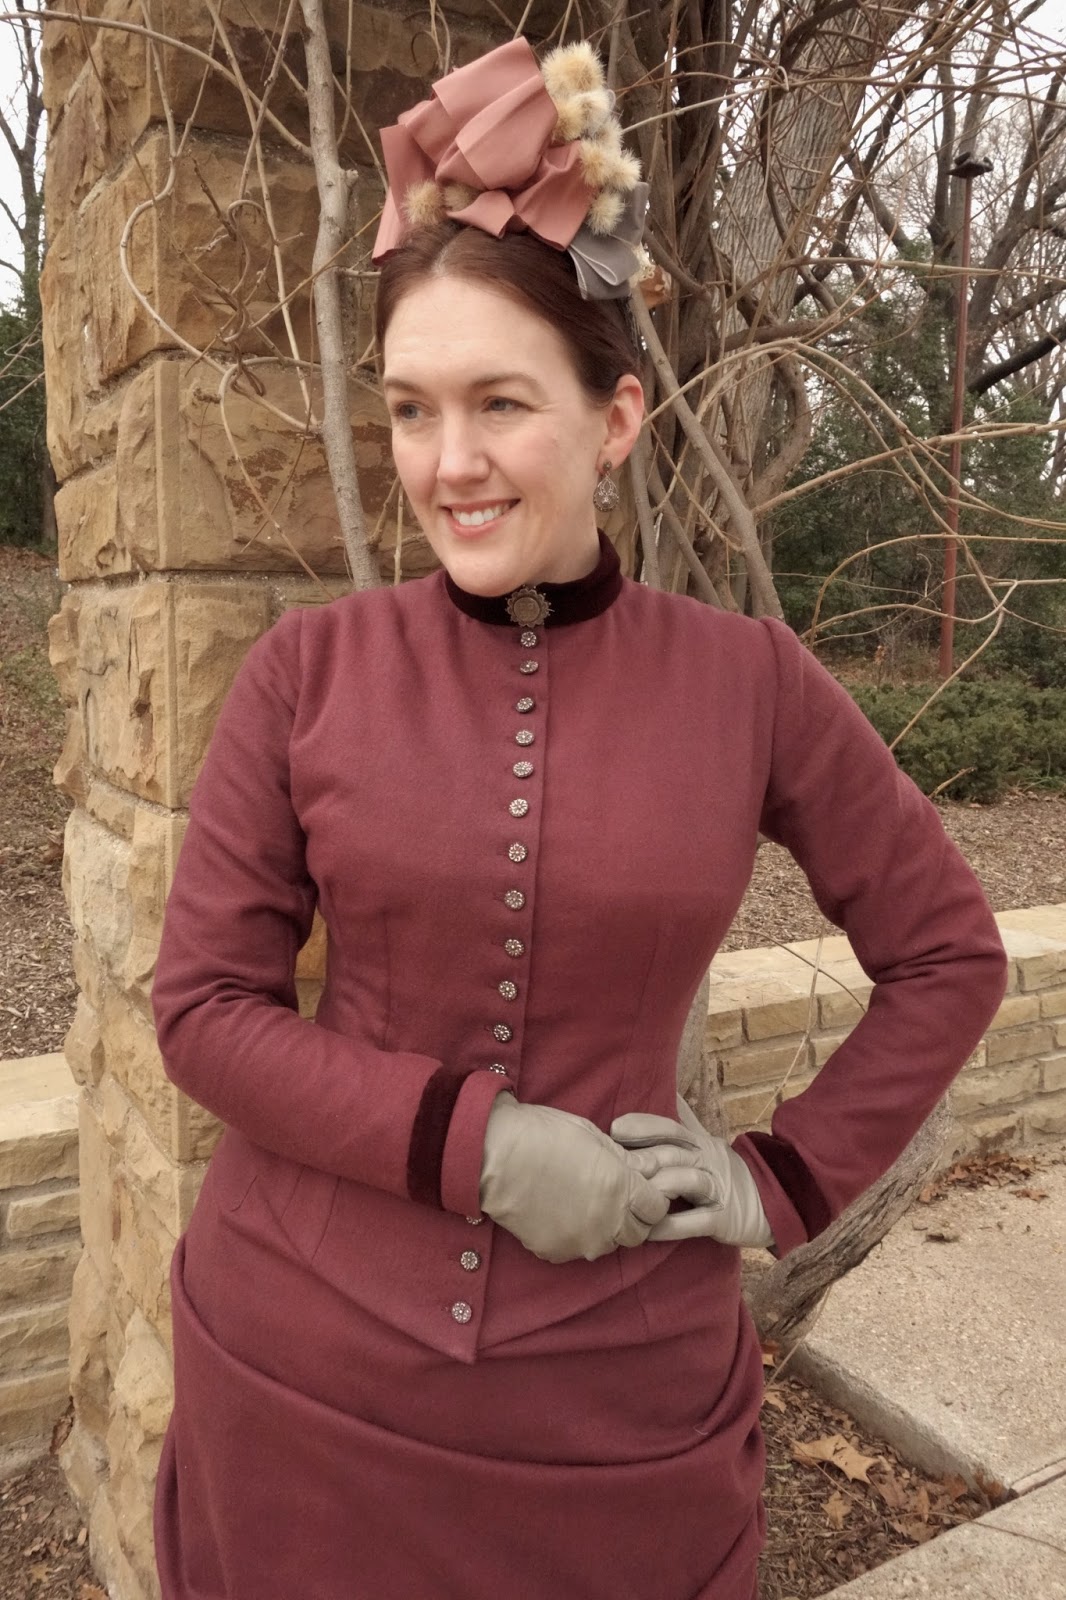
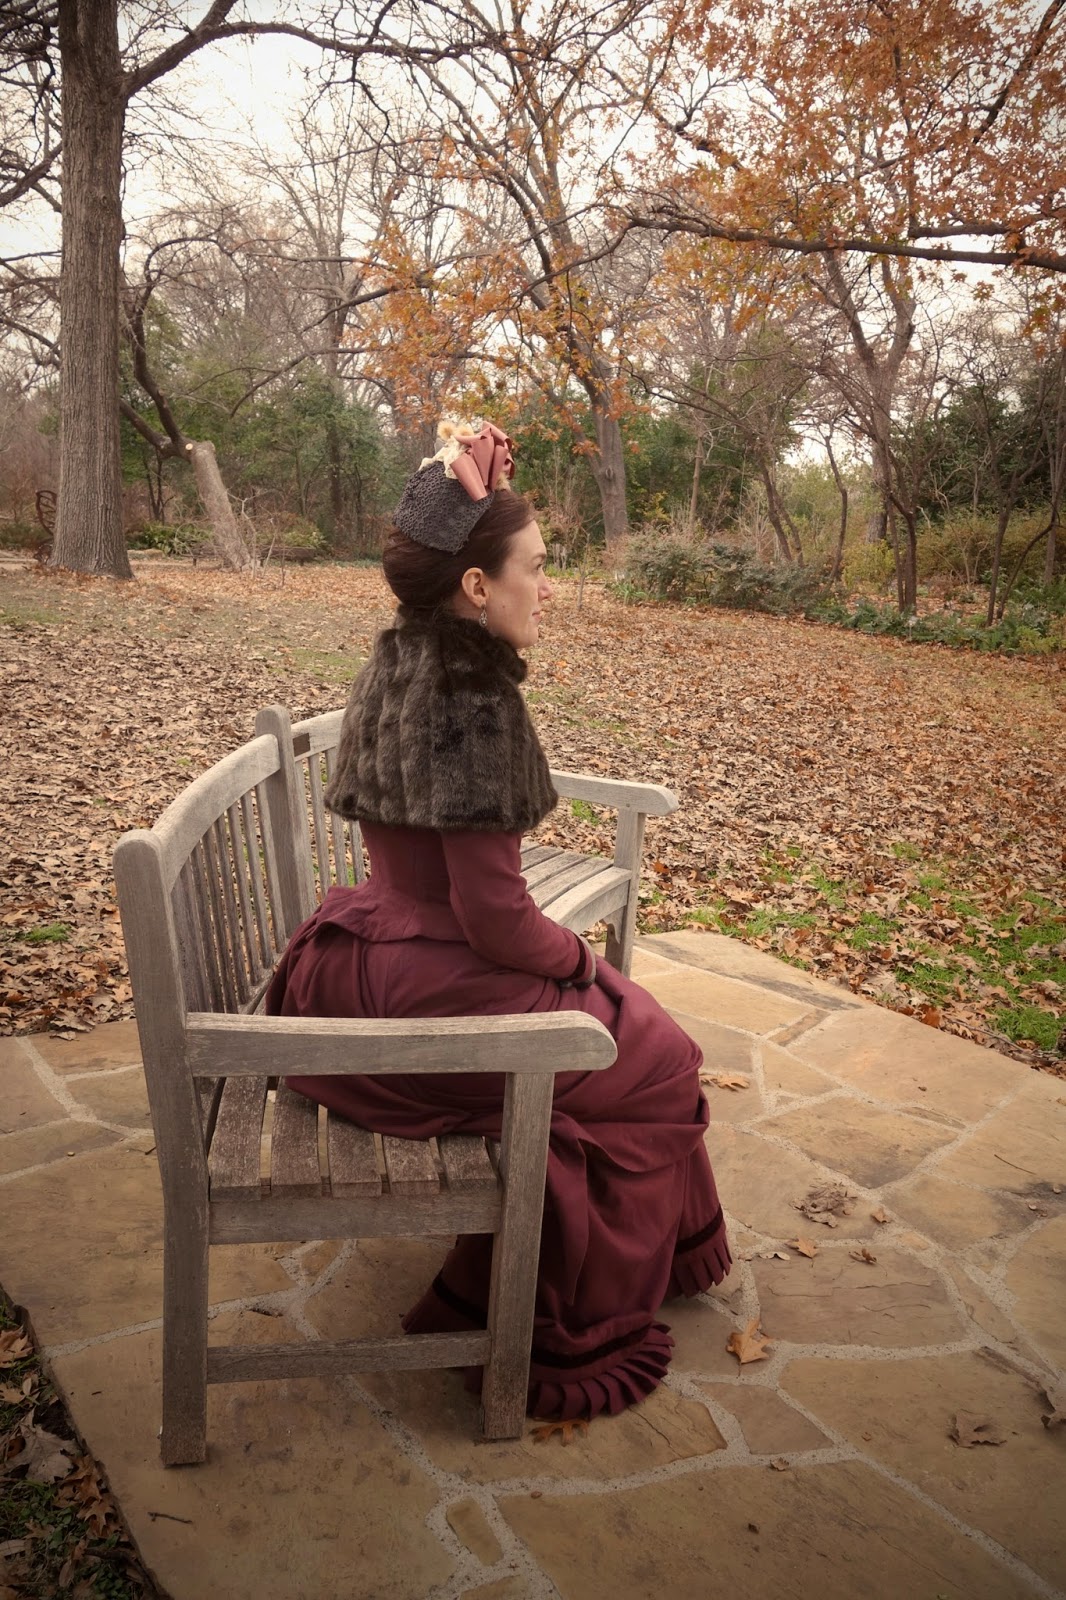
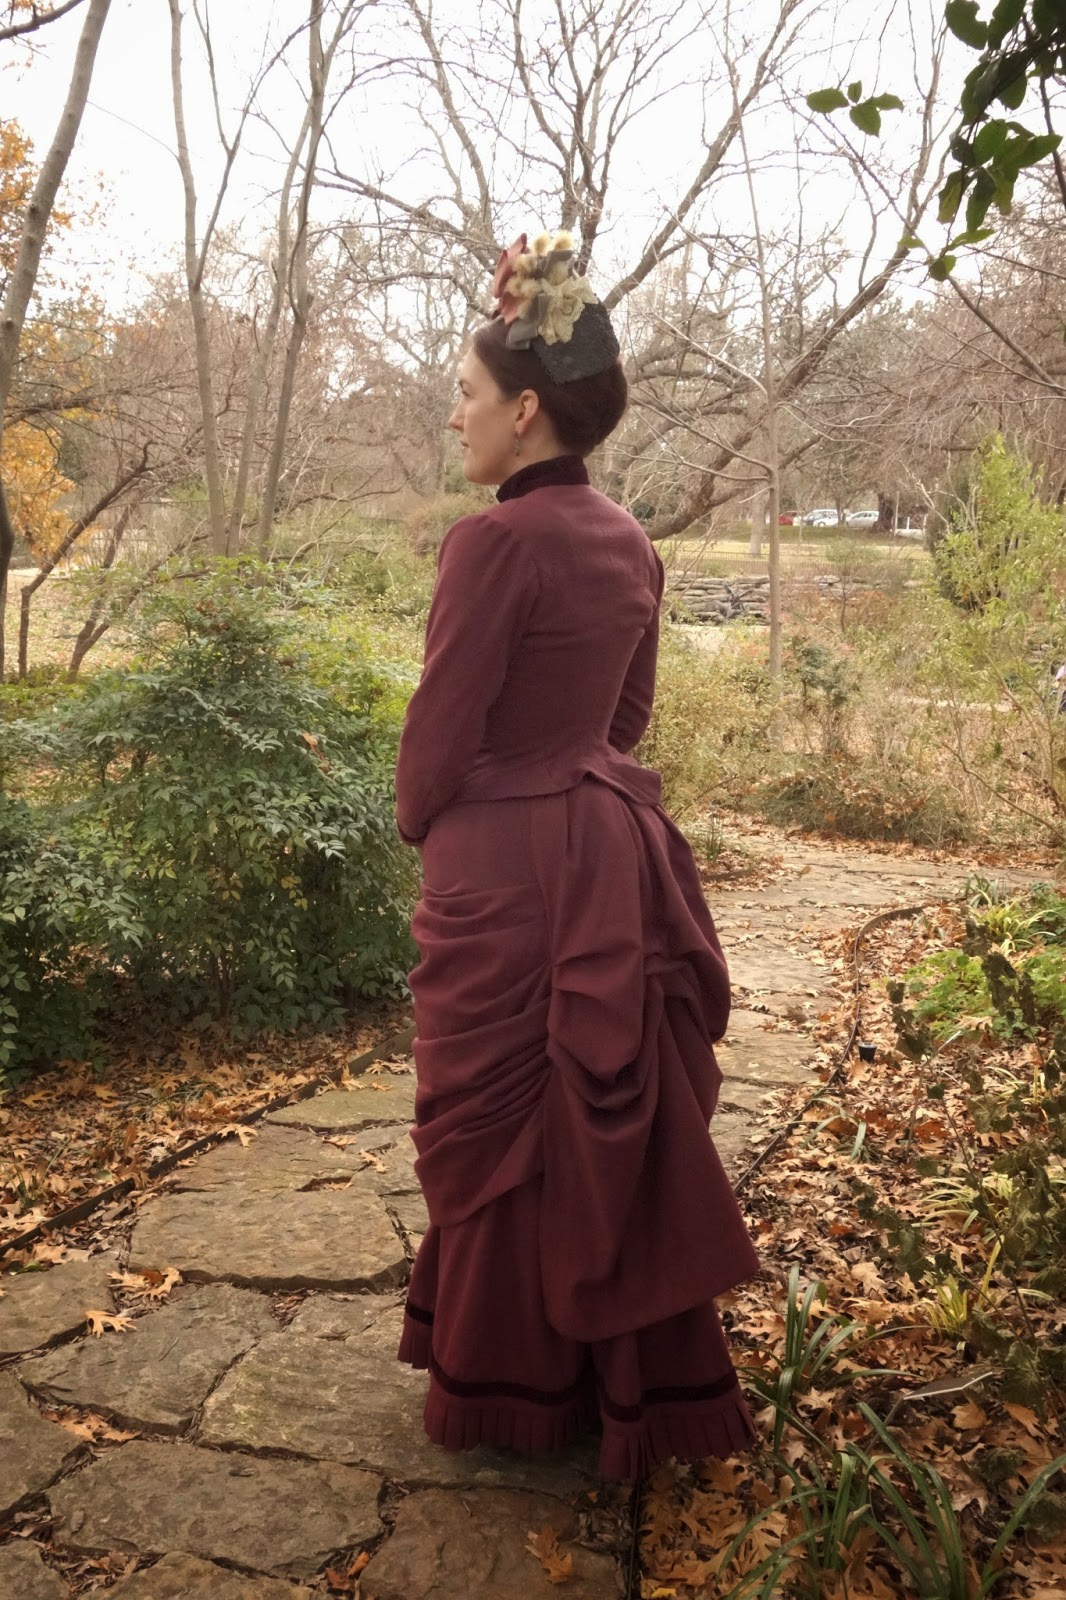
I'm planning on going to Costume College again this summer, and it is never too early to start making dresses!  The theme for this year is "Plucked from the Pages", so a couple of my friends and I are planning on wearing Little House on the Prairie inspired outfits for one of the days while we are there.  I have been obsessed with all things "Little House" for most of my life, so I decided to make a very simple wool natural form gown that would be right at home on the prairie during the early 1880's, which is when the last few books took place.  I remember spending many hours of my childhood (and adulthood!) pouring over the illustrations in those books and re-reading the passages that described their dresses.  Although my outfit isn't meant to copy one specific dress from the book, I was definitely influenced by several of the charming illustrations and descriptions from the series when coming up with my design.

I also wanted to have something new to wear this weekend for an outing to the museum with the DFWCG. The wool that this dress is made from is quite heavy, which makes it warm and cozy for winter. Plus, the narrow skirts and lack of a train made it much more manageable around crowds, which was nice since the museum was packed. Unfortunately, I ran short on time and didn't get to fine-tune my outfit as much as I would have liked, so I'll probably go back and made a few minor adjustments before it gets a second wearing a Costume College. I know these are nit-picky things, but the peplum is a little unruly and refused to lay flat in back, the collar and cuffs need a bit of lace, and the velvet collar seems a bit awkward to my eyes. Is it too wide? Should it be wool? Or maybe I just need to add some ribbons or a lace cravat to dress it up some more? I haven't completely worked a solution just yet, but luckily I have 7 months to mull it over.

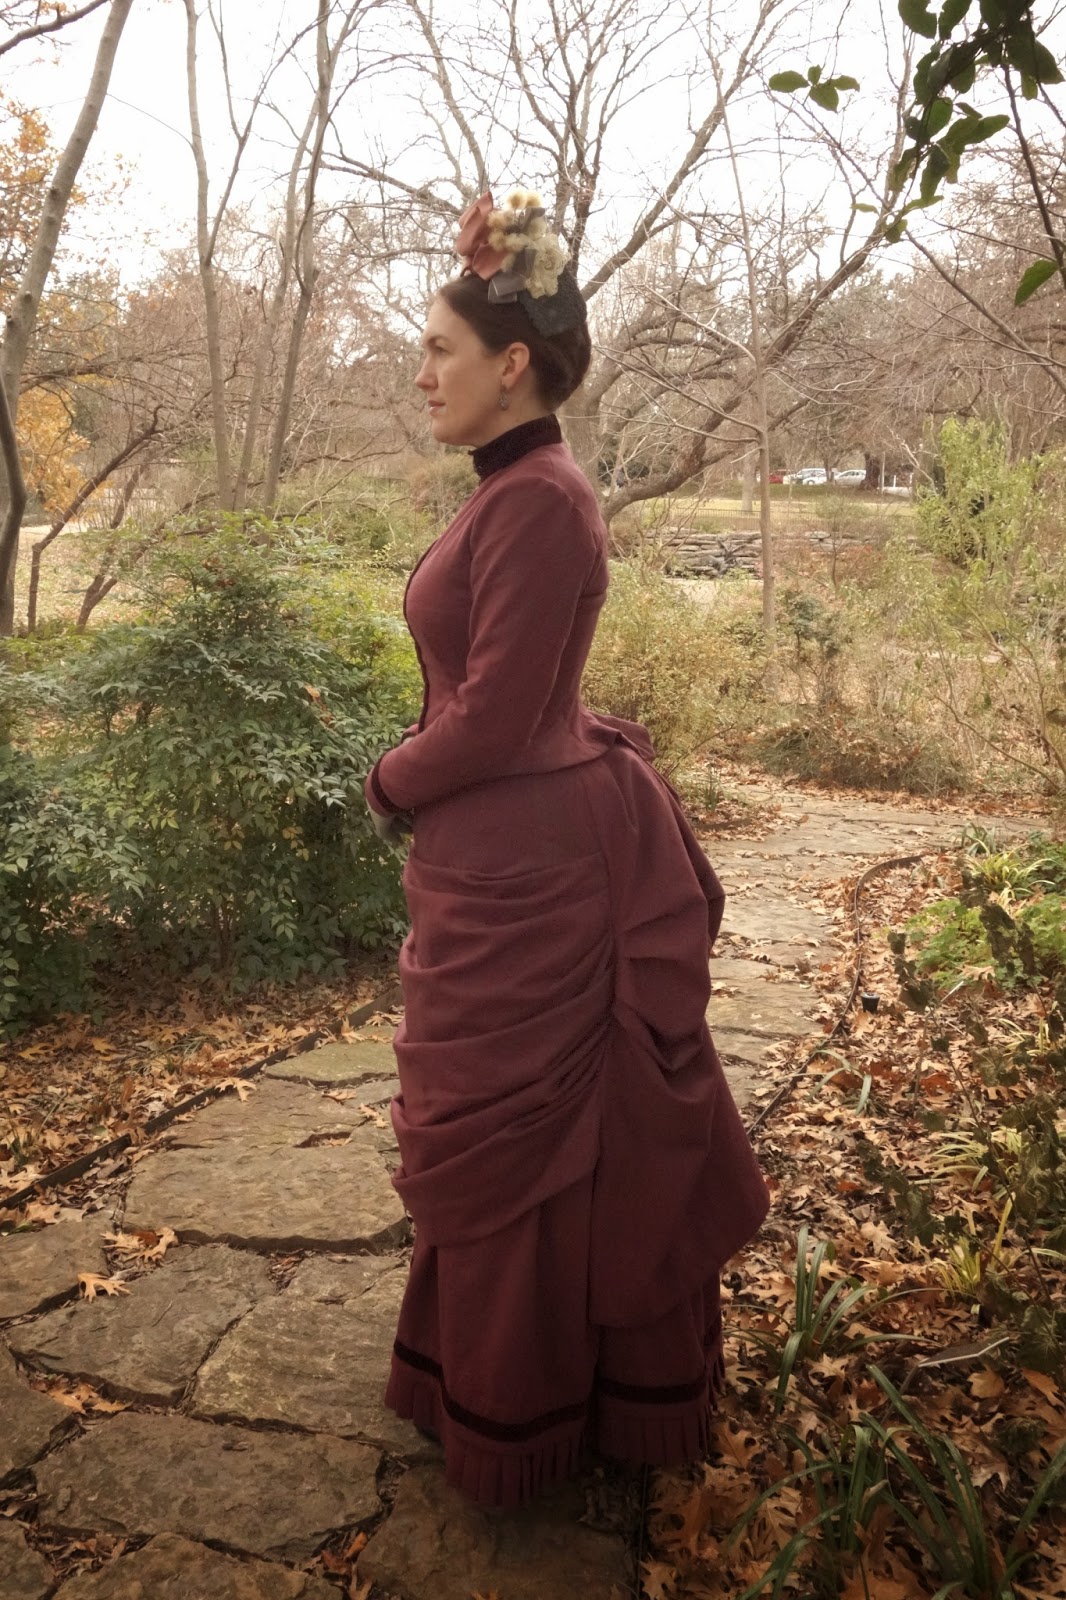
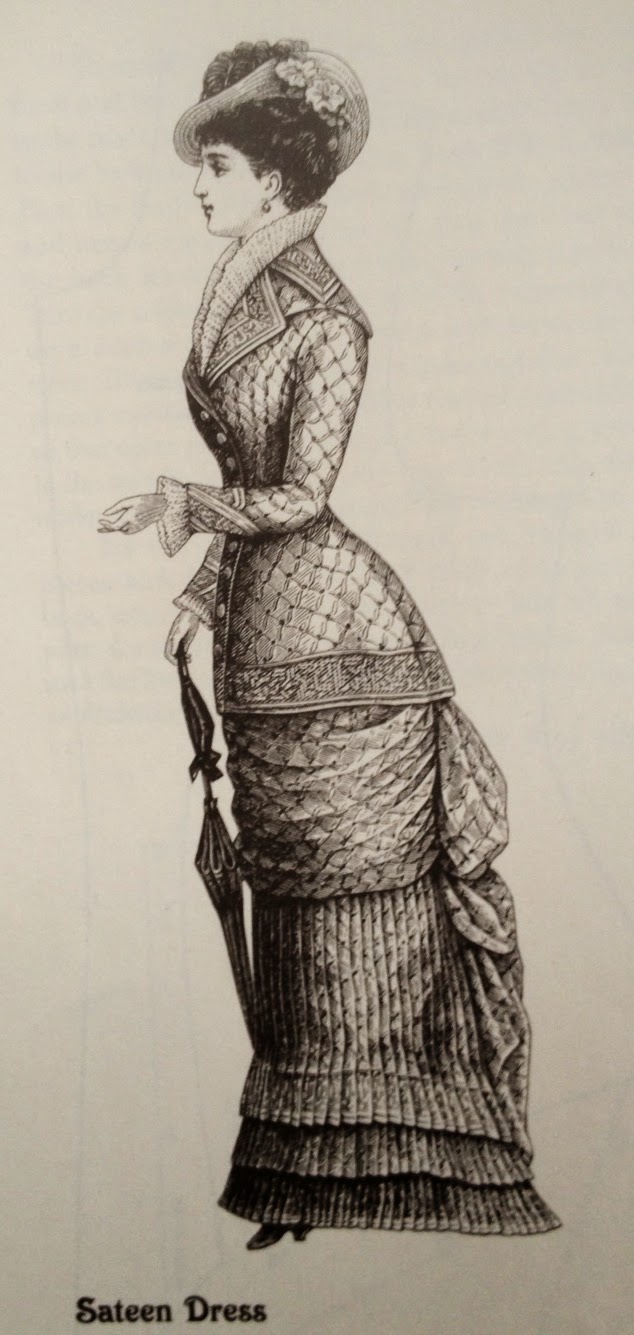
I used the same basic bodice pattern that I used last summer for my plaid dress, and I reused my bonnet from that project too since the colors looked so pretty with the maroon.  The overkskirt pattern was drafted from the 1880 "sateen dress" diagram in Fashions of the Gilded Age Vol 1.  I discovered that the front of the overskirt was a lot longer in real life than the illustration shows, and I had to add in extra pleats to make it match up with the back panel correctly. But that's okay because I like the look of the longer skirt just as well. I also used two straps of wide elastic to keep the overskirt pulled back tightly, and that seemed to help the draping of the front a lot while still giving me freedom to move.

My favorite part of the dress is the set of antique Victorian buttons on the bodice, which are nothing exciting in photos, but I think they are quite pretty in real life. I love being able to use old buttons on a new dress. It's such a fun finishing touch.


I also got to wear my fur capelet again, which made me incredibly happy. It's so warm in Texas that it's always a treat when I can find an excuse to wear coats and capes!


As usual, here are some of my favorite photos, and there are a few more additional pics on flickr.


Tuesday, May 20, 2014

late 1880s plaid bustle dress


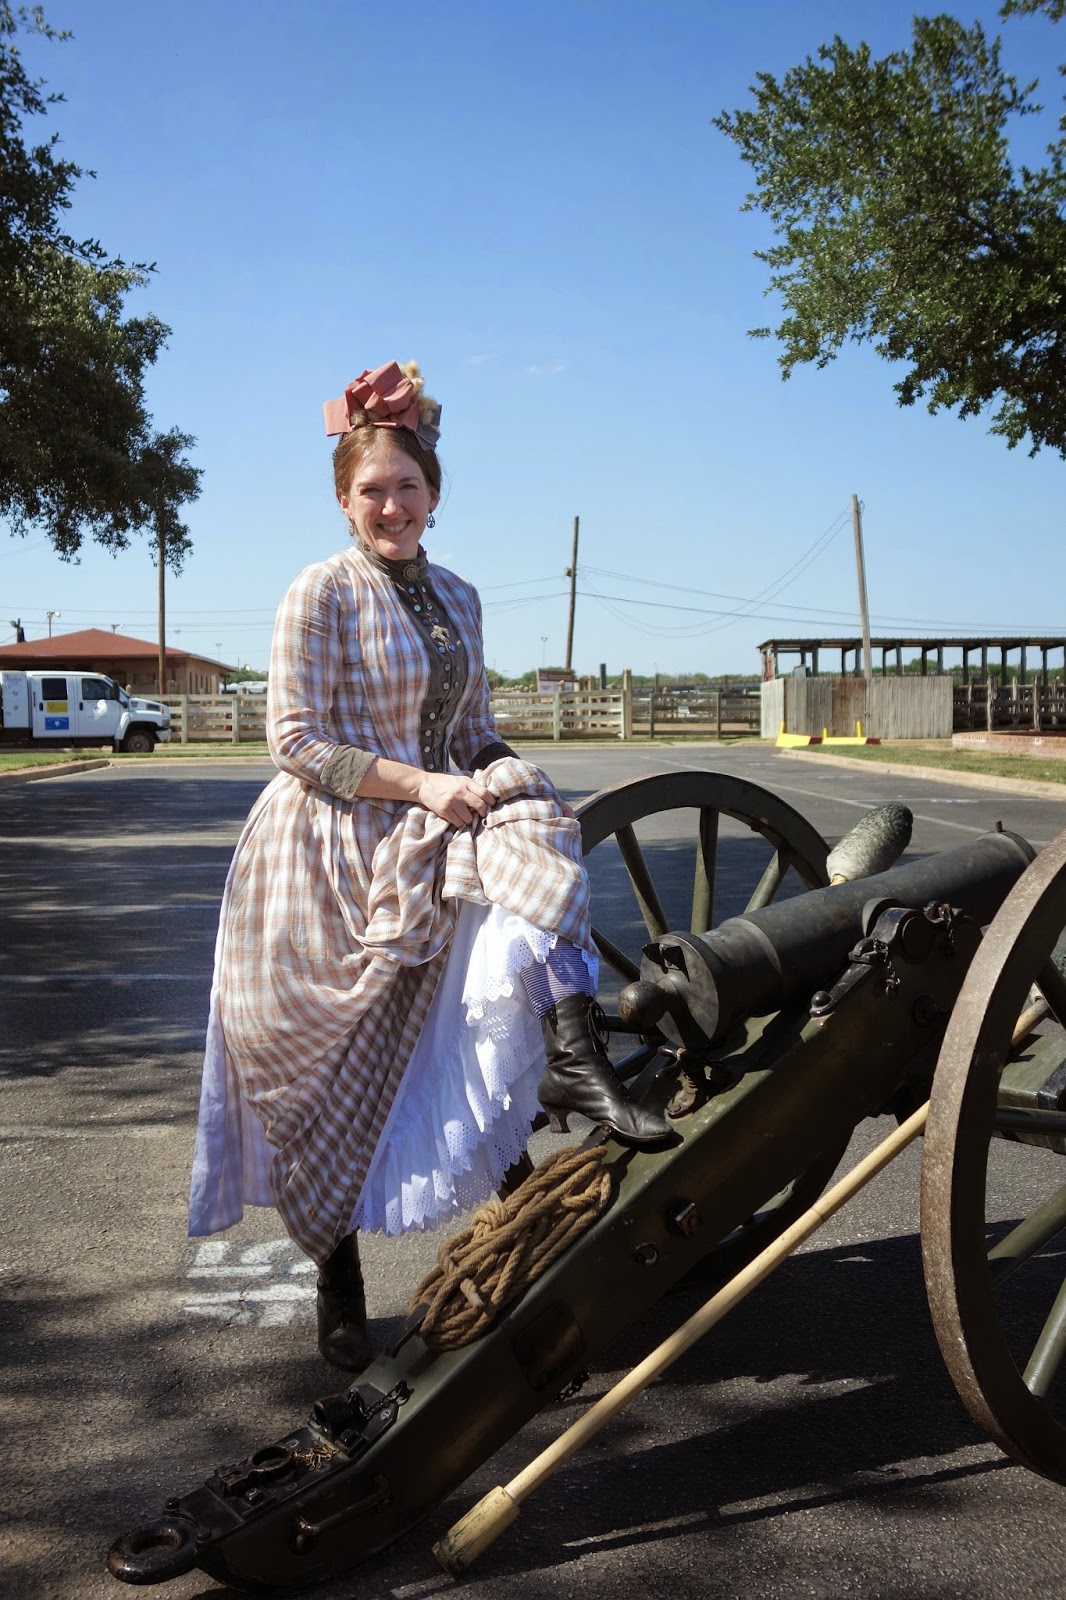
For this year's Frontier Forts Day outing with the DFWCG, I decided that I just couldn't bear to wear another "this old thing" dress.  I didn't have a lot of time to work on anything fancy, but I whipped up a simple summer bustle dress using some fabric from my stash and a few patterns that I wanted to test out for another project.

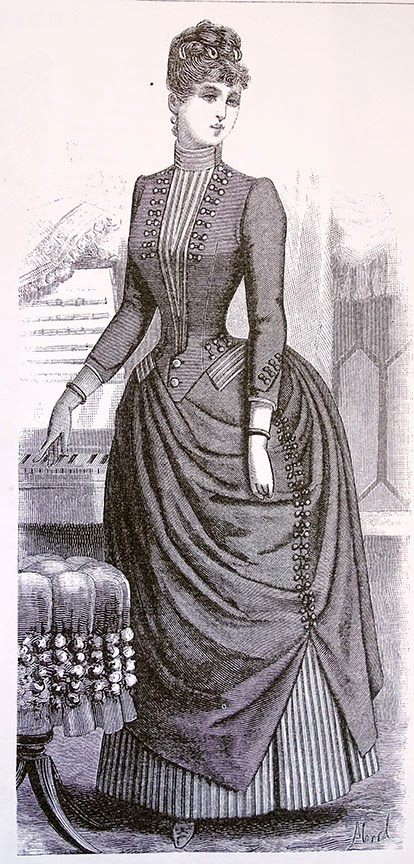
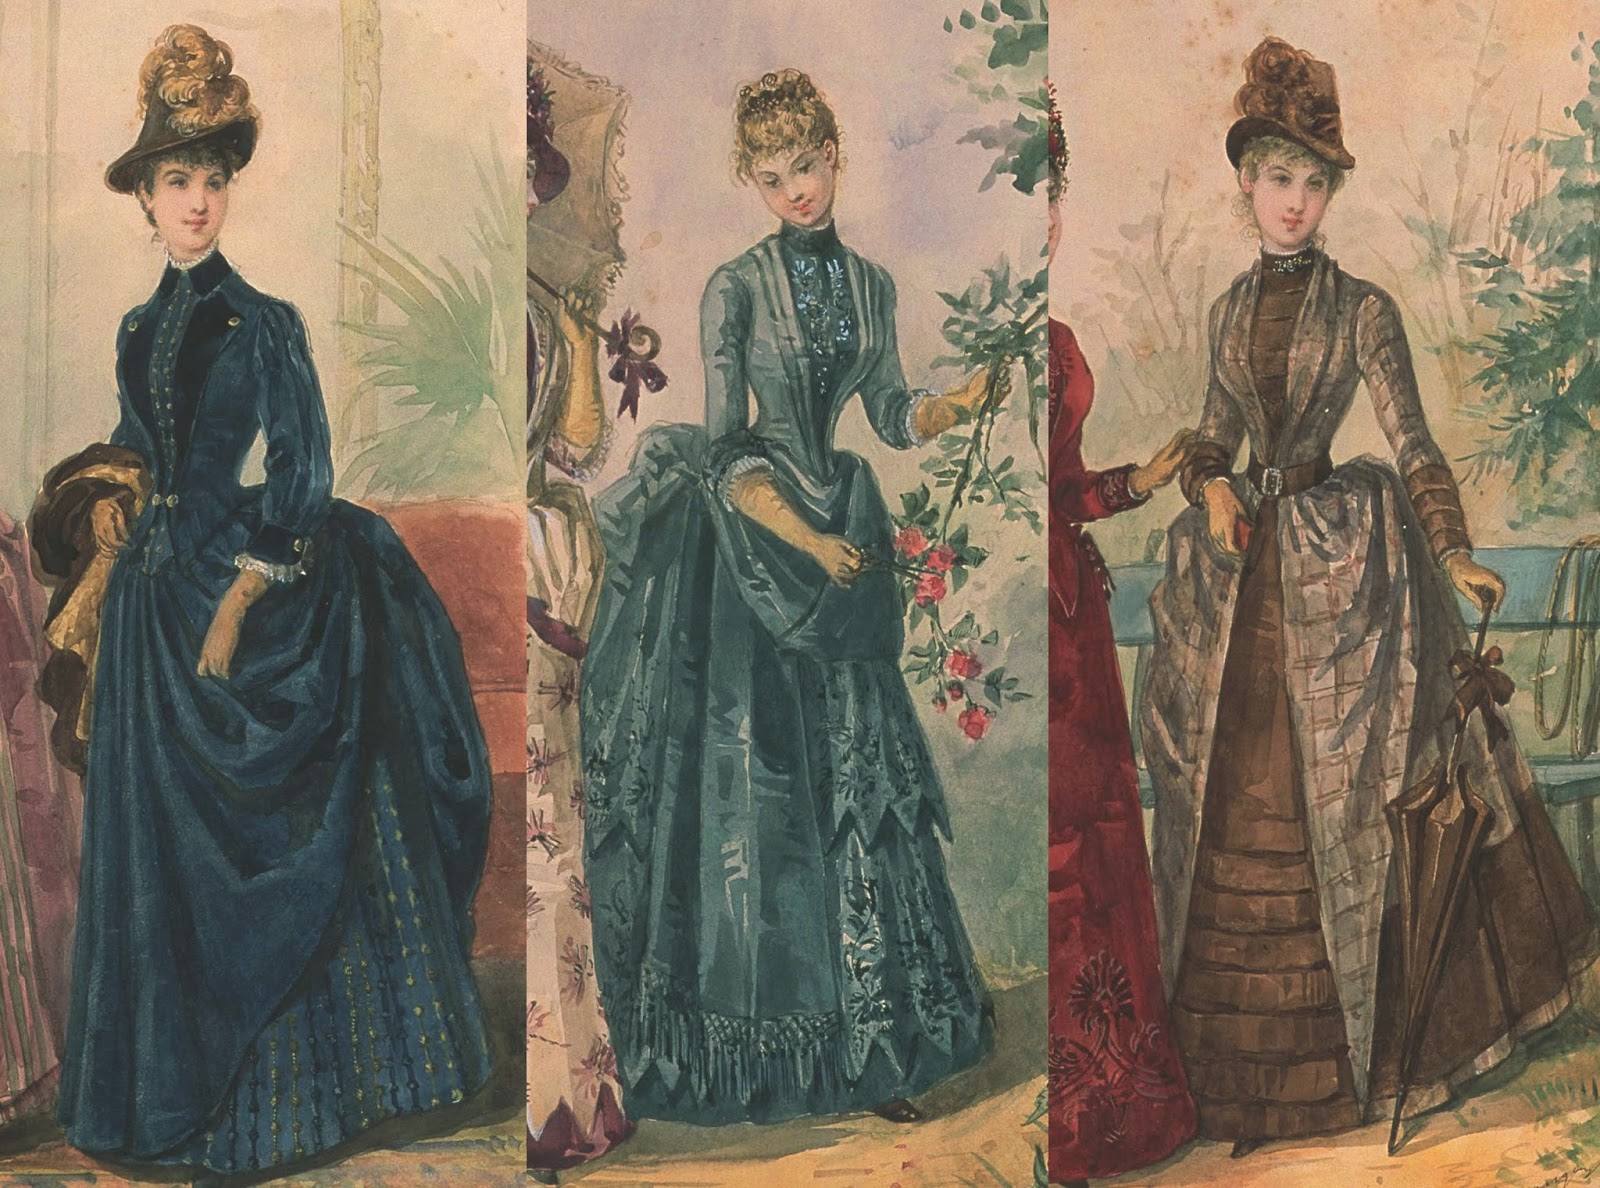
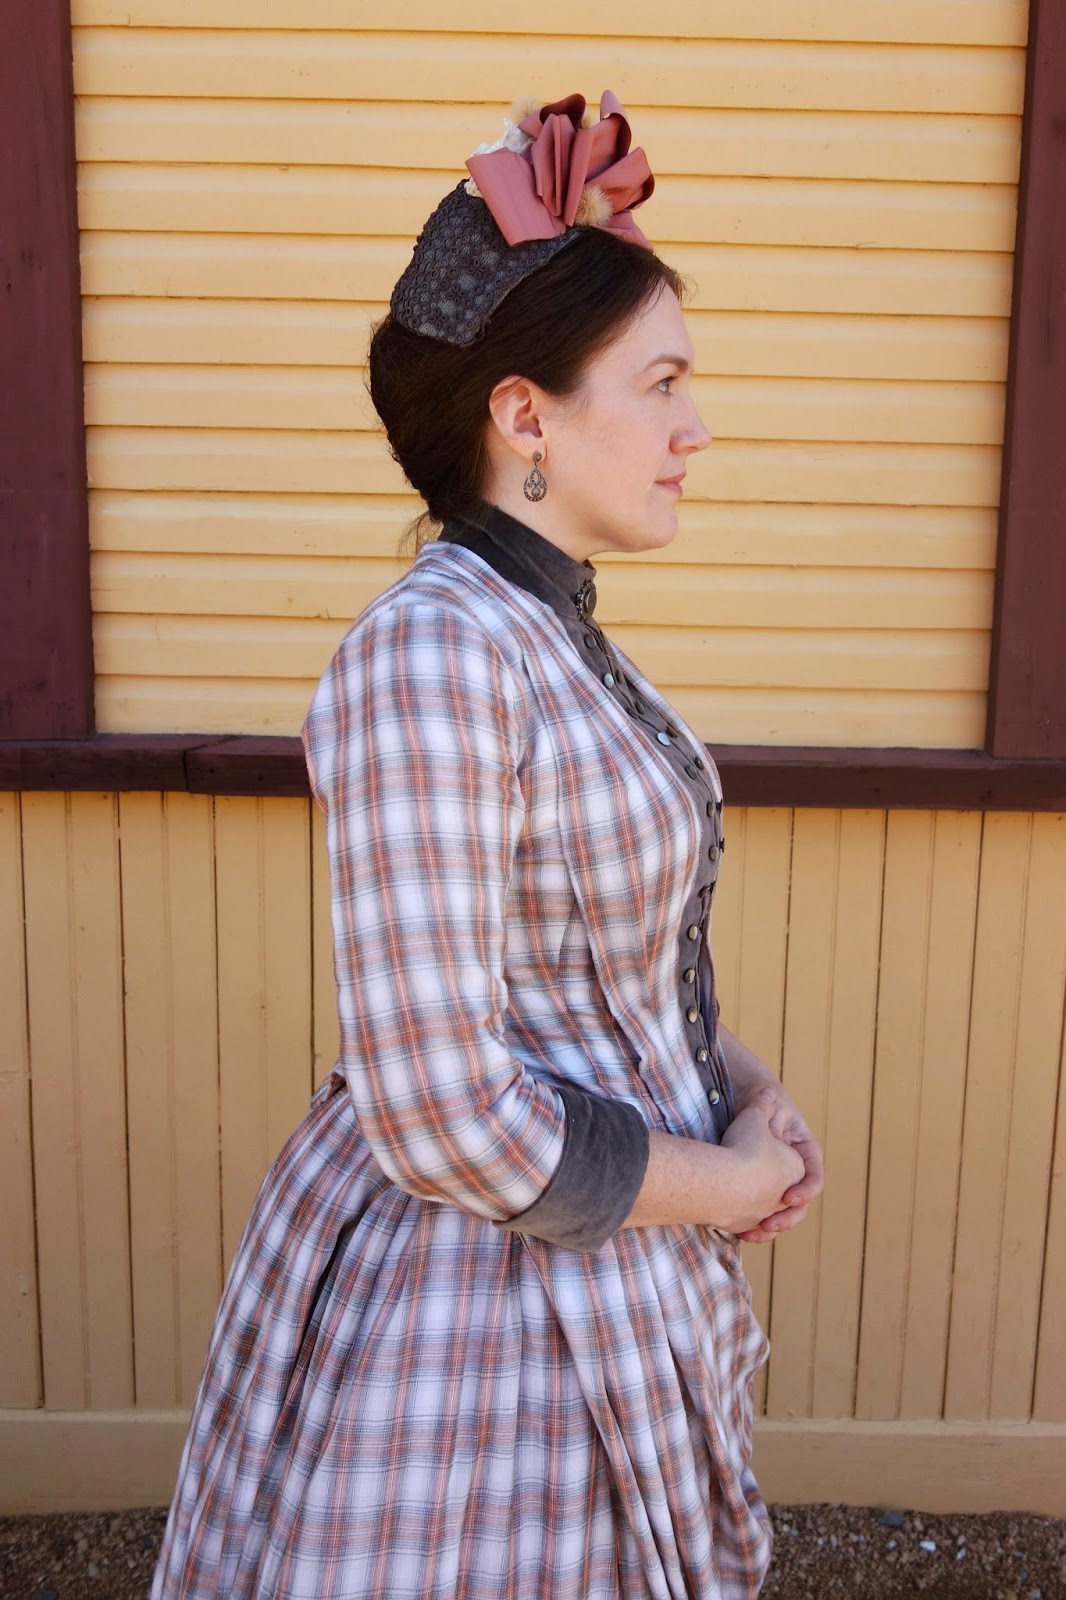
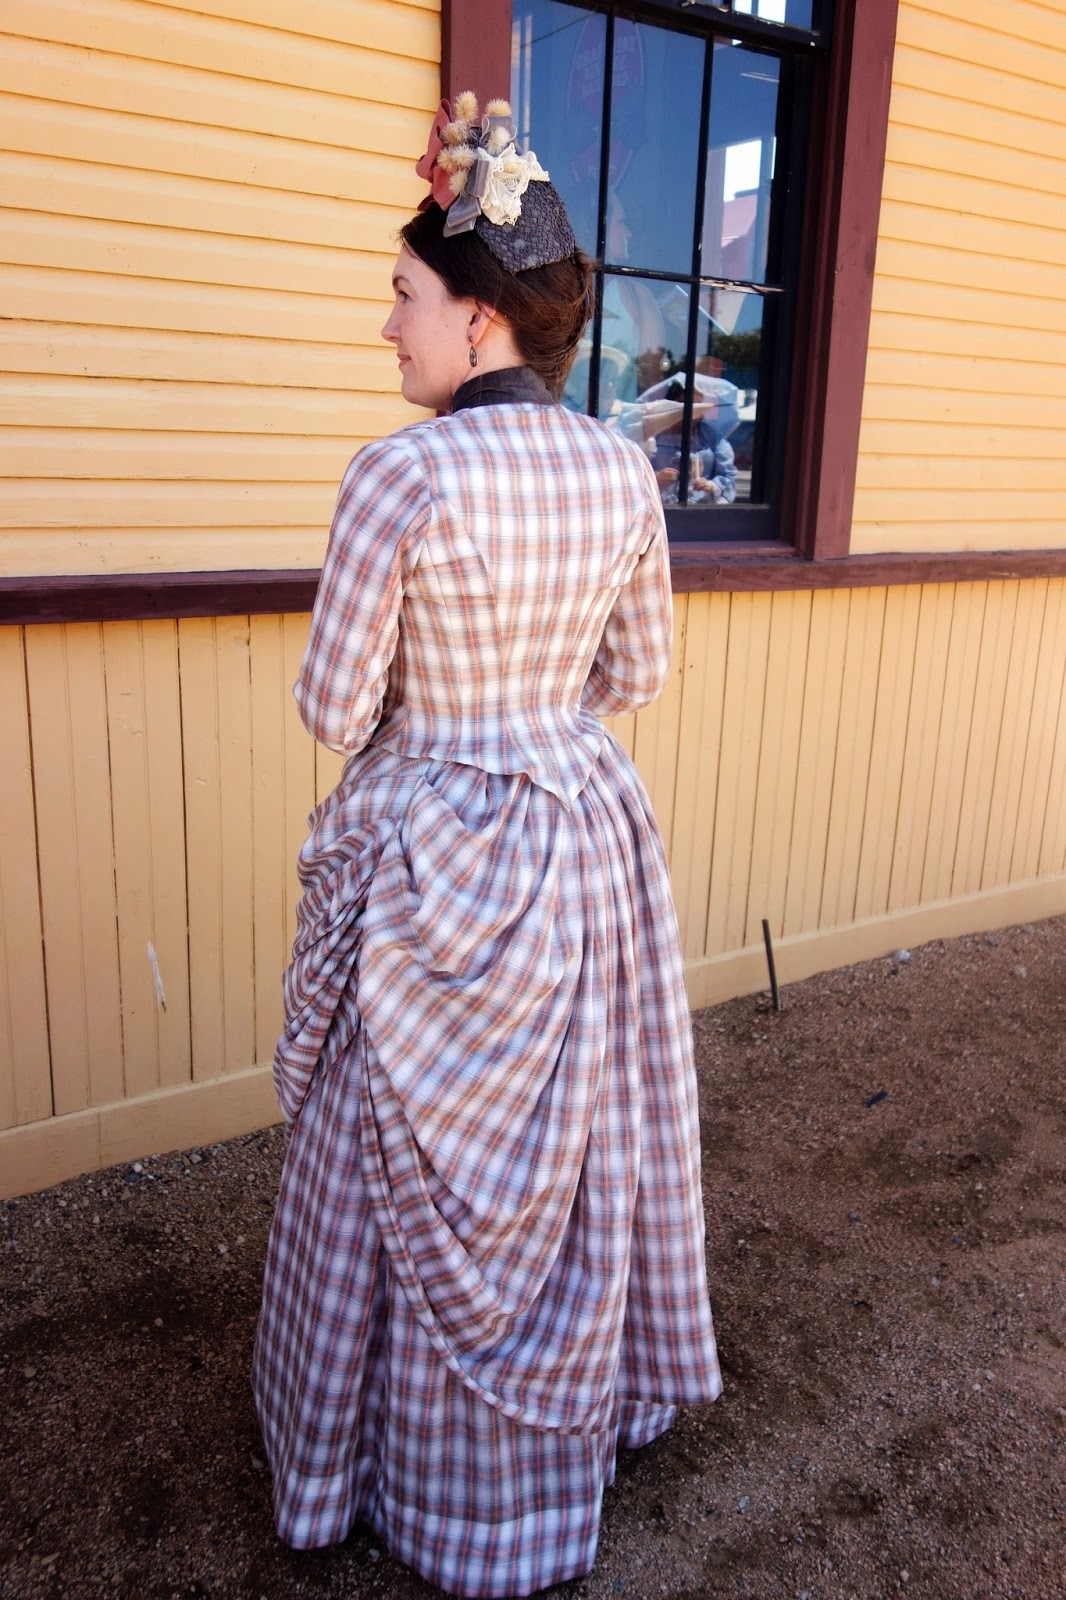
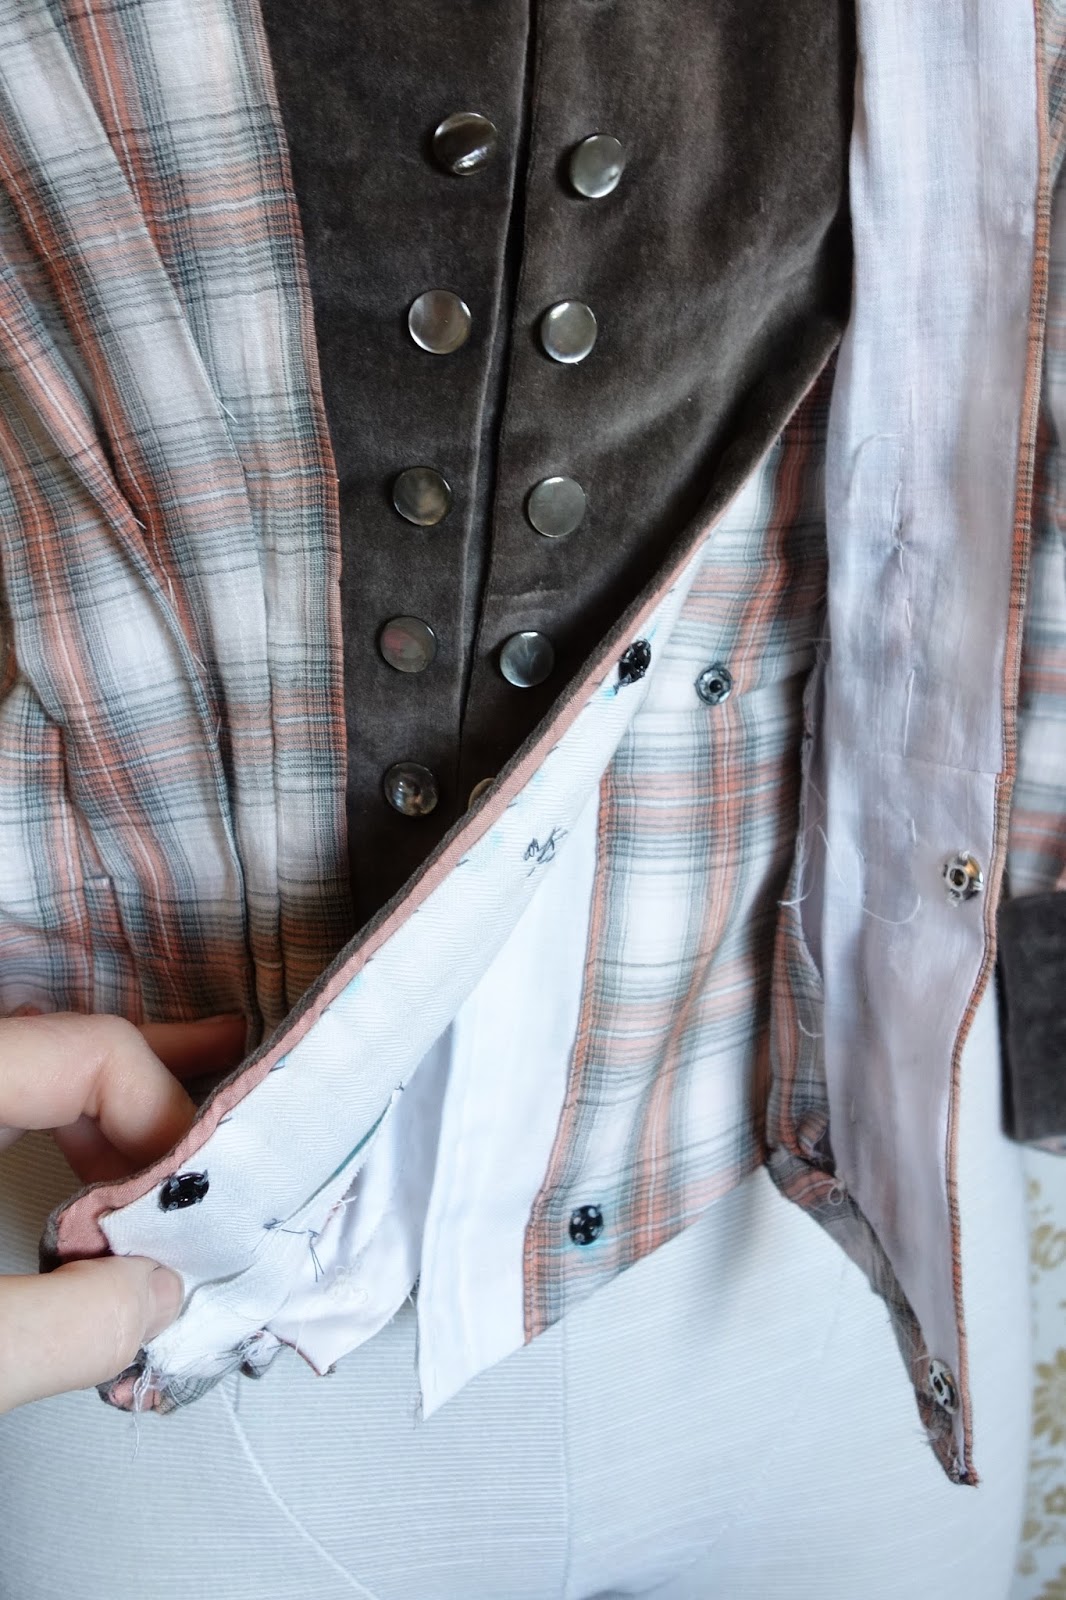
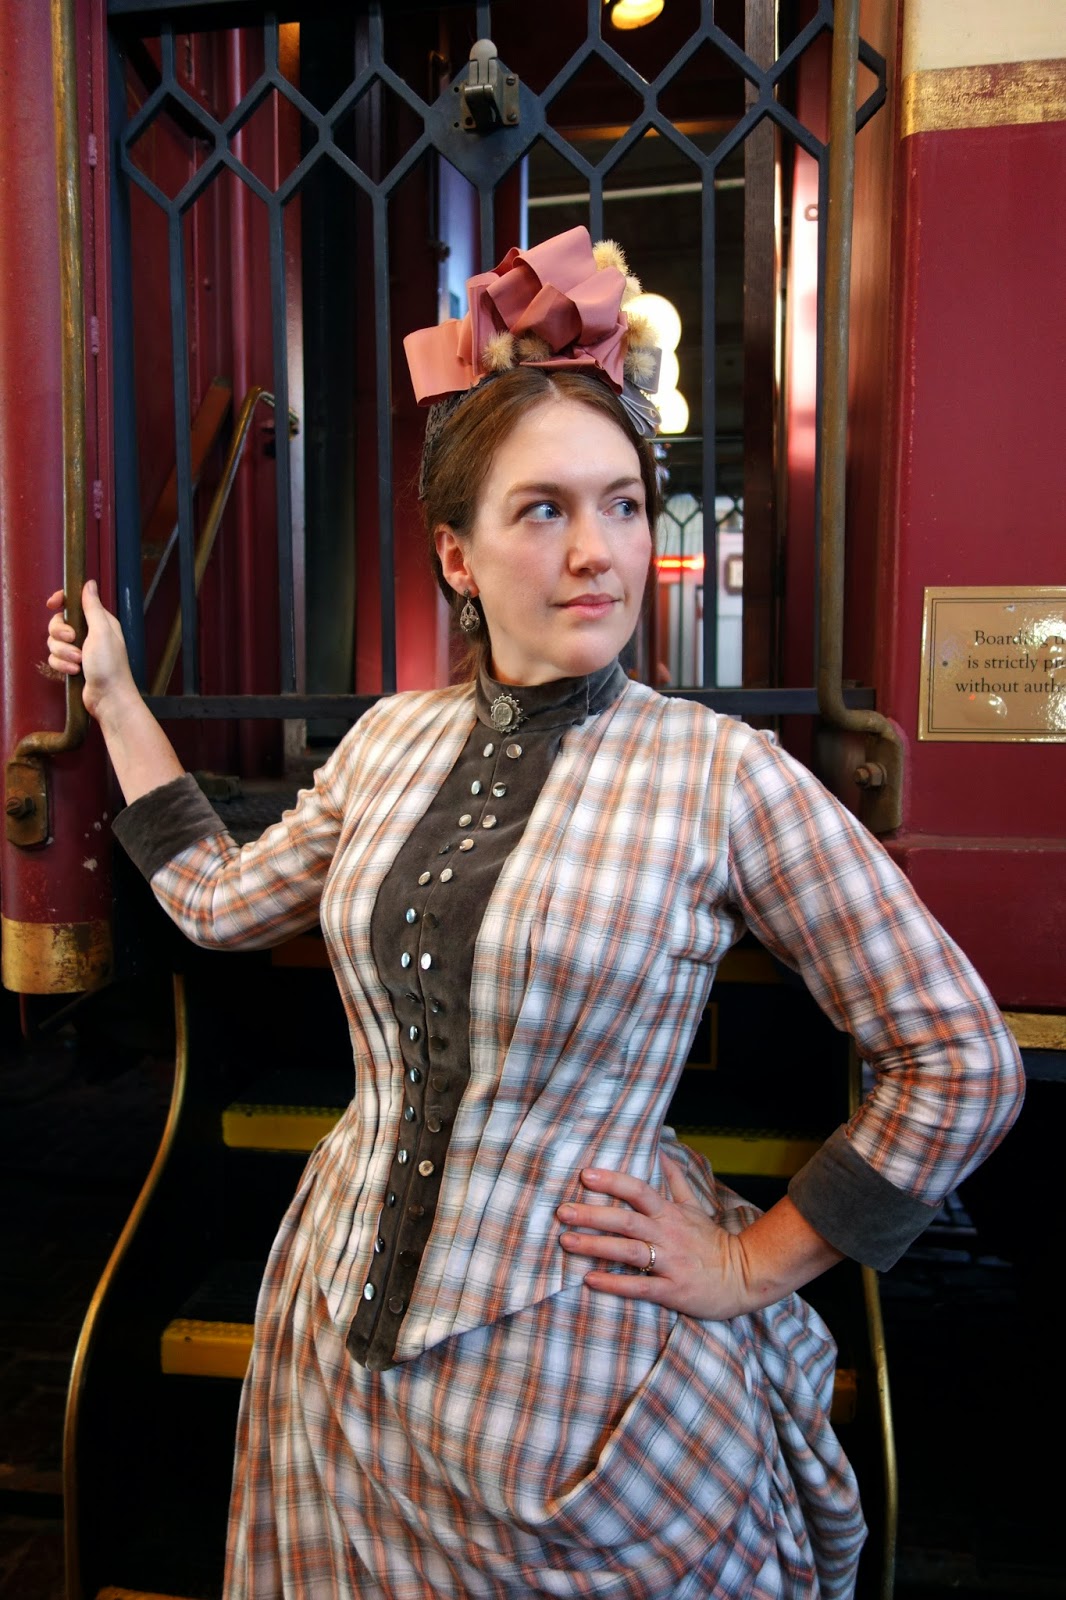
The underskirt is made from an 1887 foundation skirt pattern in Patterns of Fashion, and the overskirt is made from the Truly Victorian asymmetrical overskirt pattern.  The pattern for the bodice came from a January, 1888 la Mode Illustrée pattern sheet, and the fashion plate that shows the made up pattern can be seen on the right.  I bought the pattern from a seller named ryphat on ebay, and I was thrilled to discover that it fit me wonderfully with very few alterations.  Her stock rotates quite a bit and I don't see the exact pattern that I used for sale at the moment, but I definitely recommend these patterns if you are looking for some new historical pattern options and you are a fairly average size. I did change up the bodice a little to make this dress suit my tastes, and I drew inspiration from several late 1880s la Mode Illustrée fashion plates found on the Bunka Gakuen database.   I decorated the center placket with a double row of mother-of-pearl buttons and added the pleated sections beside the placket to make my dress resemble a few illustrations like the ones seen here.


Since May events can be pretty toasty in Texas (I think we hit 90 degrees this year), I picked some cotton fabric from my stash that is almost sheer to try to keep cool.  The underskirt is unlined except for a facing at the hem, the overskirt and sleeves are lined with voile just to keep the color of everything consistent, and the bodice is lined with cotton sateen.  It was actually turned out to be a very cool and comfortable outfit and I was never uncomfortable from the heat, which was such a wonderful thing. Of course, I still wasn't opposed to catching a bit of a breeze to keep my ankles cool when the opportunity arose!  ;)


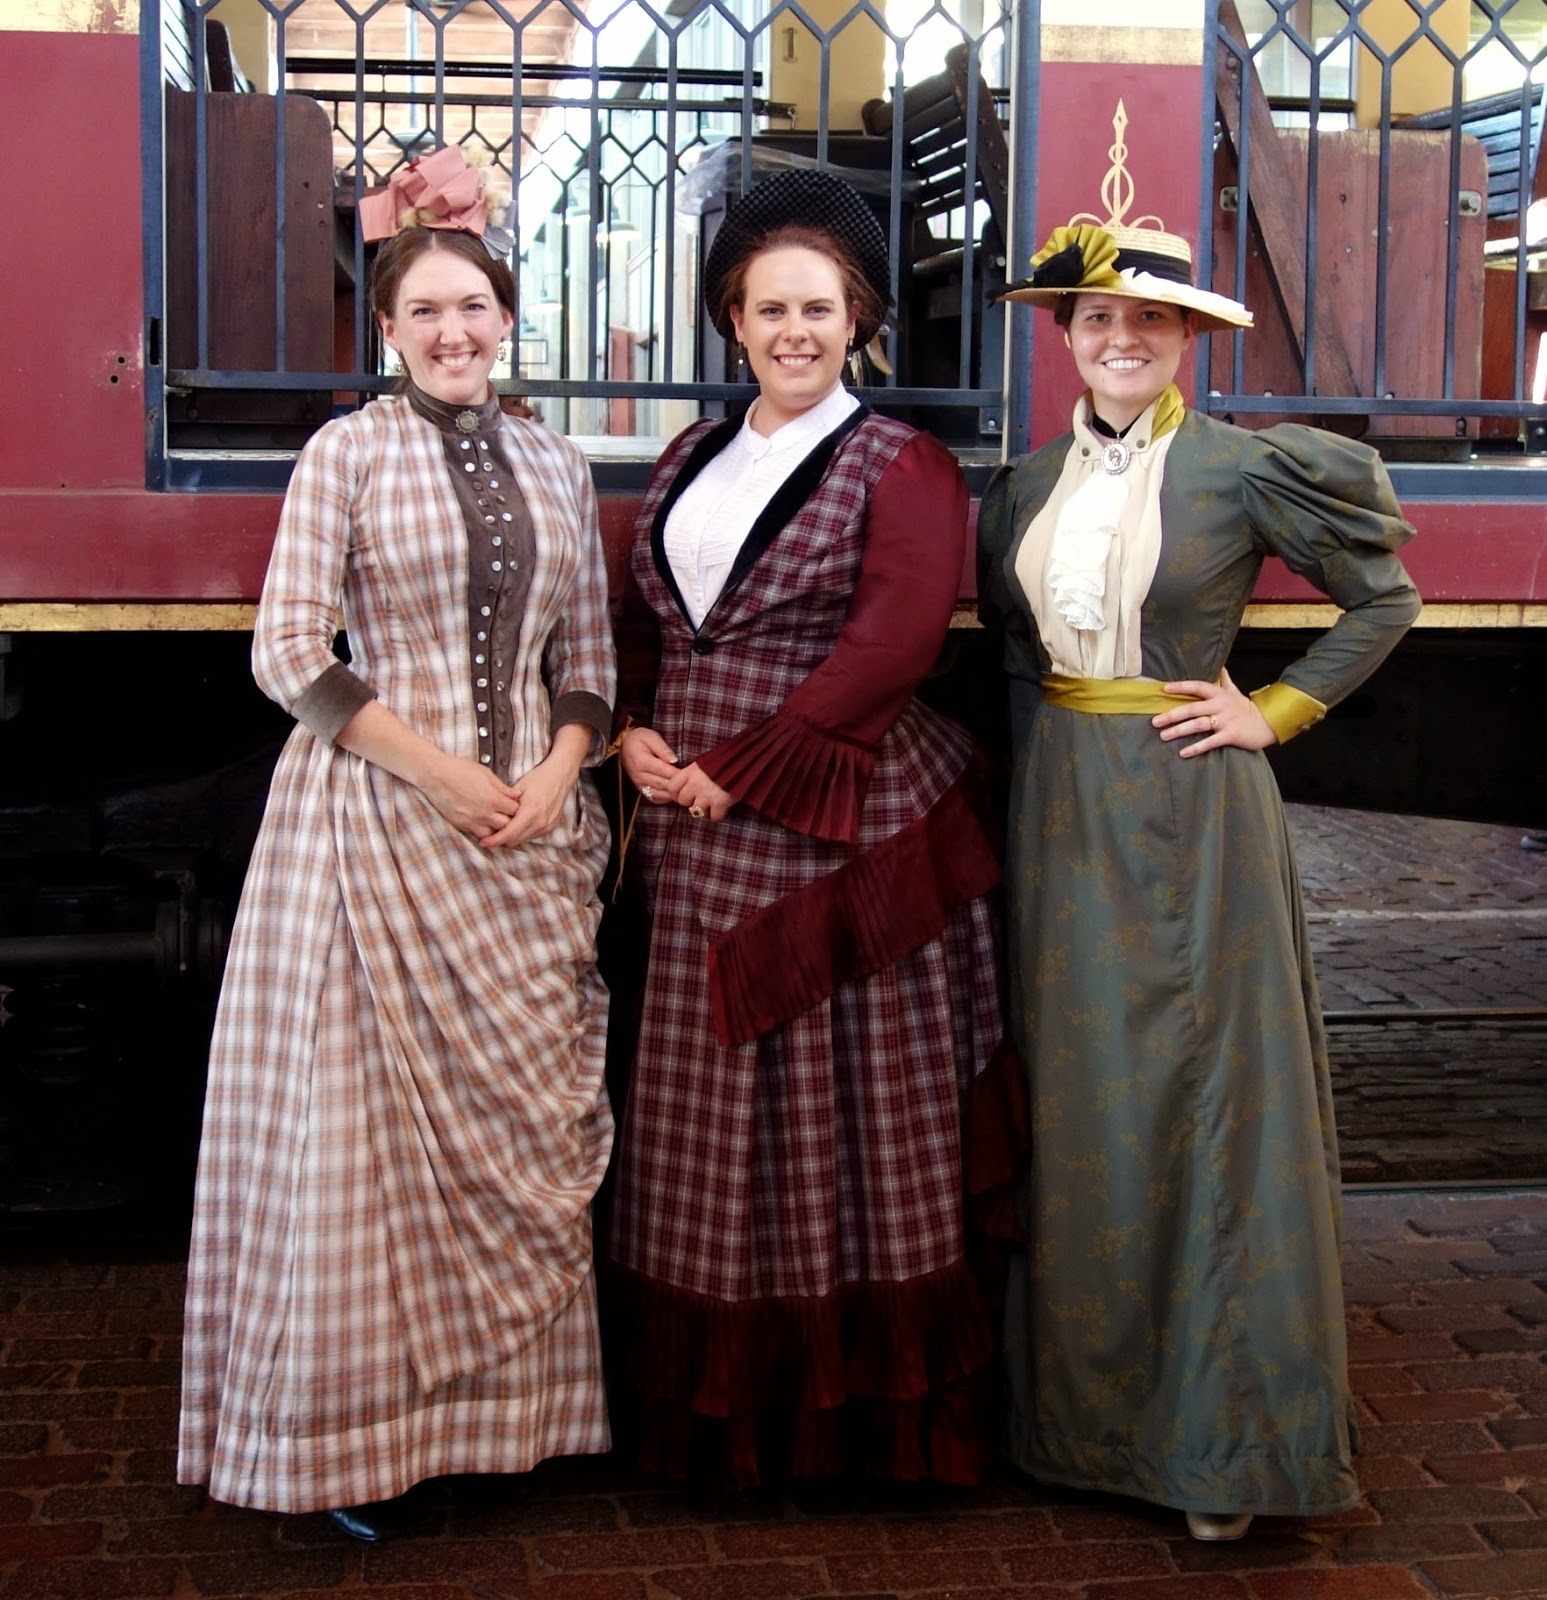
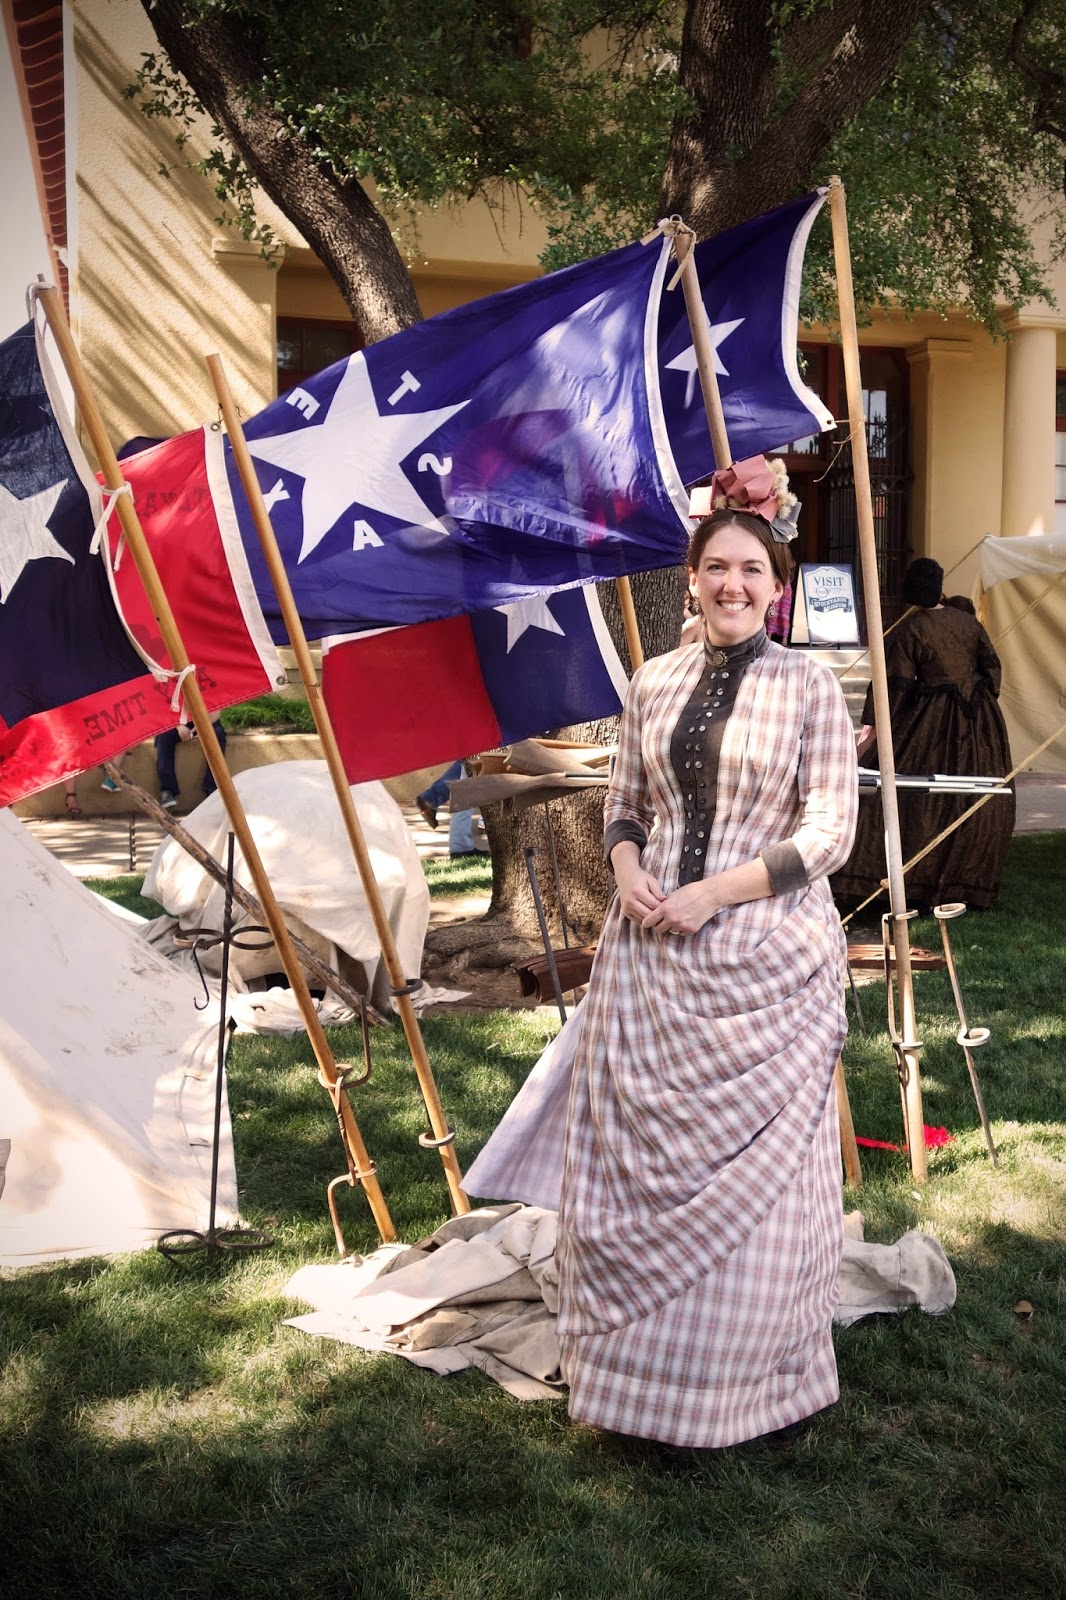
Best of all, the plaid fabric came from Walmart and only cost me $14 total, and the other fabrics for the lining and accents were given to me in trades, so this is probably one of the least expensive dresses that I've ever made.  Two other ladies - Liz from the Pragmatic Costumer, and Megan from Mistress of Disguise - also happened to be wearing dresses made out of Walmart fabric at this event, and we were quite proud of our fabulous display of Walmart Victorian couture.


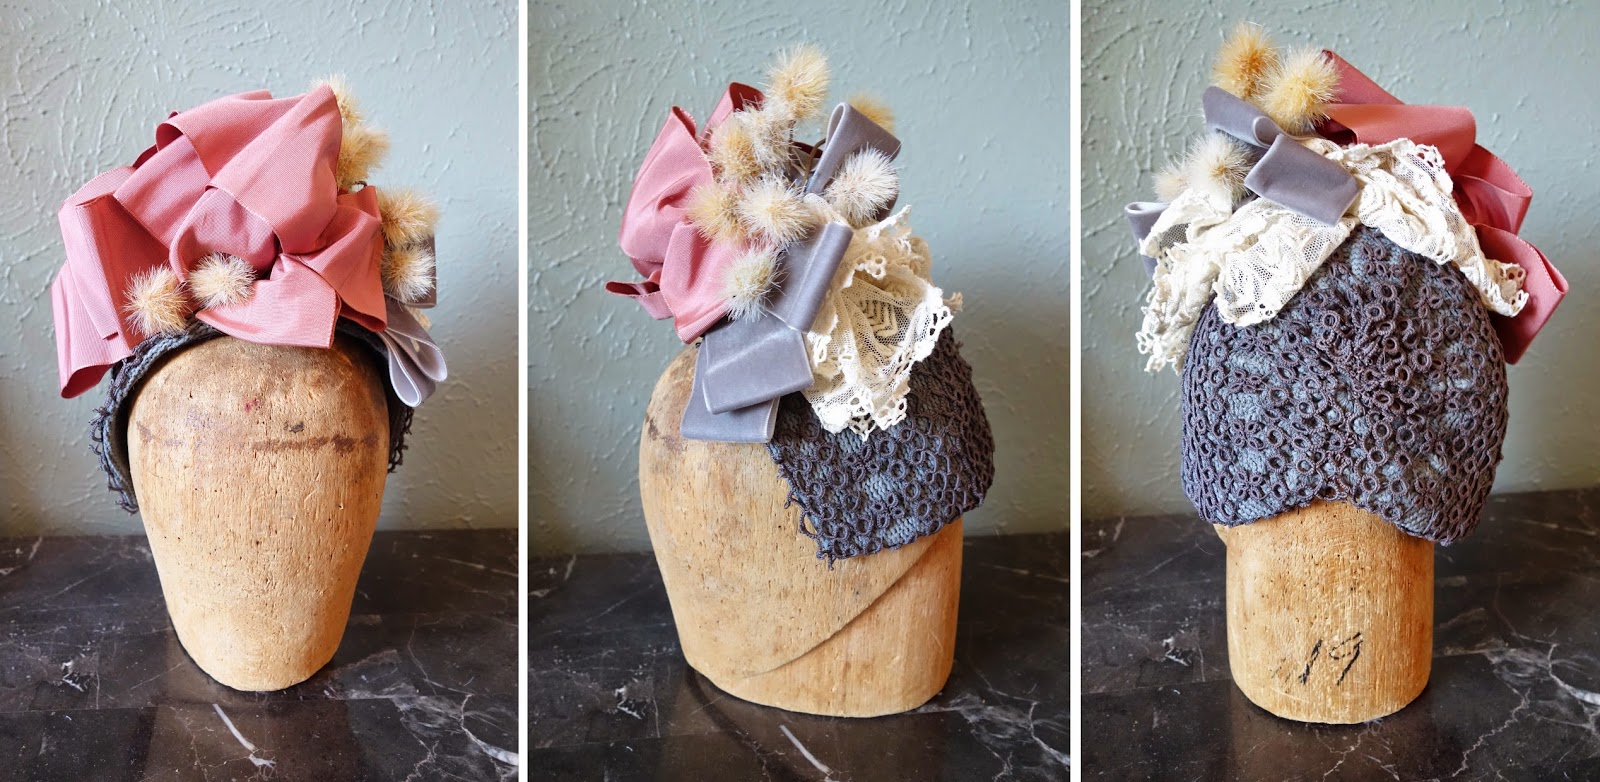
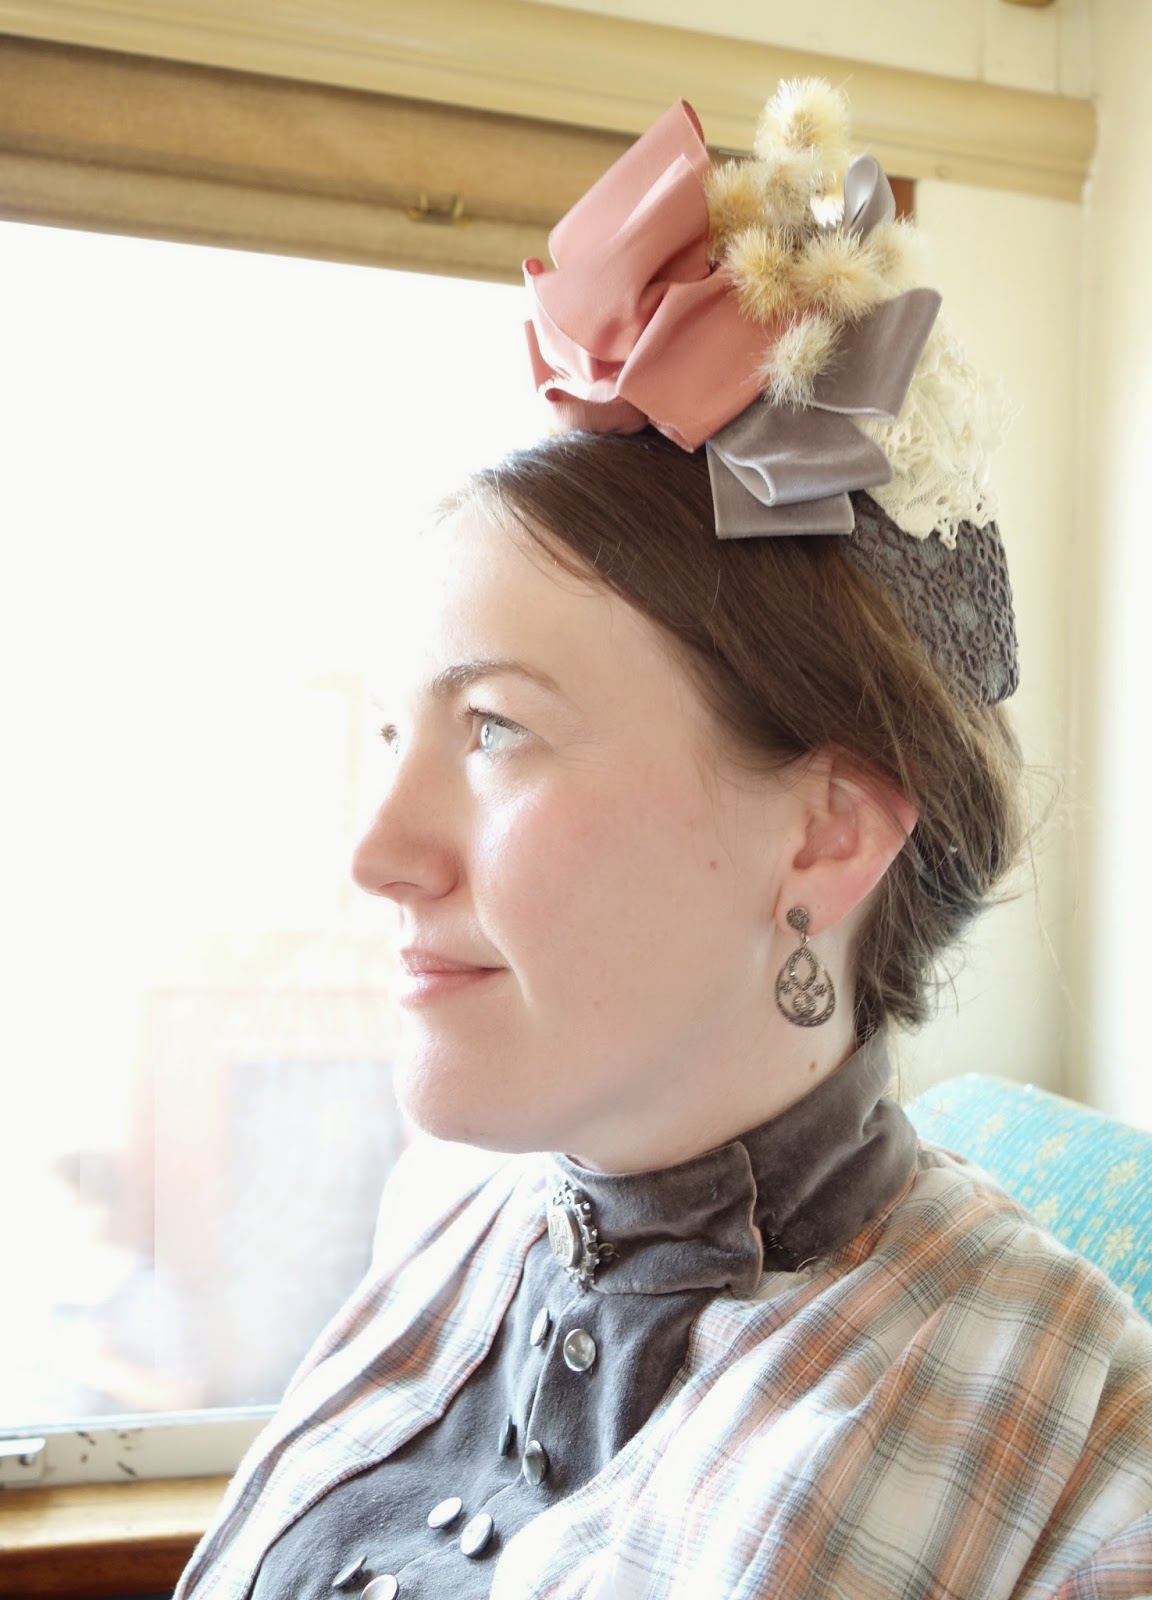
But my favorite part of this new outfit is definitely my bonnet.  I LOVE silly hats, and I think the tall, elaborately bedecked bonnets worn in the 1880s like this one from the Met are some of the most wonderfully ridiculous hats that I've ever seen!  To continue my cheapskate costuming streak, I made the base of my hat by cutting down a modern hat that I never really wore very much so that the crown would just perch on the back of my head.  I wired the edges and covered the base with some antique tatted lace from my stash that I dyed dark grey to match my dress.  Then I just added a pile of ribbons, lace, and a few flowers (also from my stash) to the top to give it some height and color.  I've never been overly fond of ribbons that are tied under the chin, but luckily, I found examples in 1880s fashion plates like this one proving that these bonnets could be worn with or without ties.  I sewed a comb under the front edge of the hat and pinned the bottom corners to my hair with bobby pins, and it stayed put all day with no worries.


At first I was hesitant to make what is essentially the same dress two times in a row, but making a wearable mockup  helped me discover a few minor problems with my outfit, and hopefully my next dress, which will be a close copy of this bustle dress, will be even better.  I know these issues might seem nitpicky, but here are a few notes about what I would like to change:

- I wore my short bustle with this outfit, and unfortunately, the hoop boning folded in on itself while I was driving to the event, and I don't think the bones popped out again until I finally noticed my sad, deflated butt toward the end of the day.  And with the smooth skirts in back, there isn't a lot of drapery to to create fullness in back on its own.  Poo!  So the next time, I need to remember to check my bustle after sitting to make sure everything falls back into place like it should.   
- I was unsure what I should line the placket on my bodice with, so I used coutil in the hopes that it would add some stiffness and keep it flat.  But actually, it tended to buckle above my chest when I was sitting, which I'm guessing is because the fabric was stiffer than it needed to be and crumpled more than it draped.  Also, I did not interline my collar with anything, and it wrinkled a good bit as well.  I think next time I will keep my placket soft and interline my collar with some hair canvas to see if that helps the problem any.  

- I was worried from the start that the long flaps of the overskirt would flap around and show the white lining, and yes, they did. Not that this was a huge problem with this dress, but the next dress that I am wanting to make has applied stripes on the underskirt, so I don't want the top layer to blow around and show where the stripes stop. I think with the next one, I might add some hidden button tabs that would attach the overskirt to the underskirt and keep everything in place better.
- I think the fit of my bodice is about 90% there, but I did get some wrinkles under my armpits that show up on my back and the sides of my chest from time to time.  It seems like the fabric of my bodice is getting pushed down a little under my arms, and I have several theories as to how to fix this. I thought about cutting the bottom of my armscye a little lower to remove some excess fabric under my arms, but I'm worried that it will reduce movement if the armscye goes too wide since a tight fit in the shoulders usually moves better than one that is too big.  I also considered raising my waistline a little or adding a waist stay to try to keep the bodice pulled down better so the fabric doesn't ride up from the waist. Or, perhaps those are stress wrinkles and I should let the bust out a little more.  But I'm not sure which of those options would really solve the problem, so I would love to hear your tips if you know how to fix this! 
- Finally, the pattern that I used didn't have a lot of instruction about how to fasten the bodice or the placket, so I used hook and eye tape for the center-front lining and a few large snaps to attach the open side of the placket and outer fabric.  I know snaps weren't used in the 1880s, so I will definitely switch to hooks for the next one, but even more importantly, I need to use more hooks to keep it smooth.  The few widely spaced points of attachment worked okay on the upper half of the bodice, but I need to attach it very securely below the bustline because I discovered that it tends to pull away from the body there if you aren't careful.  I ended up having to add a few extra pins to keep my  placket flat because I didn't use enough snaps.  I would love to do more research on the construction methods of surviving 1880's bodices with plackets before making my next gown.  This was just a "good enough" solution done at 3:00 a.m. on the night before the event, so I know there must be better ways.    
And that's pretty much it!  It's not the fanciest outfit that I ever made, but it was quick and cool and comfortable and I learned a lot from it.  You can find many more pics from our event on flickr.  


Monday, December 2, 2013

faux fur muff


This week's Historical Sew Fortnightly challenge was "re-do", and although I started a different project for this challenge last week, it sort of crashed and burned at the last minute.  So I quickly switched over and made the easiest thing that I could think of - a faux fur muff with an interchangeable cover.  This one would qualify for several of the HSF challenges, such as "flora and fauna", "accessorize", "squares, rectangles, and triangles", "gratitude", or "outerwear", but I think the theme that is the most appropriate in this situation was the very first challenge - "starting simple"!  The entire project took less than two hours to finish, and now I'm wondering why I didn't make one of these things years ago.

I used the fabulous instructions from The Fashionable Past to make the muff base, and I plan on using this with both 18th century and Victorian costumes since it is a pretty generic size and shape.   My base is made of a scrap of navy cotton twill from my stash and stuffed with polyfill.  It doesn't look like much on it's own, but it is amazing how much rounds out when the cover is on it.  
I added a little patch pocket to the inside that is just big enough to hold my iphone or camera, and I put a strip of velcro at the top of the pocket to hold it closed.  I'm sure I could have come up with a fancier arrangement for the pocket, but this seems to do the trick well enough.  
The cover is just a bit of left-over faux fur from another project that I made years ago.  Again, I used Katherine's instructions in pt. 2 of the muff tutorial to finish it up.  The only thing that I did different was to stitch a cord to the cover so I could carry it by a handle if I didn't want to wear it on my hands.  This is something that I've seen in a lot of antique fur muffs, and if I don't need the cord handle, I can easily tuck it back inside of the cover.  


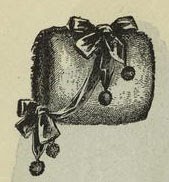
I've seen lots of great muffs in Victorian fashion plates that have bows or cords or tassels hanging from them, and I will probably go back and add more frippery to this muff eventually - maybe like this one from 1890 featured in Peterson's Magazine.  But this is good enough for now, and I'm just grateful to have a project done for the deadline.  :)


Saturday, February 11, 2012

DIY spats pattern


The 1890's cycling costume that I'm working on right now shows off a bit of leg, so I need to pay more attention to my footwear than normal.  I usually just wear a pair of black pumps and black stockings with my Victorian costumes, but I decided to make myself a pair or tall spats, also known as gaiters, for this costume.  I actually have a period pattern for knee-high gaiters taken from a Victorian fashion magazine, but I've discovered from previous attempts to make them that my ankles and feet are way too big to fit the pattern very well.  So instead of making a lot of alterations to that pattern, I thought it might be fun to show you haw to make your very own spats pattern.  These work great with steampunk and neo-Victorian outfits too if you are not into the historical costuming thing.
Step 1: Figure out what shoes you are going to wear with you spats or gaiters.  Basic pumps with a high vamp work the best, but spats cover a world of shoe flaws, so you could make these to go with a lot of different styles.  Bonus points if you can find some pumps with spool heels.  Put on one shoe, then find a sacrificial pair of stockings and cut it off at the thigh.  Put the stocking on OVER your shoe.


Step 2: Get some duct tape and start wrapping it around your leg.  Start at the ankle first, then work your way up.  DO NOT pull the tape too tight so that it squeezes the flesh in your leg.  You just want it to be snug and fit smoothly - not reshape anything.  I prefer to use smaller cuts of tape that don't even reach all the way around my leg because there is less wrinkling that way.  Since most of your leg is shaped like a cone vs. a tube, it helps to angle your tape diagonally instead of trying to wrap it in perfectly horizontal rings.  Switch directions with the tape and layer the pieces until you cover the entire surface of your calf (or however high you want your spats/gaiters to go).

Step 3: Next, you will start covering the foot with tape, but leave the ankle alone for now.  Start by creating an anchoring strip that wraps around the entire foot at the instep. This keeps the stocking from shifting around on your foot while you work.  Continue covering the top and sides of the foot with smaller pieces of tape going whichever direction will give you the flattest surface.  You don't need a ton of layers, but try to make sure that your foot is covered with 2 layers in most areas to make sure the tape doesn't stretch or slide.  You don't have to worry about covering the toes or the sole since these areas are not included in the spats.


Step 4:  Start filling in the area between the ankle and the leg.  Try to use an X pattern with the tape to cover the larger spaces, then fill in the gaps with smaller cuts of tape.  Don't be afraid to cut narrower strips if that helps - especially for the front or back of the ankle where the curve of the foot is the most extreme.   Make sure you are standing or at least have your leg at a right angle to the floor for this step or else your finished spats won't fit right.  Once you get the ankle covered, try not to walk around anymore since it will cause wrinkling in the tape if you bend your foot too much, and that makes it more difficult to trace an accurate pattern.


Step 5:  The heel is one of the trickiest parts to cover since it is so round.  I wrapped a single piece of tape around the back then snipped the tape every inch or so and overlapped the cut edges to make it lay flat over the curve.   You could also cut narrower pieces of tape to cover the heel since the smaller the tape is, the less it will wrinkle.  It doesn't have to be PERFECTLY flat, but you just don't want large wrinkles or places where the tape gapes away from your foot.


Step 6: You now have a fully wrapped leg. Hooray! Take a sharpie and draw a line down the middle of your leg in the center-front and center-back. If you have somebody who can do this for you, it is a huge help. If you don't have anybody there, all you really need is the center-front line, and then you can draw in the rest once it is off your foot.


Step 7: With a pair of sharp scissors, cut the tape and stocking down the center front line. Once you get past your ankle, you should be able to slip the entire thing off, and then you can put you hand inside of the taped form so that you can better guide your scissors to make sure you don't cut your shoe. I also recommend marking the opening of your shoe on the tape before you cut it off so that you are sure that you spat or gaiter is big enough to cover the edges of your shoe. I couldn't feel the edge of my shoe through the tape while it was one me, so I had to wait until I could remove my foot and then I could feel the edge and trace it.

If you didn't do this while the form was still on your body, draw a line down the outside of the leg for the button opening. I started drawing this opening like Victorian button boots where the edge curves to the front of the foot, but then I looked up some pictures of tall spats, and I realized that this line should be straight and end between the heel and the buckle that holds the spat on your foot. I corrected this before I cut it out. You will also need to draw the shape that you want the bottom and top edges to be. Some period spats had a little dip where the strap that goes under your foot attaches, but others are smooth all the way around the bottom.

Step 8: Cut your tape pattern along the center back and side button lines and lay the pieces out on paper. The tape pieces will probably not lay completely flat, but smooth them out as much as you can and trace around the pieces. You will need to add an underlap on the side opening for the buttons, and a seam allowance to the center front and center back seams. If you are making your spats out of a fabric that frays, you will also need to add seam allowance to the top and bottom edges unless you are going to use some type of binding for the edges.

BTW, I ended up with a curve in my pattern when I cut the button opening line down the side of the leg.  I haven't noticed this shape in period spats - it is usually very straight.  I'm not sure if I am going to keep it curvy or try to straighten the edge out some more.

Step 9: Make a mockup and try on your gaiters or spats.  I made my mockup out of craft felt, but anything sturdy like thick denim or upholstery fabric would also work great.  Pin them closed on the side, then mark any areas that need adjustments.  On my gaiters, I had to take out some of the curve over the calf, and I also tweaked the shape of the flap over the foot a bit.  Transfer your adjustments back to the paper pattern, and if necessary, make a 2nd mockup to test your changes.


Congratulations!  You now have a custom pattern for Victorian or Edwardian spats!

Traditionally, spats and gaiters were made out of wool felt, leather, or canvas, but you could also make them out of other types of fabric.  And if you didn't want them to button up the sides, lacing or buckles would do the trick nicely as well.  At this point, I need to go buy some fabric and buttons, but then I hope to come back with Part 2 of this tutorial to tell you how to construct your fabulous footwear.